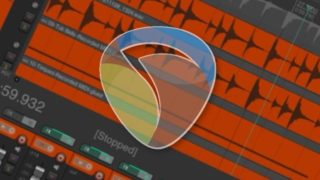
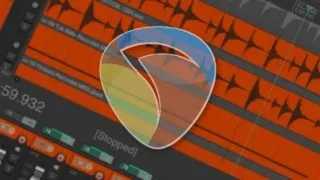
To increase your waveform size in REAPER, all you need to do is hold down the ‘Shift’ key and press the ‘Up Arrow’ key until you have achieved your desired waveform size. Keep in mind that this does not affect the volume of your tracks, just their appearance. Waveform Size In REAPER If you record …
Producers
Finding the best sample editor for Ableton can be a challenging task. As far as live performance is concerned, “Sampler” is a clear winner. But Ableton’s native features may be all you need if you’re only looking to edit your audio. Does Ableton Have A Sampler? When talking about sample editing inside Ableton Live 11, …

If the REAPER quantize features aren’t working, you probably need to change some settings. Whether you are trying to quantize an audio file or MIDI data, there are settings that you must adjust based on the timing of the track (¼ notes, ⅛ notes, etc.) as well as other parameters. REAPER Quantize Troubleshooting Nowadays, there …

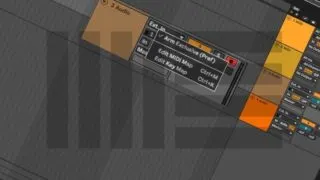
Arming a track enables recording onto that track, whether audio or MIDI. Click the record arm button in the top right of the track with a filled-in circle in the middle. To hear yourself, click Auto or In on the track on the third row down of the second column in the track to allow …


WavPack and FLAC are both solid audio coding formats for lossless compression of audio with a very similar compression ratio. However, FLAC has a much higher decoding/encoding speed and lower CPU load than WavPack. Although WavPack does have its advantages, I recommend using the FLAC lossless audio format overall. Lossless Audio File Formats With all …


The REAPER Master Meter is the final volume meter of your audio signal chain in REAPER. The level displayed on this meter is the sum of all the instruments in your track. You can change its settings to affect how you see this master output audio level displayed. Metering Your Master Volume In REAPER Without …


If you can’t see a waveform in Ableton, enable ‘Create Analysis File’ in preferences. Right-click your audio clip and activate it. Drag an audio clip from the session view and move it onto the relevant track in the arrangement view. Restore a missing audio file. How To Fix A Missing Waveform In Ableton I’ve been …


REAPER has a VU Meter plugin called ‘JS: VU Meter’ that you can use to measure an audio track’s average loudness. JS: VU Meter features the classic VU Meter appearance and displays RMS (Root-Mean-Square) loudness and the peak of whatever audio signal you route through it. VU Metering In REAPER The process of gain staging …

Ableton Live comes with three reverb effects – Reverb, Hybrid Reverb, and Convolution Reverb. They are all useful in their own right, but Hybrid Reverb (a new effect included in Ableton Live 11) is best due to its versatility. This is because it uses both convolution and algorithmic reverb types. Why Do You Need So …


Making a subliminal track with Audacity can be challenging, depending on how you want to approach it. You’ll have no problem putting it together if you only import pre-recorded audio. On the other hand, recording it all by yourself will take some more effort considering workarounds. Interested in making your own affirmations and subliminal audio …

FL Studio has the ability to use your computer keyboard as a piano, and it acts similarly to a MIDI keyboard. If you try to play a note on your keyboard and it isn’t working, the piano typing keyboard function can be enabled by pressing CTRL+T (CMD+T on Mac). Same, But Different… If you haven’t …
To find autosave files for a Logic Pro session, find the Logic project file in your Finder window, right-click it, and select ‘Show Package Contents.’ From here, click ‘Alternatives,’ ‘000’ (unless you have an alternative), ‘Autosave,’ and you should see any autosave files you have for that project. Autosave Files In Logic Pro Nothing is …
To transfer Logic Pro X to another Mac, sign in with your Apple ID and password on your new Mac, go to the ‘Purchased’ section in the App Store, and locate/redownload Logic Pro X. Keep in mind that you cannot transfer Logic Pro X from one Apple ID to another. Transferring Logic Pro X From …
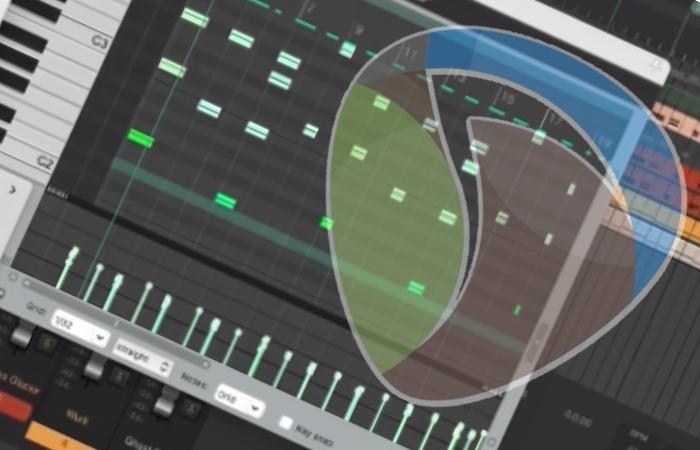

Double-click your MIDI item to open the MIDI editor and select Edit>Transpose to transpose MIDI in REAPER. Depending on the box you have checked, you can transpose based on semitone or scale. You can even transpose from a major scale to any minor scale. Transposing MIDI Parts In REAPER If you do not know how …

To sample a speech and use it in a song, you must either have a license to do so, or it must be in the public domain. Anything in the public domain is no longer copyright protected; you can use it in your own works. Sampling In Music Using a sound recording in your music …

Mono and stereo plugins will both affect your vocals differently. If you want your vocal track to sound upfront and focused, use a mono plugin. However, if you wish your vocal track to sound wide and fill out empty spaces in your stereo field, you should use a stereo plugin. Mono And Stereo Plugins On …
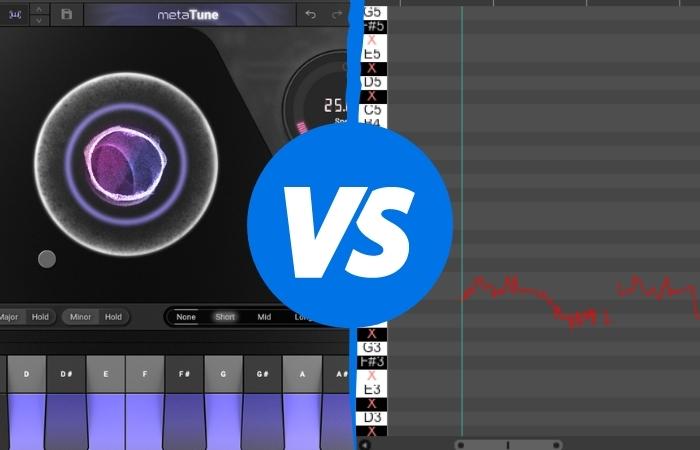

Pitch correction manually tunes the vocals in your track so they are on key. At the same time, autotune is an automated version of pitch correction that tunes your vocal track based on parameters you set. Pitch correction is corrective, and autotune is more of a vocal effect. Tuning Vocals Tuning plays a major role …


This problem can be solved by reactivating the clips in the Ableton Live software. One way To do this is with the “activate/deactivate clip” keyboard shortcut by opening the “Session View” and selecting the deactivated clips, and then hitting the “0” key on your keyboard. The Struggle Is Real So, it’s the morning after your …
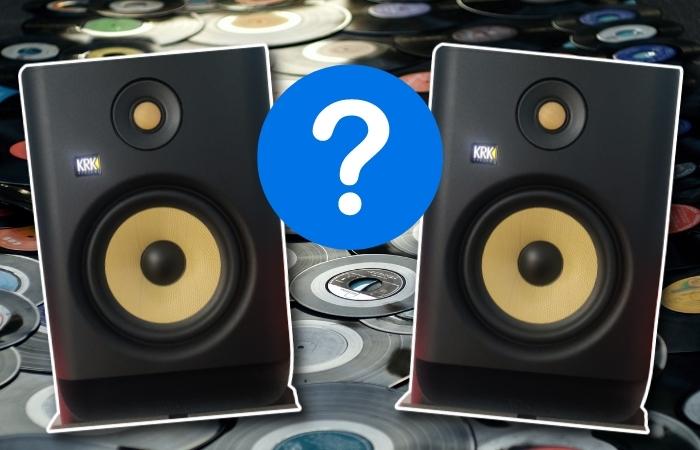

You can use KRK Rokits or any other type of studio monitor for vinyl. They may not be the highest quality studio monitors on the market. However, KRK Rokit studios are still a suitable pair of speakers for vinyl listening, especially for someone who is not a huge audio snob. Vinyl Listening On KRK Rokit …

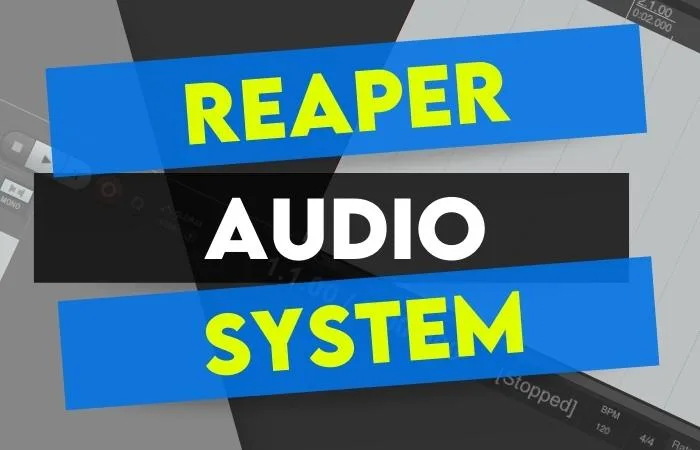
To change the audio system you use in REAPER, click Options>Preferences>Device and select the audio system you want to use from the audio system dropdown menu. The audio system dropdown menu will show any audio device or driver your computer recognizes. Selecting An Audio System In REAPER Not knowing how to designate an audio system/audio …


Although there is no beat detective feature for REAPER like there is in Avid Pro Tools, there is a process that you can follow to get the same results. Use the ‘Dynamic Split’ function to split your drum tracks in REAPER based on their transients. Editing Drums In REAPER If you do not know the …
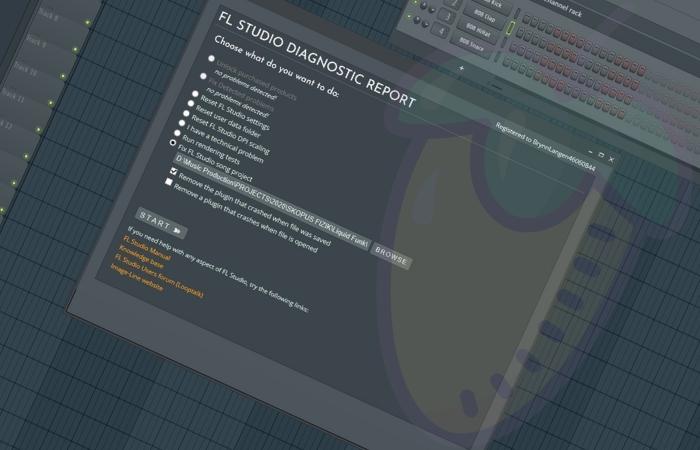
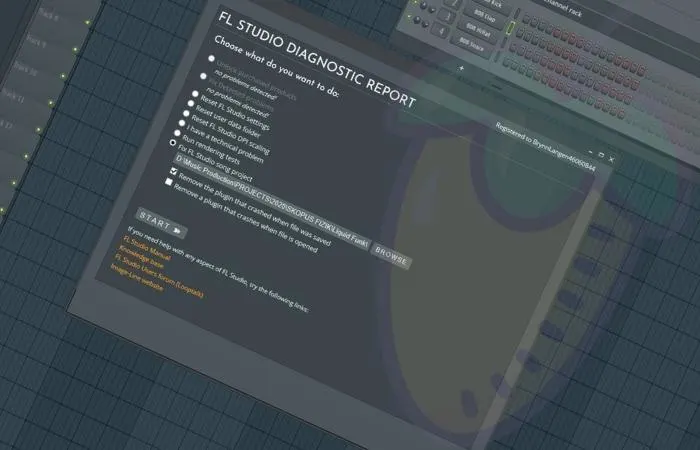
When all else fails, FL Studio has a Diagnostic tool to help you recover lost projects, a file containing an error, or corrupted files associated with it. To access it, click Help > Diagnostics. However, please note that Diagnostics is only available with registered versions of FL Studio. FL Studio Diagnostics Have you spent hours, …


If you’re having trouble getting Ableton Live to open, you can try a few things. First, make sure your computer meets the minimum system requirements. Second, try reinstalling the program. If that doesn’t work, try running the program as an administrator. Finally, contact Ableton customer support if you’re still having trouble. Opening Ableton If you’re …


To use the REAPER web interface, go to Options>Preferences>Control/OSC/Web>Add>Web Browser Interface. From here, check the box for ‘Use rc.reaper.fm’, enter an ID word, go to ‘rc.reaper.fm’ on the device you want to use as a controller, and enter your keyword. Using The REAPER Web Interface As A Controller There is nothing more frustrating than recording …

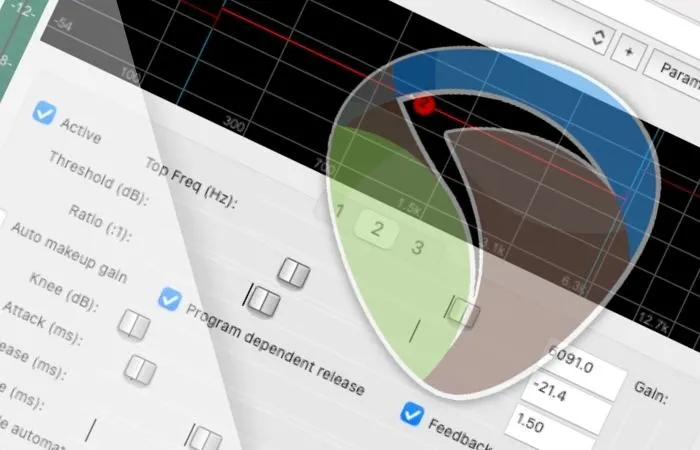
REAPER has a multiband compression plugin called ‘ReaXcomp.’ You can use this multiband compressor to compress different frequency ranges at different levels and amounts. To use ReaXcomp, click the ‘Show Track FX Window’ button on the desired track, search for ReaXcomp, and double click to insert it onto your track. Does REAPER Have A Multiband …


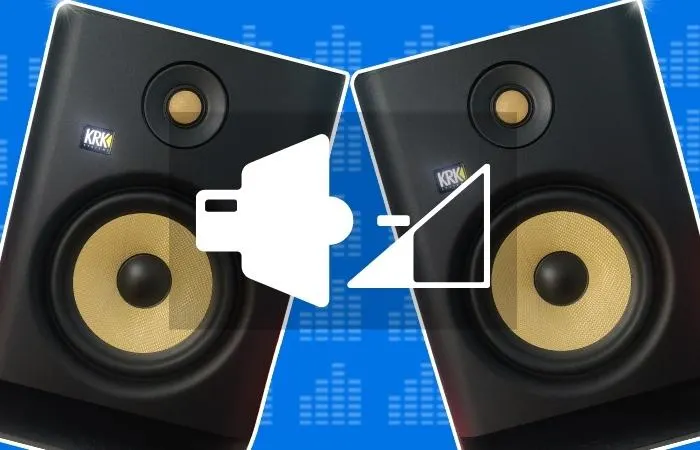
While KRK Rokit 5 monitors are not the highest quality studio monitors on the market, they are perfectly viable monitors for anyone who can’t afford expensive monitors. However, if you produce hip hop/electronic music, studio monitors with a heavier low end might be better. Studio Monitor Quality And Bass Response Although KRK monitors are decent …
Unfortunately, REAPER is not currently available for the iPad or any device other than a computer or laptop computer. However, it can be used as a REAPER controller. You can use other DAWs on the iPad, such as FL Studio, GarageBand, Cubasis, Auxy Pro, KORG Gadget 2 Le, etc. Music Production on iPad Not being …
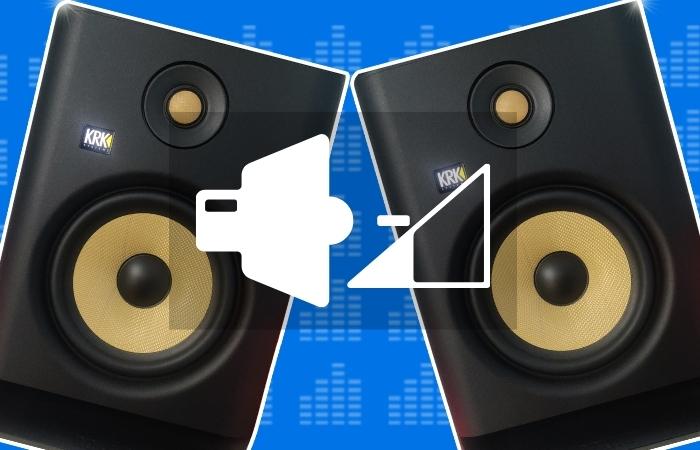
If you are having a KRK Rokit 5 low volume problem, the most common causes are a bad cable or connection, a bad capacitor in your studio monitor or something is out of place with your potentiometer (the part in your studio monitor that attaches to controls the volume knob). KRK Rokit 5 Troubleshooting There …

The REAPER DAW includes a reasonably extensive plugin collection. Many of the plugins within the REAPER plugin collection also include various presets that you can use to get you started. To use REAPER presets, insert a REAPER plugin that has presets available and select one from the dropdown menu. Using REAPER Presets Mixing with plugins …
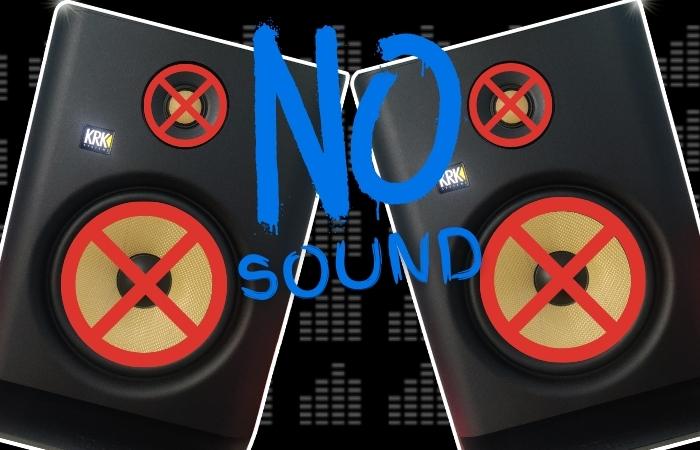

If your KRK Rokit monitors are powering up but not producing sound, check that you are using the correct cables and that you have them plugged into your KRK Rokit monitors and your audio interface. Next, check that you have your audio interface as your computer’s designated audio device. KRK Rokit Troubleshooting Producing music without …
There are multiple ways to add silence in Audacity. You can use the Generate Silence function, copy and paste a block of silence you take out of your original audio clip, or even create blank spaces between your audio file by splitting the clip boundaries. Audacity is a music software with limited functionality compared to …

To reattach your browser menu to its default location on your screen, Left-click hold and drag from the top of its window and position it to either the far left or far right of your screen until a yellow box appears. This indicates it will now dock in that area. How Does The Browser Become …
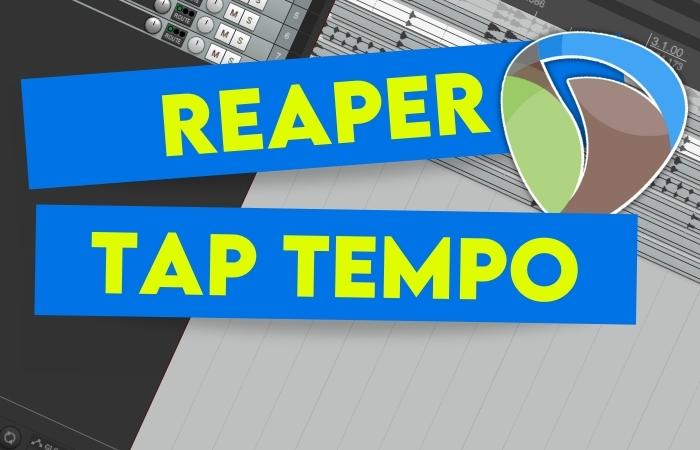

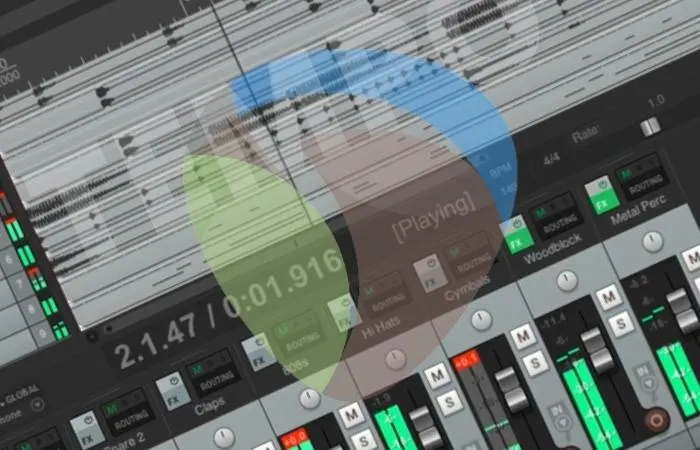
To use the REAPER Tap Tempo feature, you have to hover your mouse over the ‘BPM’ box and click in time to the tempo you want to set your track to. As you click, REAPER will adjust your tempo in real-time. Using REAPER Tap Tempo If you don’t know how to find the right tempo …

The performance meter is a menu within REAPER that you can use to view your CPU usage, RAM usage, etc. To open up the REAPER Performance Meter, click ‘View>Performance Meter.’ From there, you can monitor REAPER’s stress on your computer’s processing. Metering Performance In REAPER Music production has nothing more frustrating than your computer’s performance …

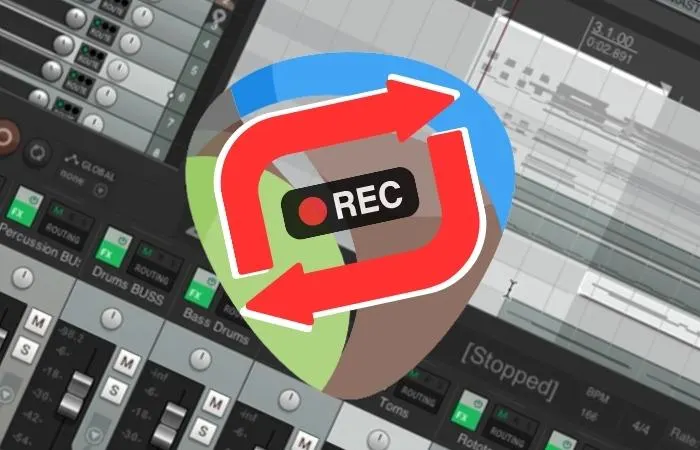
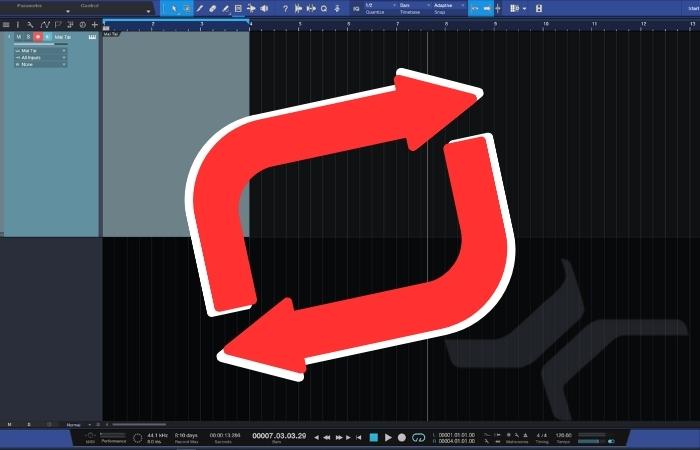
In REAPER, you can record over the same section of a track in a loop by using loop recording. Select the area you want to loop record, click the loop button, and now when you press record, you will record over that section in a loop. Loop Recording In REAPER Loop recording is a technique …
REAPER has several plugins that you can use as vocal effects, such as autotune, pitch correction, reverb, etc. To use a vocal effects plugin in REAPER, click the ‘FX’ button on your vocal track, find your desired plugin, and double click it to insert it. Vocal Effects For REAPER Not only is vocal mixing a …
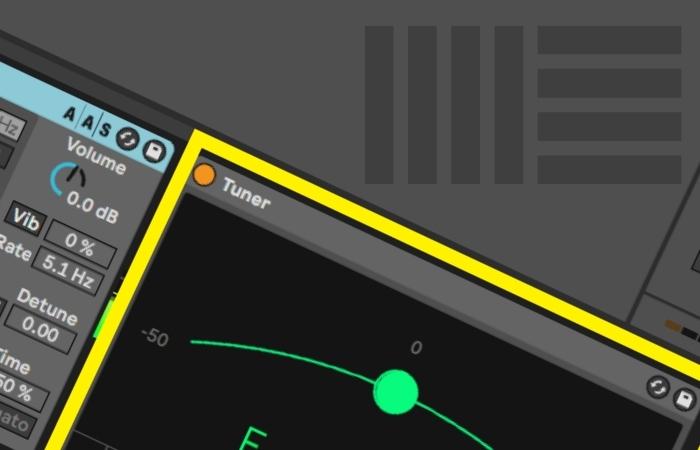

If Ableton Tuner isn’t working, there are several things you can try. Ensure the audio settings are correct and check the track configuration for proper channel routing. If you are still having issues, you can try restarting your computer, reinstalling Ableton, or contacting support. Fixing Ableton’s Tuner Having a reliable tuner is crucial to getting …

You can simply hold and drag the loop marker across the ruler to set the length of your marker locators. Once you’ve positioned them properly, press “/” or click on the Loop Active to enable the loop function in Presonus Studio One. Knowing the ins and outs of looping parts in any DAW might not …

You can adjust most window widths in FL Studio (including the playlist) by hovering your mouse cursor over the window’s edge and Left-Click + Dragging. Height can be adjusted by either holding CTRL+ scrolling your mouse wheel (recommended) or the size adjuster directly above the scroll bar on the far right of your screen. This …
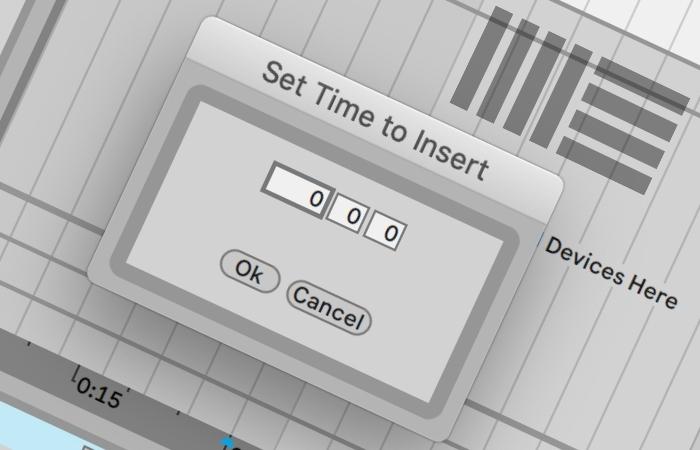

Time can be inserted in Ableton Live by placing your cursor where you would like to insert time. Next, you will hit “command+i” (ctrl+i on Windows). This will open a pop-up menu where you can enter the amount of time you would like to insert. Inserting Time In Ableton By learning how to insert time …

To transpose MIDI in Ableton: Write some MIDI or import a MIDI file. Go to the MIDI effects menu in your Ableton navigation pane, then Pitch, and drag that onto your MIDI track. Navigate to the Pitch area at the bottom of the display, and twist the knob clockwise or anti-clockwise to transpose your track …


Pitch shifting is a powerful tool for sound design that Ableton Live provides for manipulating audio tracks. You can shift the pitch of an audio track by double-clicking the audio track and moving the “transpose” wheel to the right to pitch it up or to the left to pitch it down. Pitch Shifting In Ableton …

While Ableton does not have a built-in auto-tuning effect, there are many third-party plugins and software that can help us create a radio-ready vocal. This includes the user-friendly and industry-standard Antares Auto-tune plugin and the ever-popular Melodyne. Pitch Correction In Ableton Whether correcting your own vocal or touching up the singer’s pitch who just left …
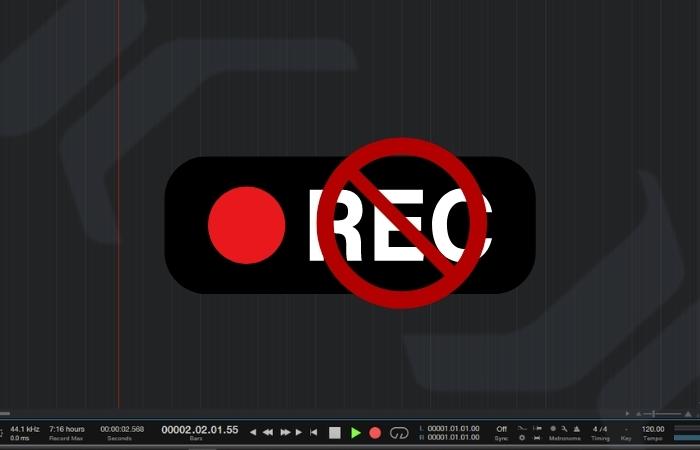
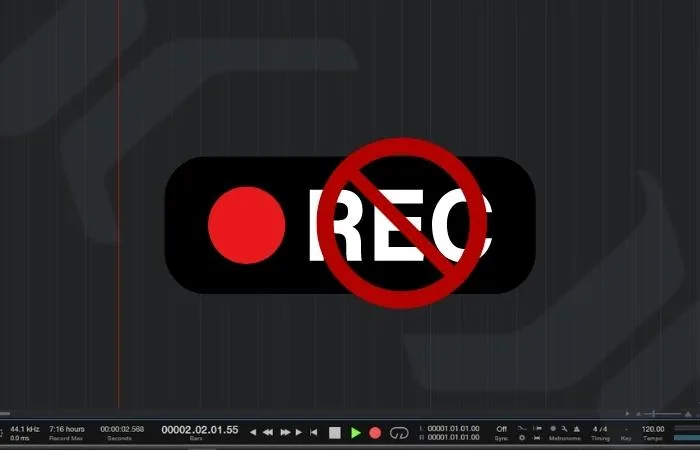
If you cannot engage the record button in Studio One, the audio engine probably crashes. All you need to do is restart it by closing and opening Studio One or changing the buffer size. Alternatively, you can reassign your output channels to fix the issue. Nothing frustrates me more than abandoning a recording session due …

Upon installation, one of the folders that come with REAPER is the folder that REAPER scans for VST plugin files. If you download third-party plugins, you can either put them in this folder so that REAPER will check them, or you can set up a new file path. Installing VST Plugins In REAPER There is …
If you are having issues hearing anything when using a MIDI keyboard in REAPER, there could be several things causing this. Check that your MIDI keyboard is connected to your system, your MIDI keyboard is enabled in your preferences, and you have the correct input selected. MIDI Keyboard Or MIDI Controller Not Working In REAPER …
Several different things could be causing you to experience audio playback issues in the REAPER DAW. REAPER playback issues can be due to incorrect routing in your track, not having the correct ‘Audio system’ selected, running too many plugins, etc. Playback Problems In REAPER If you are experiencing issues with playback in REAPER, you will …
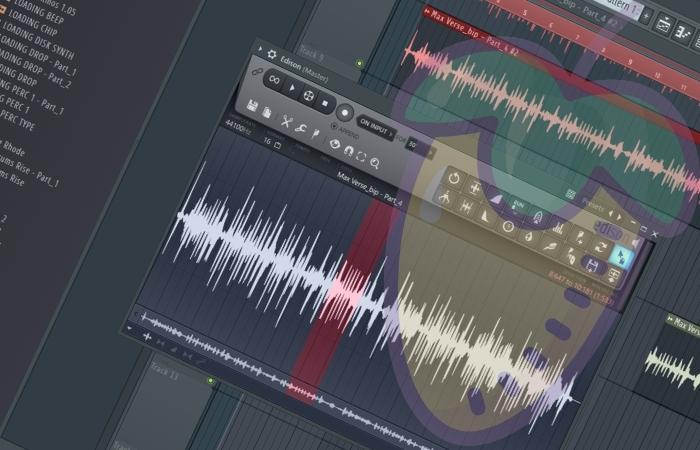
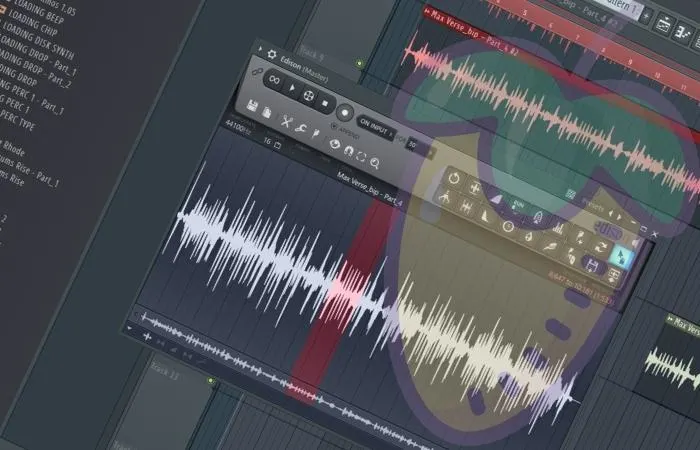
You can affect a vocal sample on its own, record voice directly into FL Studio, or use voice changer plugins to manipulate the audio, such as “Vocodex” or “Edison.” Alternatively, the vocal can be manipulated within its sampler window using the pitch shifter and time-shifting or Edison’s many effects. How Can I Use FL Studio …
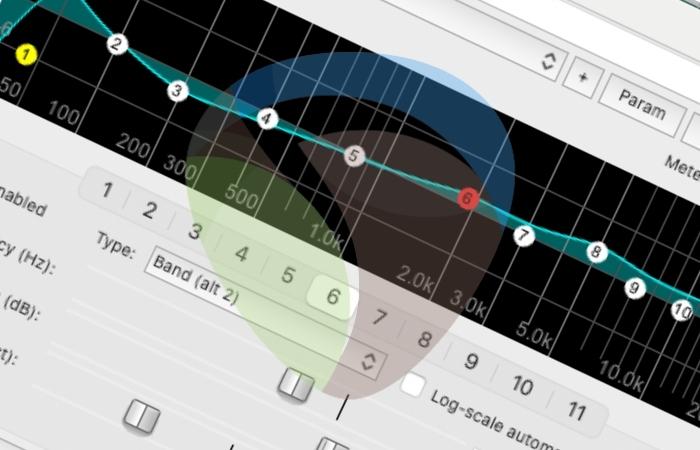

REAPER comes with a stock equalizer plugin called ‘ReaEQ.’ You can use ReaEQ to program your own frequency curve, but you can also choose from its various EQ presets. ReaEQ has presets for drums, bass, guitar, and vocals and more general frequency curves like different filters. Using REAPER’s EQ Presets Unfortunately, you will fall behind …
REAPER can only detect a tempo if you insert an audio file with a tempo embedded. Otherwise, in order to find the tempo of a track, open up your ‘Project Settings’ and change your ‘Timebase for items/envelopes/markers’ to ‘Time’ and then use the tap tempo feature. Finding A Tempo In REAPER If you cannot find …