If you can’t see a waveform in Ableton, enable ‘Create Analysis File’ in preferences. Right-click your audio clip and activate it. Drag an audio clip from the session view and move it onto the relevant track in the arrangement view. Restore a missing audio file.
How To Fix A Missing Waveform In Ableton
I’ve been there. You’re in full flow, writing exciting electronic music when a technical issue arises. You can’t see the Waveform you want to edit, so the frustration builds, as opposed to your next drop!
Luckily, a friend showed me how to drag the audio clip over to the arrangement view, and boom, we were back in action.
The following quick tips will allow you to get back to being creative rather than stressing out.
Ableton Waveforms
Ableton displays a waveform for audio clips, samples, and recordings. But, sometimes, the waveforms aren’t shown as intended.
Recording or importing samples can both lead to missing waveforms.
Now I’ll show you how to fix this.
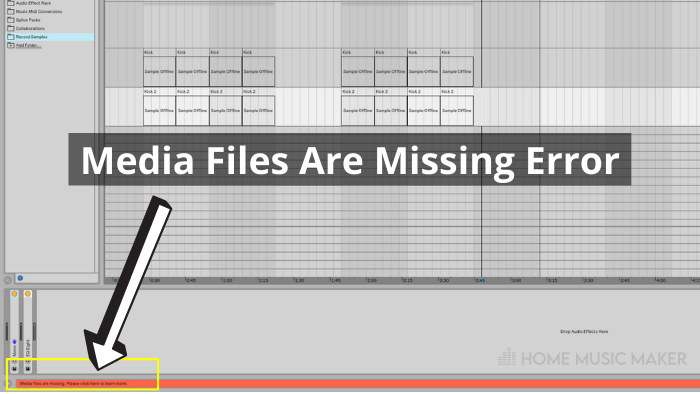
Step One: Identify Which Solution Applies To You
An orange error message towards the bottom of the screen. This means Ableton has lost the location of your audio sample.

If you are working in the session view, drag any relevant audio clips to the arrangement view.
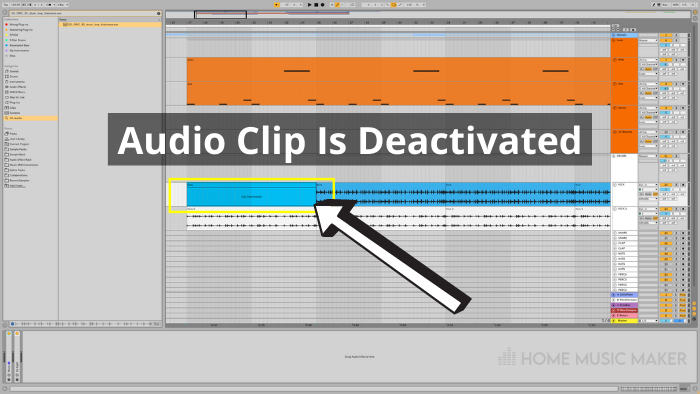
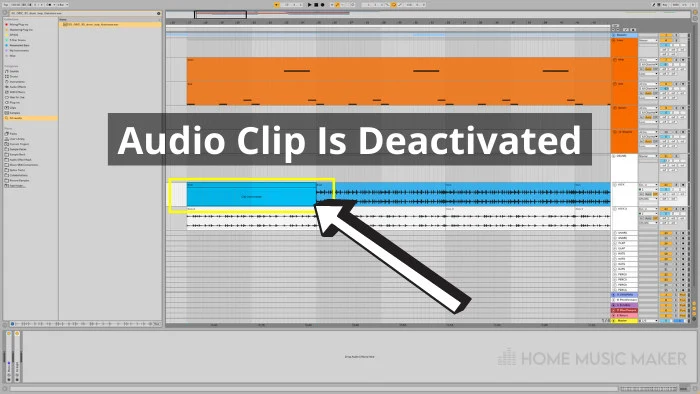
If neither applies, you may need to activate the audio clip.
Check this guide out if you are unsure what the difference is between Ableton Session and Arrangement view.
Step Two: Apply The Relevant Fix
Missing Audio Samples:
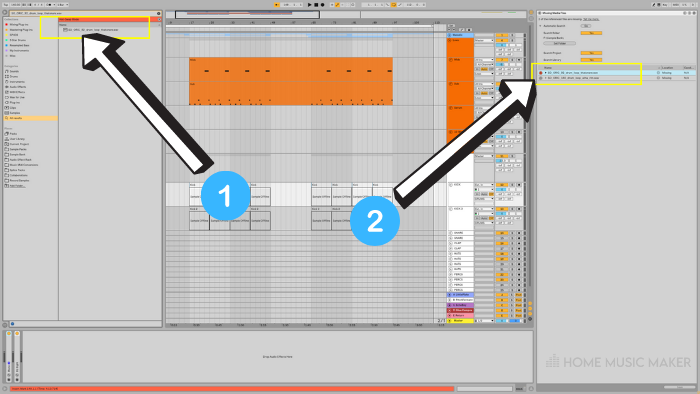
If you see the orange error message, click on the highlighted area and the missing file name.
Now select the exact missing file name in the user library on the left side of the screen to fix the issue.
Now that the path has been restored, you will be able to see the Waveform.

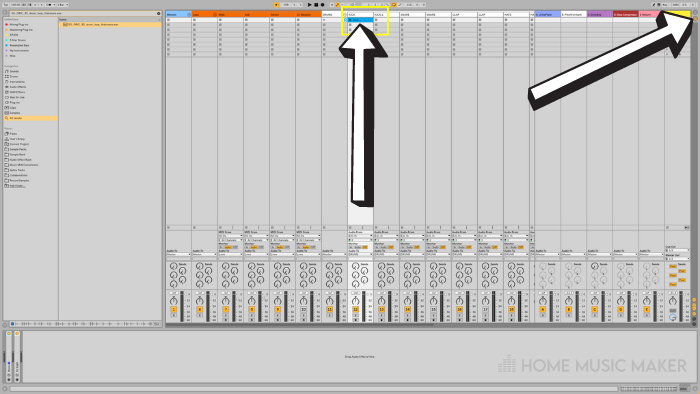
Can’t See Waveform In Session View?
Session view displays audio and MIDI clips. This view doesn’t display sound waves.
Click and drag your desired audio clip to the session view, and place it on the same track.
You will now be able to view the Waveform.

Ableton File Analysis
Ableton has an analysis method that ensures quicker loading times. This analysis method saves information about your samples, such as waveforms.
If turned on, Ableton will create an “asd” file in the root folder of any imported audio samples.
To turn this feature on, click the ‘Options‘ menu, locate and select ‘Preferences.’
Finally, head over to the ‘File/folder‘ section of the menu and enable ‘Create Analysis Files.’
Where Can I Find Sound Waves in Ableton?
You’ll create an’ audio clip’ if you import an audio file into Ableton. Every audio clip will display a waveform representing the characteristics of the sound.
You can’t view a waveform for a sound generated by MIDI data unless converted into an audio file first.
Here are a few ways to display a sound wave in Ableton;
Double-click an audio clip.
Expand an audio track using the drop-down arrow next to the track name.
Import an audio sample into stock plugins such as Simpler, Sampler, or Drum Rack.
How do you expand a waveform in Ableton?
You can expand a waveform in Ableton by double-clicking on an audio clip. This will open the clip view, displaying the Waveform in much greater detail.
You can also expand a waveform by zooming in.
Do this by holding Ctrl (Command key for Mac users) and adjusting the zoom level with the scroll wheel on your mouse.
Key Ableton Hotkeys
*Replace Ctrl with the Command key for Mac users*
- Open Ableton’s preferences menu: Ctrl + plus
- Switch between session and arrangement view: Tab
- Consolidate audio or midi clips: Ctrl + J
- Activate/Deactivate clips: 0
- Clip view/Device view: Shift + Tab
- Undo last action: Ctrl + Z
Check this article out on changing Ableton shortcuts.
Related Questions
How Do You Get to The Arrangement View in Ableton?
Ableton has two viewing modes, arrangement and session view. Each has its benefits, and both can be useful depending on what you want to do at the time.
Session view is commonly used for live performances. It can also help throw together quick musical ideas and formulate a general song structure or vibe before switching to the arrangement view for a more in-depth approach.
To switch between the two views, I’d recommend utilizing the hotkey: ‘Tab.’
Is Wave the Same as Wav?
Not to be confused with a wave, soundwave, or waveform, a ‘wav‘ file is an uncompressed lossless audio file format.
Wav files are used throughout professional audio, yet the file size can be much larger than other industry-standard audio file formats, such as MP3s.
You can export your track as a wav file by choosing ‘wav’ from the list of file types when exporting.
What Are Clips in Ableton Live?
Ableton’s clips are used as the building blocks for music production. Clips come in two forms, audio and MIDI.
Importing audio or MIDI data into Ableton will automatically create a clip; audio clips will display a waveform, whereas MIDI clips will display MIDI data.
You can use clips in session view to plan your ideas, arrange a general song structure, or even plan a live performance by queuing up entire tracks.
You can look closely at clips via Ableton’s clip view mode (hotkey: Shift + Tab).
Clips can be merged, duplicated, split, and even color-coded to help clean up the aesthetics of your project.
Color coding clips can be helpful when identifying the different sections of your track, separating elements such as drums and melodies into a uniform color group, and creating variations to musical ideas.
Want to learn another great tip? Check this article on reactivating clips in Ableton.