

Yes, although REAPER may not be as polished as other DAWs such as Logic, Pro Tools, FL Studio, etc., it is still good for MIDI. REAPER allows you to easily use your MIDI keyboard or any other MIDI device and edit MIDI data in the MIDI editor. MIDI In REAPER In the world of modern …
Reaper

The short answer is no. REAPER on its own is not a very good digital audio workstation for EDM production, especially compared to others such as Presonus Studio One, FL Studio, Logic Pro, etc. However, you can produce electronic music in REAPER with plugins, drum samples, and virtual instruments. EDM Production In REAPER With the …

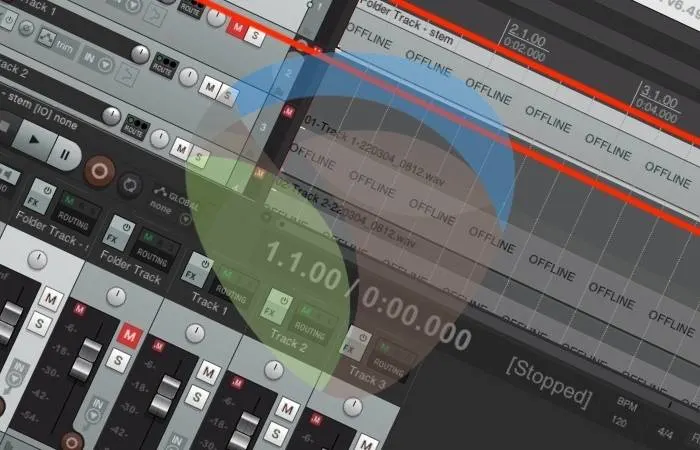
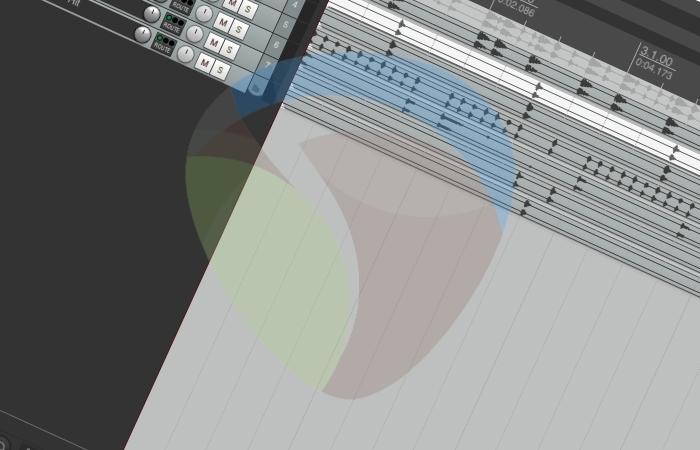
To merge tracks in REAPER, start by inserting a new track as a folder track and place the tracks you want to merge under this folder track. Next, right-click the folder track, select ‘Render/freeze tracks,’ and choose either the mono or stereo option. Merging Tracks In REAPER Merging multiple tracks can be very helpful for …
REAPER comes with a complete collection of stock plugins that you can use for various audio production purposes. This collection includes your standard mixing and mastering plugins such as compression, EQ, pitch correction, reverb, etc., as well as quite a few more unique effects plugins. Why Do You Need REAPER Plugins? Having quality plugins to …

To disable monitoring in REAPER, open the ‘Options’ drop-down menu and select ‘Preferences’>’ Track/Send Defaults.’ Next, open the ‘Record config’ pop-up menu and de-select ‘Monitor Input.’ You can also disable monitoring on a track-by-track basis by toggling through each track’s ‘Record Monitoring’ button. Disabling Monitoring In REAPER Having input monitoring enabled while trying to record …
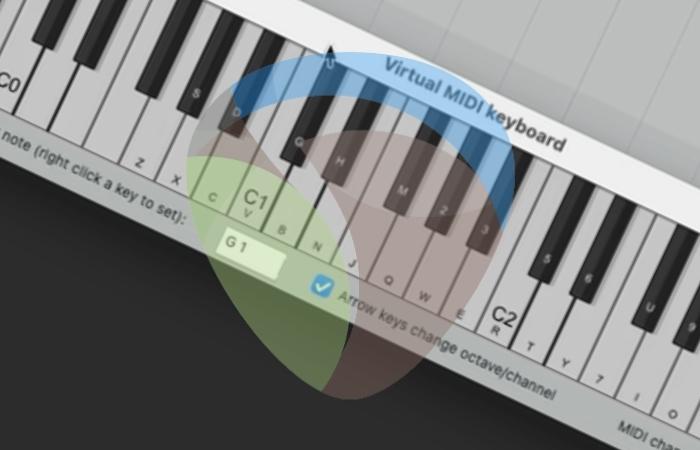
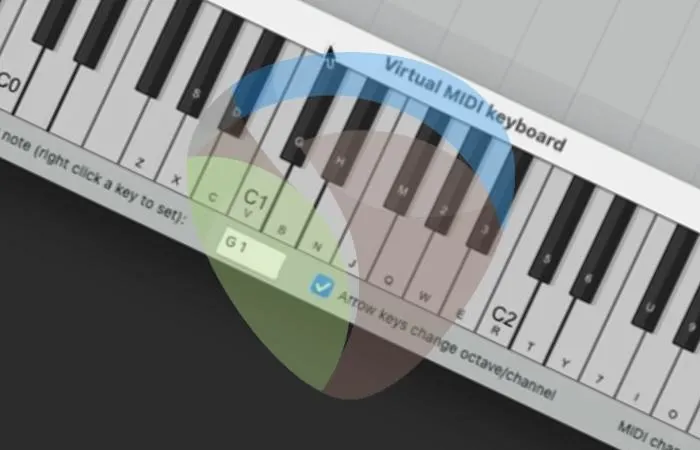
To use a MIDI keyboard controller in REAPER, connect the device to your computer and install the necessary drivers. Next, select Options>Preferences>MIDI Devices and enable the input and output for the device. Finally, you can insert a new track into your project and select the correct MIDI input. Using A MIDI Keyboard In REAPER A …
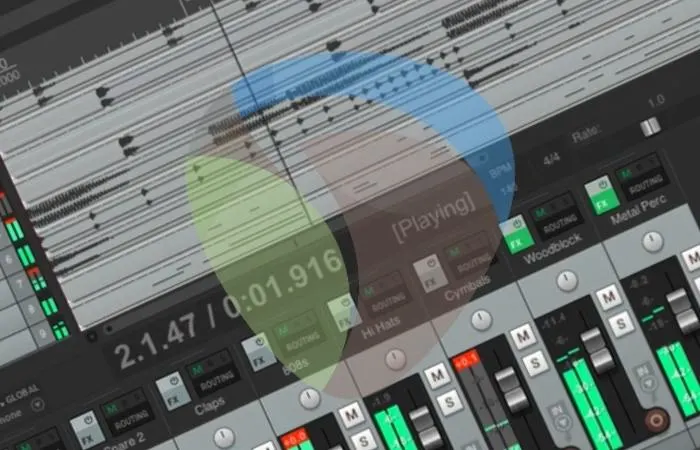
To use drum samples in REAPER, start by dropping in audio files of whatever samples you want to work with. Once you have done this, you can copy-paste, chop, loop, reverse, rearrange, and mix your drum samples however you see fit. Using Drum Samples In REAPER Using drum samples to create interesting, cohesive, driving rhythms …
To cut in REAPER, start by right-clicking the item you want to cut. Once you have done this, scroll down and click ‘Cut items.’ You can also cut individual sections of media items by clicking ‘Cut selected area of items’ once your desired section is selected. Cutting In REAPER Cutting is one of the most …
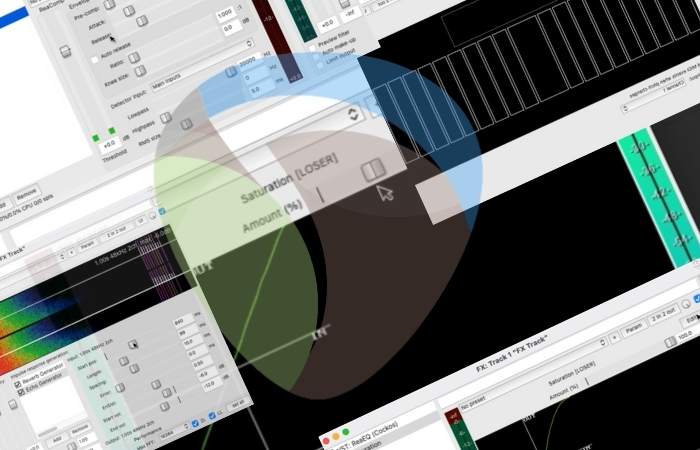

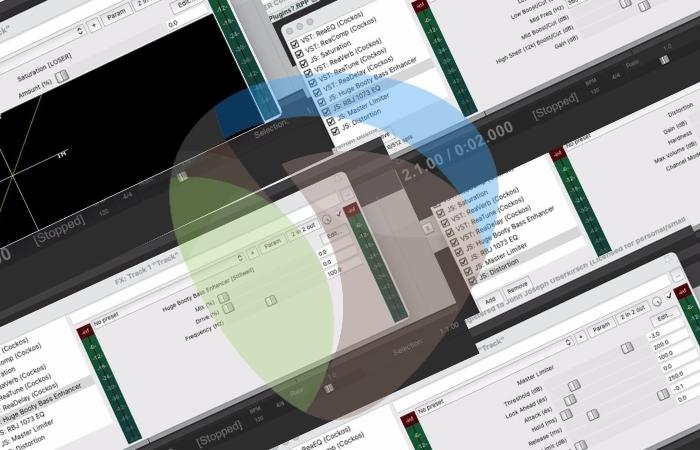
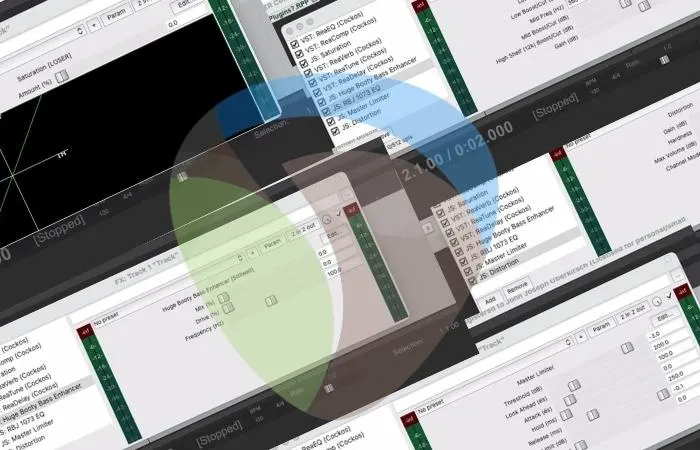
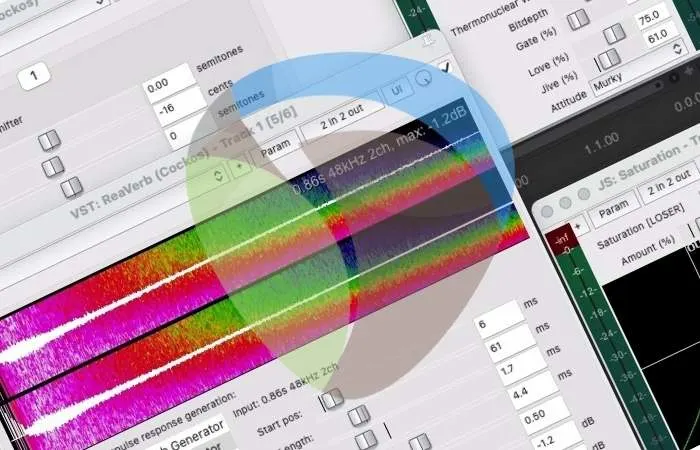
REAPER comes equipped with a complete set of mixing and mastering plugins such as EQ, compression, reverb, delay, etc. On top of these standard processing plugins, some of the best plugins for REAPER are ‘JS: Huge Booty Bass Enhancer,’ ‘JS: RBJ 1073 EQ’, and ‘JS: Saturation.’ Plugins For Cockos REAPER Quality plugins for mixing and …

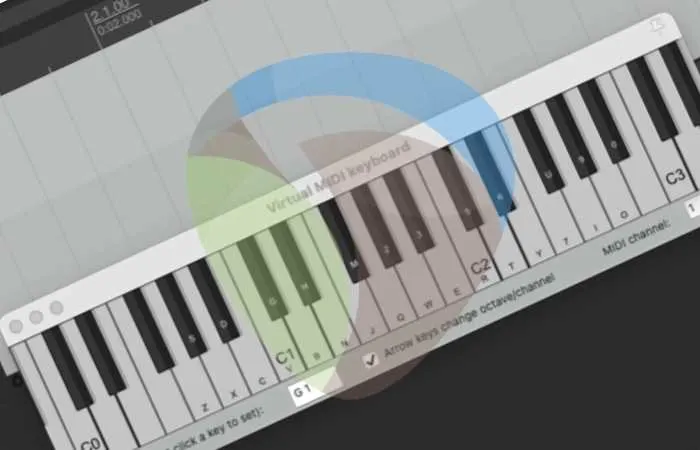
To record MIDI in REAPER, start by setting the correct MIDI input on the track you want to use and your MIDI preferences. Now, you can record MIDI using a MIDI keyboard, the virtual MIDI keyboard within REAPER, or the MIDI editor window to input MIDI data manually. Recording MIDI In REAPER Sampled/VST instruments are …


To mix vocals in REAPER, start by using ‘ReaTune,’ ‘ReaEQ,’ ‘De-esser,’ and ‘ReaGate’ to clean up your vocal track. After you have done this, you can use ‘Saturation,’ ‘ReaComp,’ and volume automation to control your vocal track. Finally, insert ‘ReaVerb’ and ‘ReaDelay’ to enhance your vocal track and add effects. Mixing Vocals In REAPER Mixing …

The only virtual instrument that comes with REAPER is a very basic synthesizer engine called ‘ReaSynth.’ Although REAPER hardly comes with any virtual instruments, companies like Spitfire Audio and Native Instruments both offer bundles of virtual instruments that you can download and use for free. Virtual Instruments and REAPER A virtual instrument is a VST …

To change your REAPER theme, all you will usually have to do is download a new theme and then drag and drop it into REAPER. An excellent place for you to find some of the best REAPER themes is under the ‘RESOURCES’ section on the REAPER website. REAPER Themes Changing your theme in Cockos REAPER …

To quantize in REAPER, you can manually split and edit audio using the ‘Dynamic split’ function to separate audio based on transients. You can also stretch audio by holding the ‘alt’ key and dragging where a split occurs. You can quantize MIDI items using the MIDI editor. Quantizing In REAPER When it comes to producing …


To master a track in REAPER, start by inserting a stereo WAV file of your final mixdown into a new REAPER project file. Once you have done this, you can begin mastering by inserting different plugins onto the ‘MASTER’ track to shape the sound of your song. Mastering In REAPER Mastering is the essential final …
To loop individual tracks in REAPER is simple. All you will have to do is drop an audio file, drag it to your desired size, double click its edge to set the loop length, and then the item will loop as you drag it forward in the project. Looping In REAPER Looping is a handy …


The first thing for you to fix latency in REAPER is that you have the correct audio driver installed for your system. If you are still having latency issues, the next thing for you to do is manually offset the latency in REAPER’s preferences under ‘Recording.’ Latency In REAPER There is nothing more frustrating than …
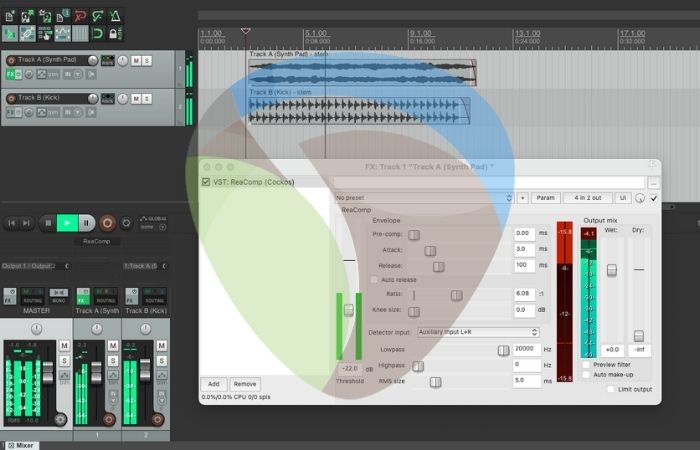
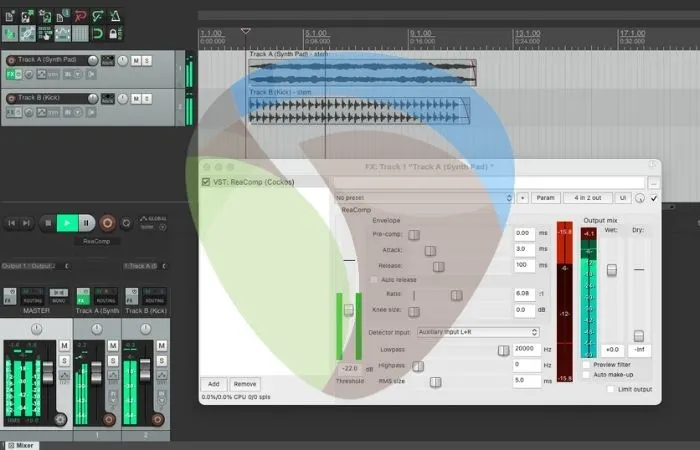
The easiest way for you to sidechain in REAPER is to insert a VST plugin on the track you wish to control (Track A). You then create a send to that VST from the track you want to control it with (Track B). What Is Sidechaining In REAPER? Sidechaining is when you set one audio …
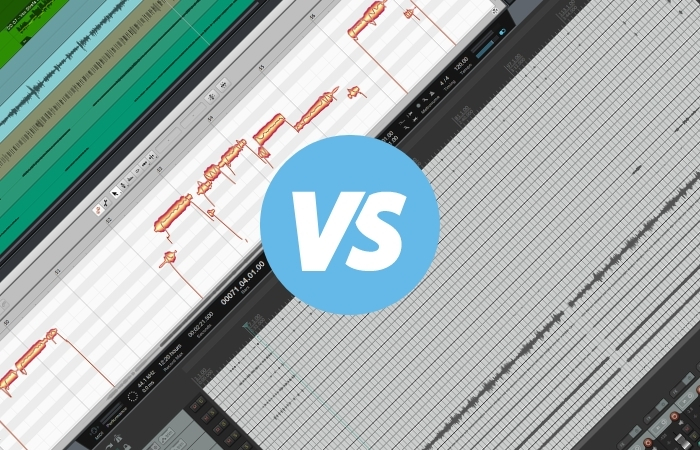
Choosing your main DAW isn’t easy. Each one has a specific workflow that impacts your creativity and, ultimately, the quality of music you produce. You’ve been pondering for ages, and the final fight is down to Studio One VS Reaper. I’ll help you make up your mind in choosing the one that’s right for you. Studio …