If you’re looking for a way to blend instruments, bring out a , or make a pop through the mix, is a potent tool that every producer should be familiar with.
By allowing you to compress whilst simultaneously adding an EQ filter, you can create a responsive sonic environment where certain sounds precede. Some sounds subtly shine through whilst others fade seamlessly into the background.
If you’re like me, you’ve probably spent hours staring at Dial-up the bass a tad, but now it’s drowning out the kick. Boost the compression gain on the kick drum track, and now the master is clipping. Turn down the bass on the acoustic guitar, and it’s a whole domino effect of fidgeting with levels.

Guides the Ear Towards Focal Points
Any producer will tell you that one of the most difficult parts of is understanding what actually does and how it can maximize the song’s feel.
Compressors manipulate a by taming peaks and boosting low volumes, creating a smaller range in volume.
Think about an opera singer in an auditorium. When she whispers, you can’t make out what she’s saying. When she belts at her loudest, your ears go deaf for a second, and your wine glass explodes. Now imagine putting a on her. (Stay with me, folks.) Now you can make out what she’s saying when she whispers, and you don’t get tinnitus when she belts out, plus the wineglass is intact!


Now imagine a guy with a comes on stage and starts playing with her. Whenever he hits the while she’s singing, her voice drowns it out.
This is when it’s time for a one to the opera singer and referencing it to the so that whenever he hits the her voice reduces in volume temporarily. Now you can feel the .
Thanks for sticking with me through that bizarre analogy (and please don’t invite me to that show.) I hope you now have a good grasp of the concept behind and side . Now I’ll show you how actually to do it.
What Do You Need?
. 9 or 10 are recommended, but if you’re working on 8, it’s a little different, though you should be able to use this . You’ll also need multiple tracks to work with. I have a song with a , guitar, , piano, organ , harmonica, and vocals for this tutorial. That’s a lot of instruments, but that shows how much time can save.
I’ve got a real snappy-sounding snare that I want to pop, but with so many instruments going on, it’s hard to get the levels just right. I’ll use a to maximize the snappy snare sound.
How to Use
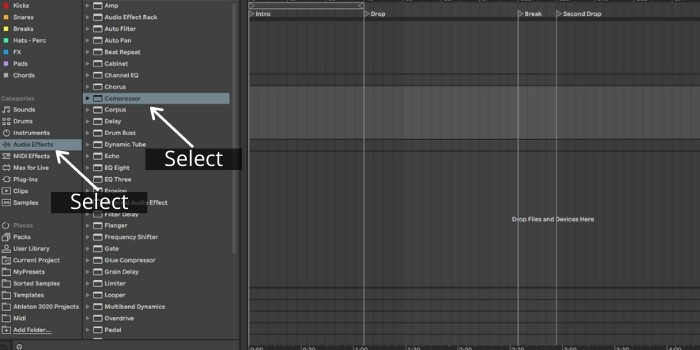
Step 1: Add to
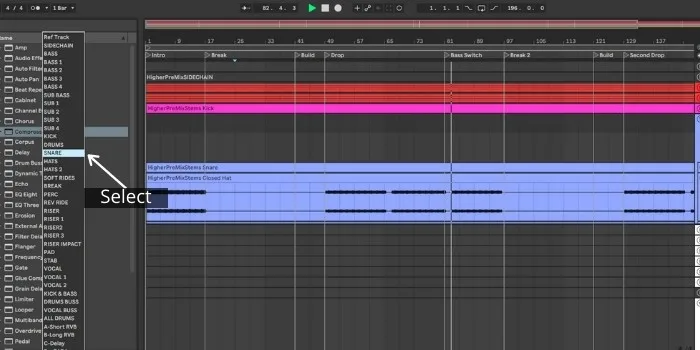
First, select from Effects and drag it into an . I’m putting it on an instrument group that includes the , guitar, piano, mandolin, and organ.

Step 2: Enable
Click on the triangle on the top left of the window, between the yellow circle and where it says “.” This shows you more .
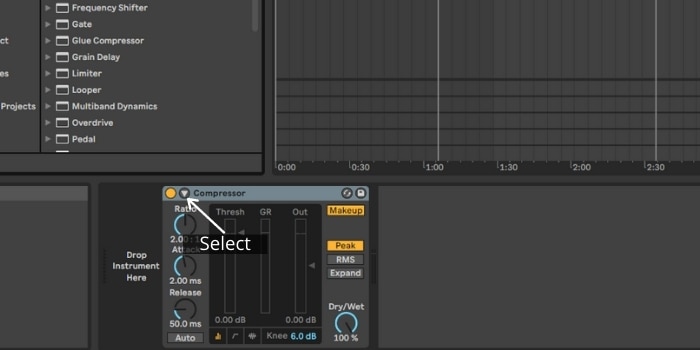

Click on “” to enable it.
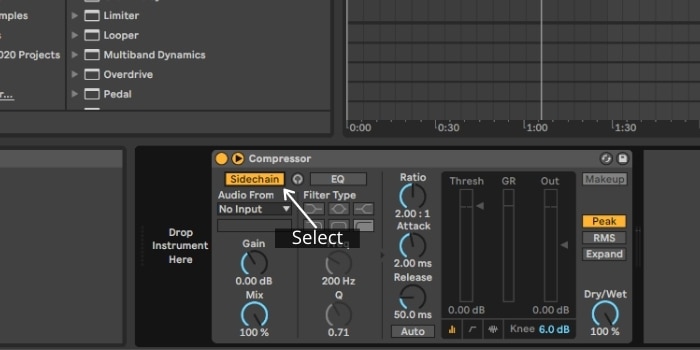
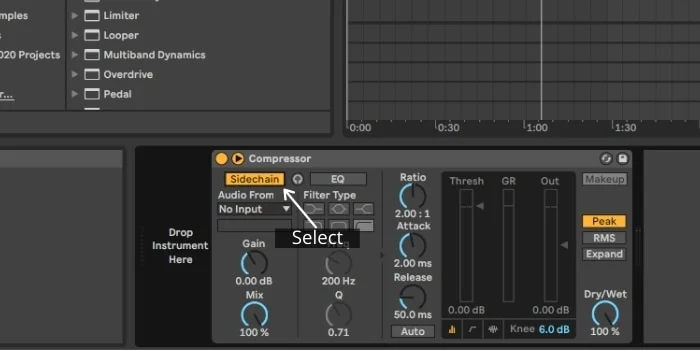
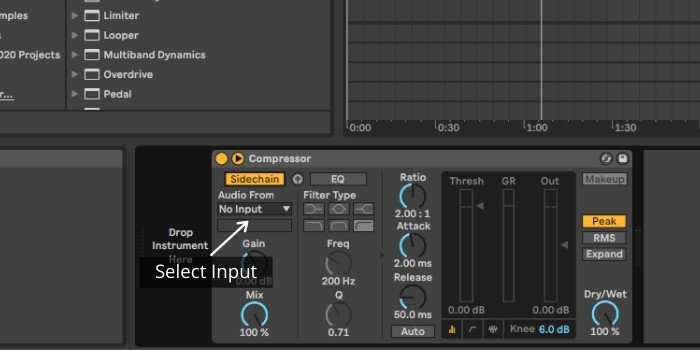
Step 3: Set and Parameters
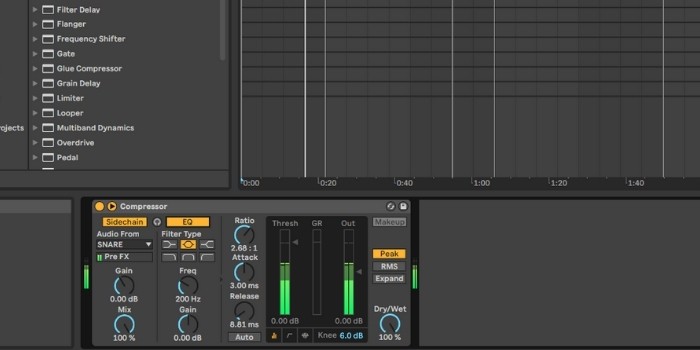
Under “ From,” select a to use for the . I’m selecting the snare as the so that the input signals will compound with signals from all the instruments.

Now that I’ve activated the , I set the Threshold around the middle so that it catches the snare hits and noticeably diminishes in volume. I set the attack at a pretty quick 0.3 ms, so it triggers shortly after the snare input signals reach the Threshold. The 8.81 ms release makes for a small window of time that the instrument signals are being reduced.
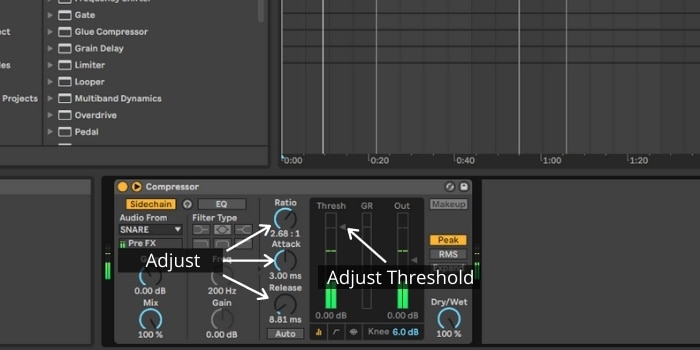
The snare now sounds louder and clearer without clipping or crowding the mix. It’s almost perfectly snappy, but it’s a little too boomy-I’d rather let the crispness of the snare bleed through.
EQ filter is a filter that allows you to equalize the .
Step 4: Enable and set up EQ

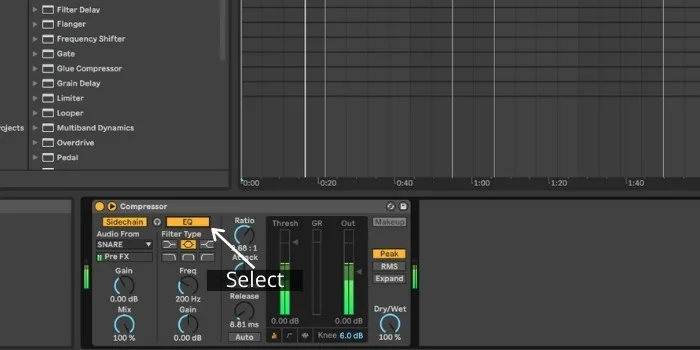
To accentuate the snare crack, I want to direct focus towards the trebly space on the tail end of each hit. I bump the attack up to 0.5 ms, turn on the EQ, and select 1.34 kHz to boost.
That way, the high timbre of the snare triggers the of all instruments. I listen to it now, and the snare perfectly shines through in all its crisp, snappy glory.
Step 5: Have fun and experiment
I know whenever I discover a new , it takes me a while of messing around with it and listening to it in the wild to understand how it works.
I recommend lowering the Threshold and upping the Ratio at first so that the compresses down quite a bit. It will make the cut out or wobble depending on the Attack and Release times.
Then you can see how different EQ filters alter the triggering and how parameters shape the .
I recommend taking the time to get acquainted with ‘s native . does a great job of providing visual representations to show what exactly plugins do to manipulate signals. Once you’re familiar with how works and have a few favorite setups, I recommend using the on Live’s .

Third-Party Compressors
If you don’t want to go through the motions dialing in , there are plenty of third-party plugins out there as well. Some of the best out there today include:
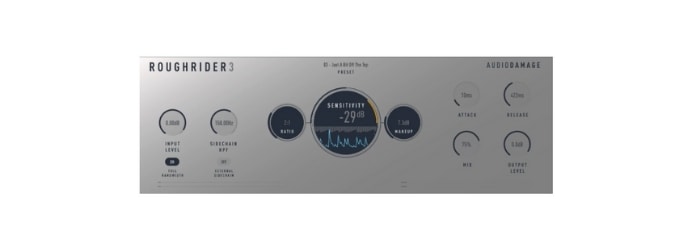
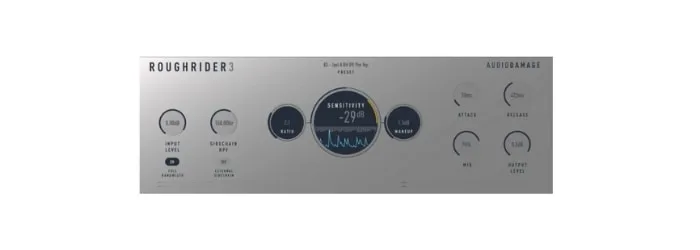
Damage RoughRider 3 (FREE)
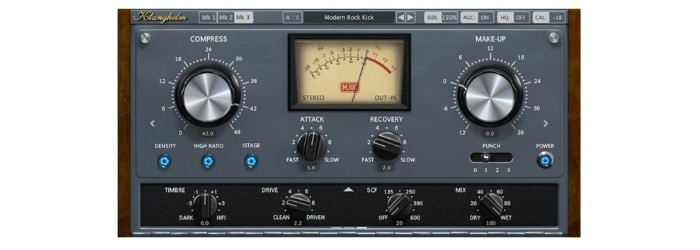
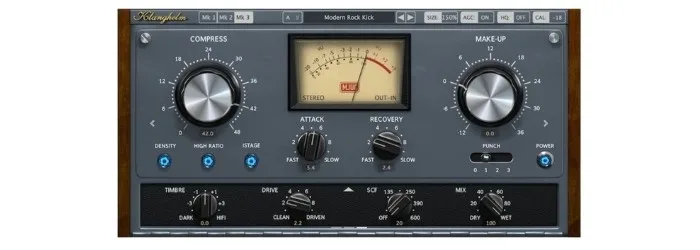
Klanghelm MJUC
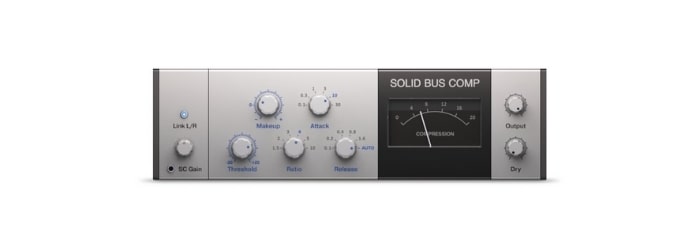
Native Instruments Solid Bus Comp
FAQ
What does S C do?
It compresses the volume of a in response to the of another . If a is side-chained to a , the vocal will be triggered each time the vocal and signals are added together and hit the threshold.
When should I use S C?
Use it anytime you want something to “shine through” something else. If you’re making a sweaty EDM song and want the to dominate everything else, then put everything else through a you want vocals to cut through a guitar without bumping up the volume, the vocals to the guitar channel.
Is S C necessary?
It’s not necessary, but for most mixes, sidechaining can be applied in some way that will, at the very least, save you some time and enhance the listening experience. That being said, most pros use in one form or another, even if it’s to make a pop a tiny bit.
Should I S vocals?
Yes. Conventionally, you’ll want to make sure vocals stand out and float above instruments. By sidechaining from vocal tracks to instruments, you can soften the instruments with the singing. This is quicker than automating down instrument volumes and makes a natural-sounding focal point out of the vocals. You can also vocals to a to make the hits shine through the vocals.
Should you EQ or Compress first?
Every decision you make while mixing is a creative one… it really depends on the situation and how you want to change the . Suppose you EQ before the might ruin that perfect color you have. Then you adjust the EQ, but you have to change the again in a tedious back-and-forth.
I prefer both: I usually cut the sub-bass and any other tones I don’t like and then emphasize frequencies I like after . This is called and is a great way to make a guitar sparkle through a voice.
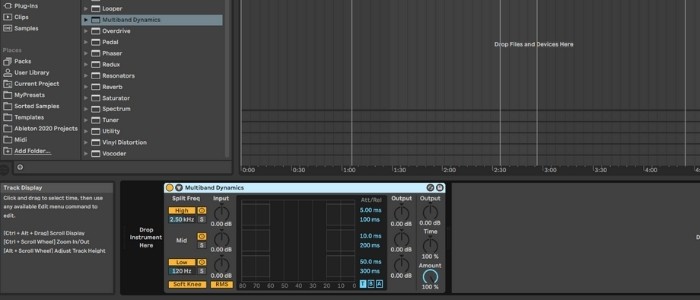
Another powerful way to address and EQ simultaneously is using ‘s Multiband Dynamics to compress 3 EQ bands at a time. You can also S compressed signals using the same process as the regular .
When should I use a Sidechain?
Anytime you’re trying to establish a hierarchy of tracks, want to make something pop or shine through, or when you need something to respond in volume to something else. For electronic dance music, compressing synths and routing to a is almost always advisable to make that drive the song.
Excessive use of this creates the classic “pumping effect” popular in European House music.
If you set the tracks to become completely quiet when the hits, you get the “.”
Fun Ideas for
I may be a super-nerd, but if you’re not excited about the , you should be. I prefer ‘s native because it’s one of the most powerful and easy-to-understand out there.
Here are some things I like to do when S Compressing.


Ringing Singing
I’m a big fan of vintage 60s-70s vocals, particularly the spring . While has some decent presets that emulate spring technology, I like to make the respond to the singer’s volume to mimic the ‘ringing’ you hear in older recordings.
To do this, make an effect send with emphasized around 4-6kh, a quick high-timbre delay with moderate feedback, and then use the in a S for the vocals.
You can then set the threshold so that when the singer hits louder notes, the vocals are compressed, accentuating the and springy delay.
If you make the time short, you can make it like an analog clipping event (for any Lofi friends reading.)
You can even take it a step further by putting a on the before , forcing it to clip, and creating a manual type of distortion.


Finishing Touches
Before sending your off to be mastered, it’s a good idea to do some slight final Sidechaining so you can create a clear mix with popping focal points and backgrounds that stand back.
This is a great time to make groups like ‘everything but vocals’ or ‘everything but the .’
I like to make anti-groups for melodic instruments like guitars that solo. Usually, I automate Sidechains so that they’re only in effect during solos or flourishes.
For example, with electric guitar tracks, I’ll have the activated during solos and sometimes during nasty licks that don’t interfere with other melodic tracks like singing.


Pulsating, Waving, and Pumping
By Sidechaining from rhythmic tracks and adjusting time parameters, you can create dynamic rhythms in tonal tracks.
Want it to like gentle ocean waves? Try longer attack and release times. Want to make a hot House beat? the and make narrow windows for the to thrust through the mix.
Dark Shadow
Another vocal effect I like is adding a vocoder tuned to an octave below the vocal track. I turn it down in the mix so that I feel it rather than hear it.
Sometimes that can crowd the mix, but adding air to the vocals by sidechaining it to other tracks and EQing low frequencies. Then I turn down the vocoder even more, creating a mysterious dark shadow under the vocals.
This is a great way to inject a subtle spookiness into a voice.
Final Thoughts
As you can see, you can achieve lots of different effects with sidechain compression besides its ‘regular’ use.
In the example above, I’ve used the sidechain to create more space for the snare. Another common method is to use sidechaining on the kick drum and sub-bass, as they both sit in the same frequency range, so it is beneficial to duck the sub and allow the kick to punch through.
The native Ableton Live compressor is an excellent tool, and I encourage you to play around with it and learn how to use it to its full potential.