Have you ever found yourself in a situation where, no matter what you do to an , it just doesn’t good enough? In theory, everything should work, but for some reason, it just sounds thin and has no punch.
One of the reasons may be that you are flat out working with a poor-quality recording, but more often than not, you might be a victim of an unsuspecting issue creeping into your mix.
This article will explain what audio phasing is, how it can affect your mix, and how to fix it.

Since this is a topic usually filled with a lot of scientific jargon and snobbery from nerds, you might have been put off the idea of exploring it, but fear not! By the end of this article, you comprehend this concept better and get some practical advice from real-life situations without too much acoustics theory getting in the way.
So, let’s start from the top!
This is the only segment containing some basic theory and laws of physics, so bear with me; it’ll be brief, I promise!
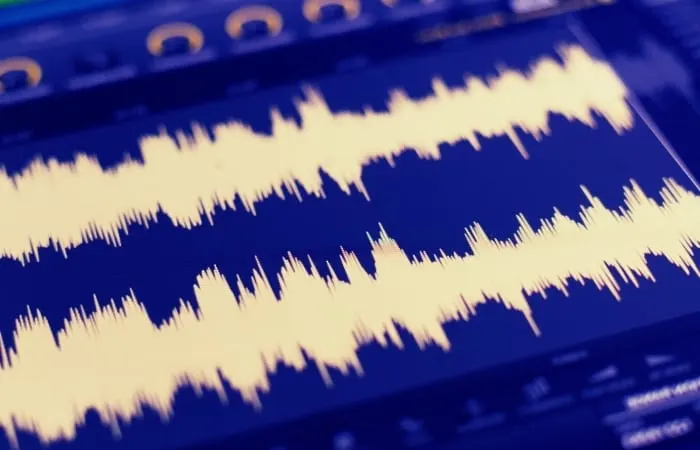
So, why all this fuss about the anyway? It has to do with the way a is produced. Basically, every single thing we hear is a or, in other words – the vibration of air. These waves are visually represented as peaks and troughs that we see in our DAW’s (Digital Audio Workstation) when we import or record any piece of .
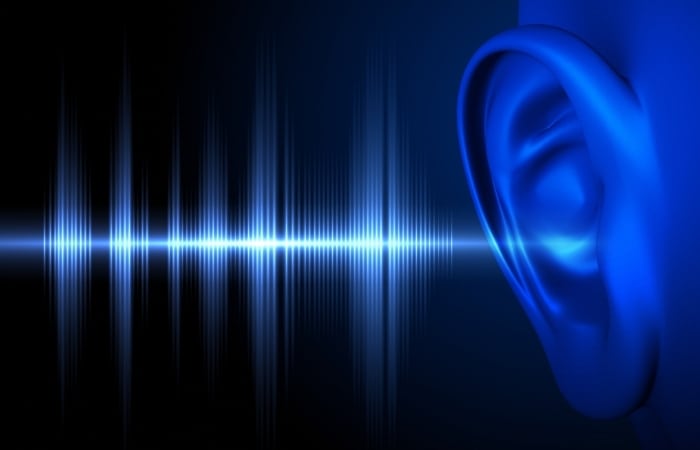

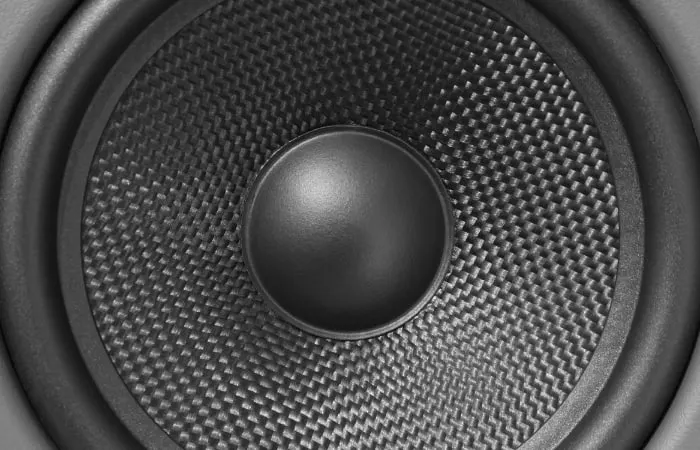
Now, what we are interested in is how these peaks and troughs affect our speakers. Basically, peaks will physically move the speaker’s cone in one direction, and troughs will move it the other way. And if the two signals are not aligned with each other and push the speaker in opposite directions, the speaker gets “confused” to speak.
In other words, the energy of the gets diminished if the two waves are not working together ( when they are out of ) and amplified if they are ( when they are in ).

Do you now realize how relevant this is for us, the mix engineers? That means that if, for example, soundwaves of our kick drum are not “in ” and “working together,” our track is not going to punch as hard and have a well-defined low end. Let’s do a little experiment to see just how severely “out of ” signals can diminish the
Let’s Experiment With a Sine Wave
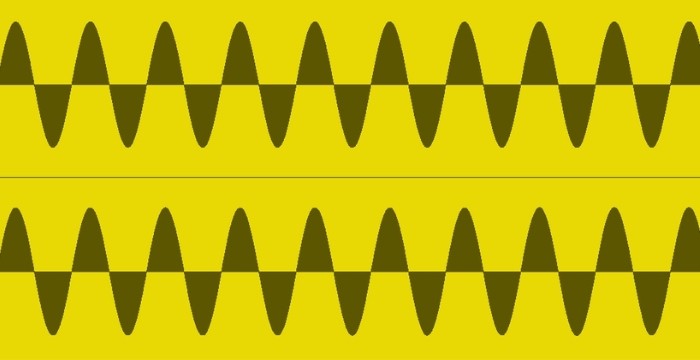
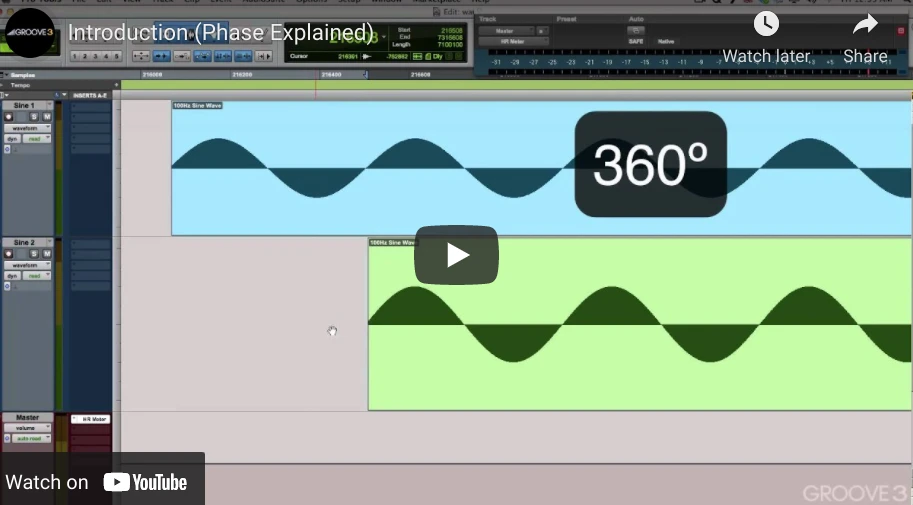
You can easily replicate this experiment in any DAW. The only thing you need is a of 100Hz. To prove how the two waveforms interact with each other, we will make an exact duplicate of our 100 Hz .
Once you do that, you will notice that 6db has increased the audibility. That means that our waveforms are working together (pushing the speakers in the same direction).
So far, so good! Now let’s mess around with the of these two signals and see how it affects the .
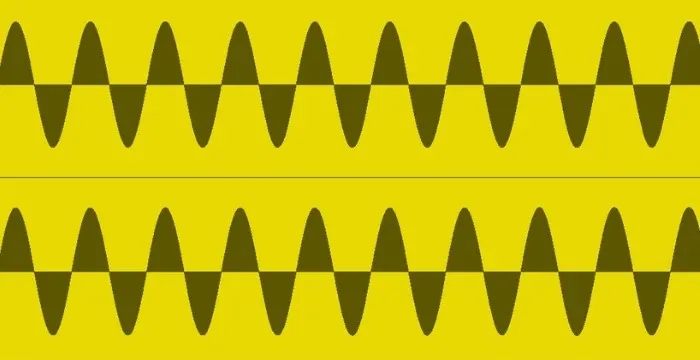
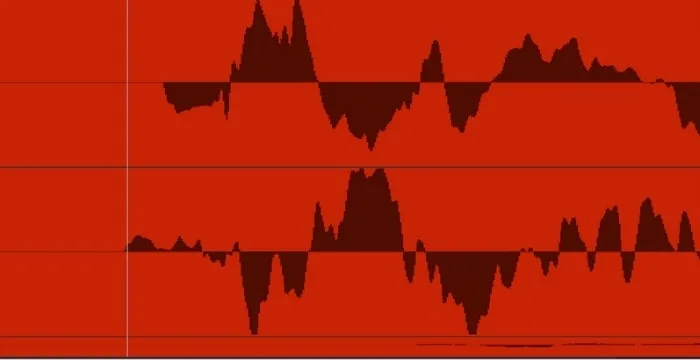
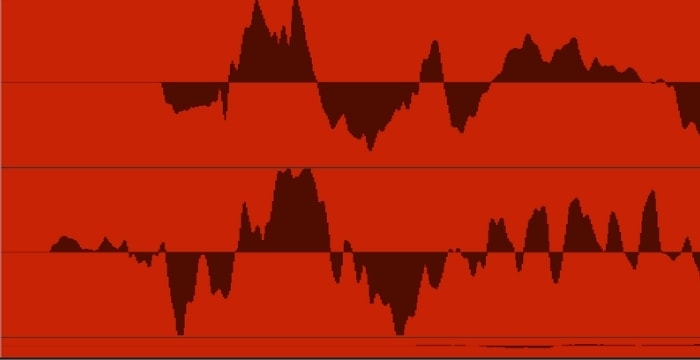
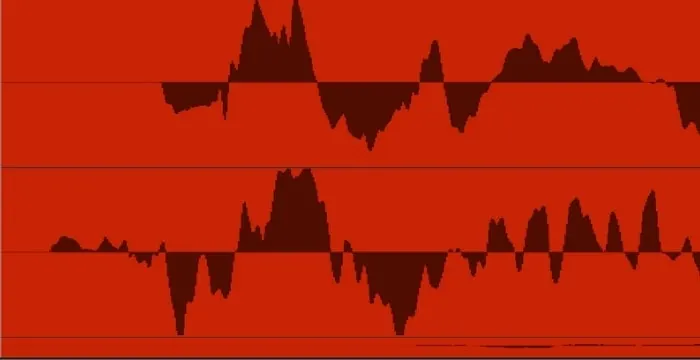
If you zoom in on the tracks, you’ll notice that the peaks and troughs of the two waves are perfectly aligned, meaning that the first signal peaks corresponding to the peaks of the second and vice versa. Now watch what happens when we start to move the second track further away until we have an opposite situation in which the first track’s peaks correspond to the second track’s troughs.
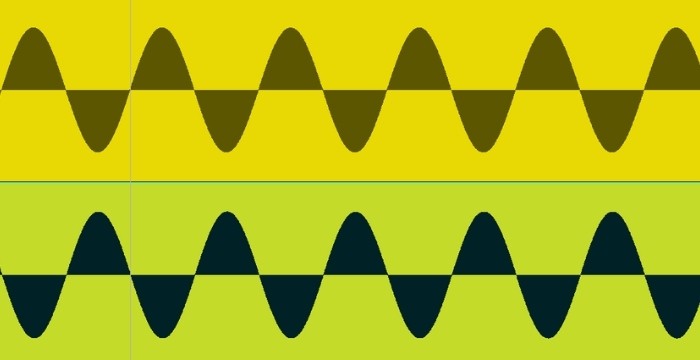
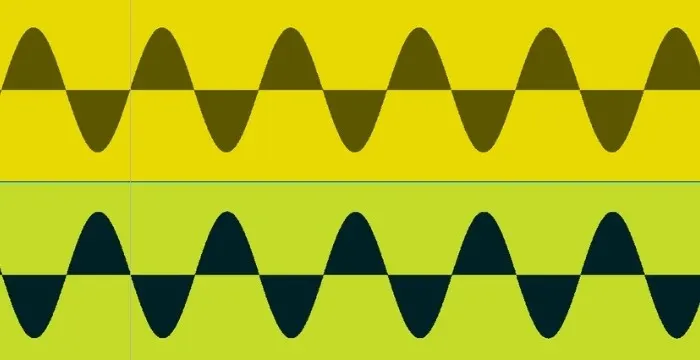
No, there’s nothing wrong with your DAW if you can’t hear anything! What happened is that the tracks have completely canceled each other out! I was blown away when I first found out about this! It gave me an insight into how critical coherence is and how it drastically changes the .
Now, we are rarely going to mix something that is a pure sinewave. ..99% of the time, we are dealing with much more complex material, and out-of-phase signals won’t cancel each other out completely.
But, there will be some , and training yourself to recognize in your mix will undoubtedly bring your mixing game to the next level and improve your overall frequency response. So…
How Do I Know If I Have a ?
First of all, it’s useful to know where to look for problems as not all of the mixed elements are prone to having one. It will help you focus your mind on things that are important while mixing a track.
As you probably might have guessed by now, can occur only when there are multiple recordings or multiple instances of the same .
For example, live-recorded drums with multiple mic setups, bass guitar with DI and “amp” channel, stereo recording of acoustic guitar(or any stereo recording for that matter), drum samples … these are all fertile ground for potential problems.
Whenever I have a project to mix with these elements, my mind immediately goes into “ issue detection” mode! So, what does a like?
problems become apparent in the low end. In that region, waveforms are much bigger and slower than in the high region, so the effect of becomes more audible.
I personally get a certain feeling like there’s something wrong with the track, no matter what I do to it. It doesn’t respond well to EQ and compression, the field seems to have no center, and it usually has a really prominent and unpleasant sounding midrange.
The main problem with out-of-phase tracks is that they seem to worsen if you try and address the problems.
Let’s take the kick drum, again, as an example of a not-so-pleasant mixing situation. You solo the drums, and the kick doesn’t have enough low end and punch.
Ok, you boost a hefty 6 or 7 dB of 60 Hz to address the low end and add a compressor to add more punch. But as you move through your session, you feel like the kick doesn’t have a well-defined low end, so you try to carve the low end a bit more, and now it sounds as if there is not enough low end! Or let’s say you have a of an acoustic guitar.
An acoustic guitar in should full, wide, and have depth to it. But once you solo the track, you find that it seriously lacks low end, the midrange is off and honky, and if you try to remove these problems with an EQ surgically, you find that other problems arise suddenly.
If the low-end sounds unnatural, you have probably carved out all of the essential mid-range, making the high-end seem too loud.
Sometimes you feel like you have spent all of your “producer’s tricks” to no avail! I believe we’ve all been in this frustrating situation where you end up chasing your own tail and making things worse all the while. That is the time when you should change your perspective and perhaps focus your attention on correction.
If you are a beginner and still unsure of what a “phasey” track sounds like, you can check it using a meter plugin. There are numerous options out there, even some free ones that do the job.
A couple I like include MFreeformPhase by MeldaProduction and FaTimeAlign by ForwardAudio.
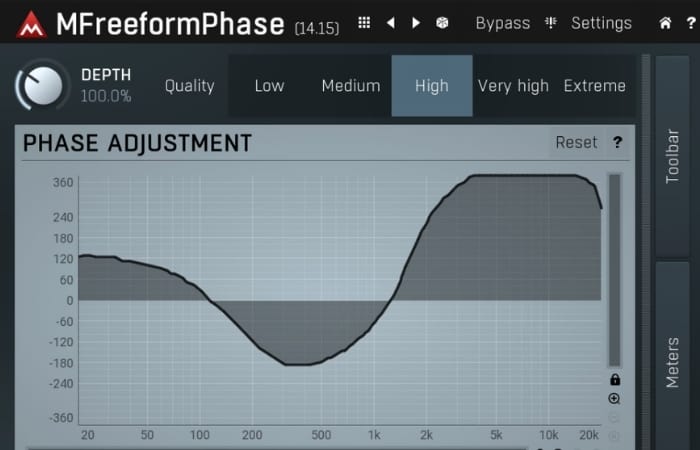
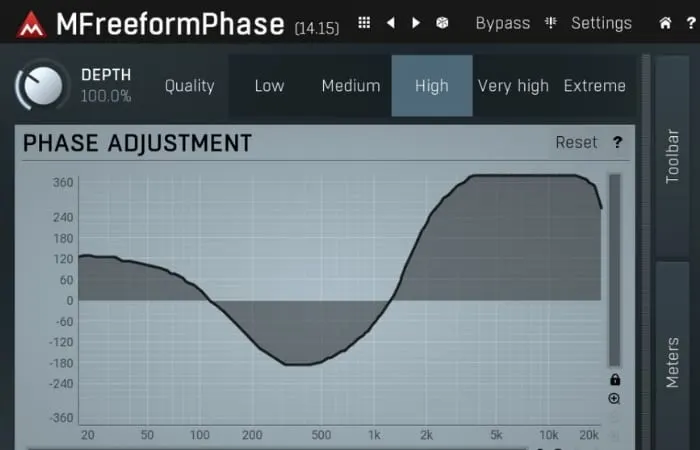
It’s straightforward to use, and it will show if your track is out of by displaying a meter passing a null point. As long as your readings are between 0 and 1, your tracks work together and are not out of .

Now that you know how to recognize and track down problems, you can start fixing these issues, so how do you do it?
How Do I Fix Problems?
Fortunately, there are a couple of ways to go about fixing these problems. Let’s start with the most simple one!
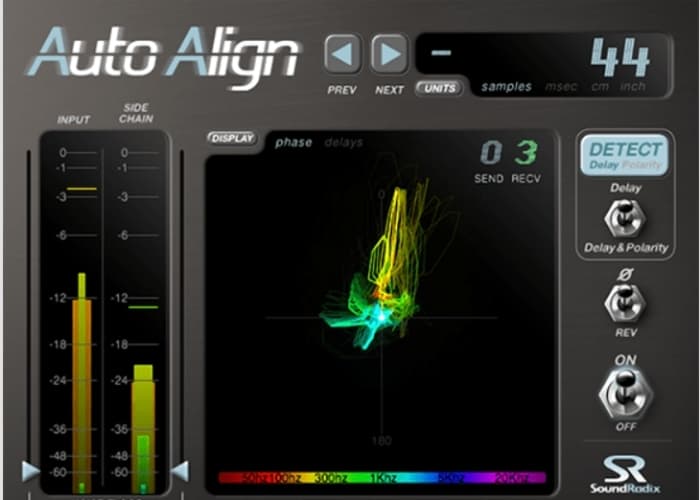
Use a P Correction Plugin
This approach is really straightforward. You basically connect one or more signals to a reference and let the software do its job.
So, let’s say you have identified that your kick drum sample is not quite in with your original kick drum. You will set your original kick as a reference, send that original to a sample track (which also has the same plugin on the channel and let the software calculate how much is optimal.
There are many options out there, even some free stuff. The most widely used ones are probably Auto-Align by SoundRadix and InPhase by Waves. It is the most simple and hassle-free way of getting your tracks in a good correlation. However, this method has its flaws, the main one being that the software doesn’t do such a good job when working with complex material like live drums. That is why you should look into the other methods as well.

Invert The P
This one is just as simple as the software method, except this time, you judge whether tracks are in or not. It’s also known as “” or “” but I wouldn’t bother you with the terminology, so let’s leave that to endless and pointless forum arguments.
Most of the DAW’s have this function built into them. You will see it as a crossed circle somewhere on the channel strip. If there is no such thing in a particular DAW that you use, most EQ plugins have such a feature. I all the time when I mix, even on the tracks that fine, to double-check if I might get a better .
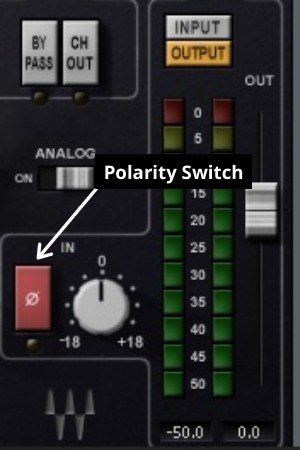
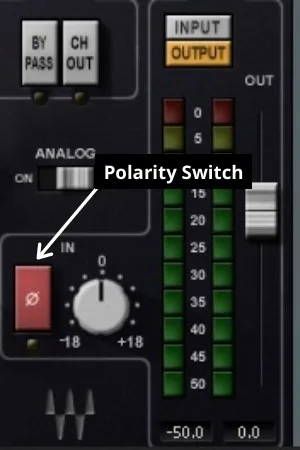
Basically, with this feature, you invert the waveform of one of the tracks and align the peaks and troughs. If once the is inverted on one of the tracks, you get a lot more low end, or a muddy track gets a more solid punch, you are on the right track!
If there are multiple signals (say, you have used 3 drum samples on a snare), try out which combination of inverted tracks works the best. Although these two methods, covered so far, will get the job done in 90% of situations, there are cases when none of them give the desired result.
If that’s the case, it’s time to take matters into your own hands!
Align The P Manually
With this method, you are completely in control of how you want your track to , so this is my preferred way of doing it.
To do this, drag the track you want to align in time (forward or backward) until peaks and troughs correspond to each other, thus achieving a better between the two signals.

Perfectly aligning tracks won’t necessarily mean that you will get the best , although in most cases, you will. This method’s power comes from the ability to finely tune the until you get the desired low-end punch or a track that is balanced the most.
There really is no hard and fast rule when it comes to this. You move the track until you feel like you have the best balance that serves the effect you are after in your mix. If you are not into the idea of zooming in and dragging waveforms, a plugin like Eventide’s Precision Time Align lets you delay a track by samples. It does the same thing more efficiently, but you won’t have a visual representation of the waveforms.
Don’t Create P Problems In The First Place.
There are ways in which a perfectly well-recorded track can become “phasey.” Actually, we introduce shifts all the time through an EQ or any other multi-band plugin (multi-band compressor, multi-band distortion) on the cutoff frequencies.
It’s just the way filters work. If you want to ensure that you get no when using these plugins, you should turn on mode if present. This way, you will have no at the cutoff points, but it will introduce some pre-ringing and softening of the transients.
It would be best if you judged the trade-off depending on what fits your mix better.
FAQ
In which situations can phasing occur?
You are most likely to experience phase issues when working with multiple recordings of the same sound source. You generally shouldn’t have problems if you only work with a single sound source.
Is phasing always undesirable?
No. Sometimes even an out-of-phase sound can actually work depending on the music genre. In less dense mixes, you can even get a sound that works, but it takes a lot of experience to judge such things to work in your favor. It’s best to learn how to avoid such problems if you are still not confident enough as a mixer.
Besides learning how to hear phase issues, are there any other ways to spot those problems?
A great way to check if you have phase issues in your stereo tracks is to collapse the mono mix. If you can still hear everything fairly clearly, you are good to go. If some of the instruments disappear completely, you might have a phase issue with that particular track.
Can stereo wideners cause phase problems?
Absolutely! Stereo wideners are great but should be used in moderation. Otherwise, you may start losing coherency in your stereo tracks, or worse still, make a really bad-sounding mono version of your mix.
How do you manage more than two sound sources in terms of phase coherency?
When dealing with multiple tracks of the same sound source, it’s always a good idea to try out all possible variations and see which one gives you the most solid ‘’body’’. Try inverting the polarity on one or two tracks and see how the phase relationship changes and pick the one that feels the best.
Can you fix a phase problem with an EQ or compression?
You could perhaps try and cover up the sound of frequency cancelation by adding more compression or boosting the low end, but you will most probably create more problems than solve. The tricky thing about phase issues is that they mess up your tracks so that none of the solutions work, except for fixing the actual phase coherency.
How much time should you invest before being able to identify phase problems by ear?
It really is a long process. I can’t tell exactly, but I would say that in the best-case scenario, it would be months. A more realistic expectation is a year, perhaps, with frequent ear training.
Can you still make a good sounding mix even with some minor phase problems?
I would say so. I think it depends on what element of the mix is problematic. For example, if the kick or bass are off in terms of phase, I suspect that it’s unlikely for that mix to sound amazing.
Final Words
Phasing doesn’t necessarily have to be bad by default. After all, certain effects like chorus and flanger use phasing to create some cool sounding effects.
Even “out of ” signals can sometimes kind of cool. Knowing how affects can make an artistic decision about whether to leave the with the bad or fix the problem. It’s good to be in control of these things rather than be a victim of not being aware of its presence.
Take your time with it and have fun exploring all the sonic differences different correlations give you!