KEY TAKEAWAYS:
Plug the guitar directly into an audio interface, then use amp and cab simulators to create your tone. Or record your guitar amp with one or more microphones. You can also use a load box to record a guitar amp directly and silently. Edit the takes using take lanes in Ableton, and mix them using a combination of EQ, compression, reverb, and delay.
Guitar In Ableton
As a fellow guitarist and Ableton user, learning how to record guitar in Ableton Live was initially essential for me to know.
Some techniques transcend to any digital audio workstation, like Pro Tools and Studio One. This is to do with the actual recording setup.
But there are also specific aspects of Ableton to make the process sound better, record smoothly, and make the most of your recordings.
In this article, we will look at the three ways to record guitar in Ableton, how to edit the takes, and how to mix guitar. I will also give some tips on recording guitar.
Recording Guitar In Ableton
We can get a guitar recording into Ableton in a few different ways. It all depends on the sound you want and what is available.
Using Amp Simulators
Recording guitar with amp simulators in Ableton is the technique that requires the least amount of equipment. Besides your guitar and a cable, you need an audio interface with one input with an instrument input feature.
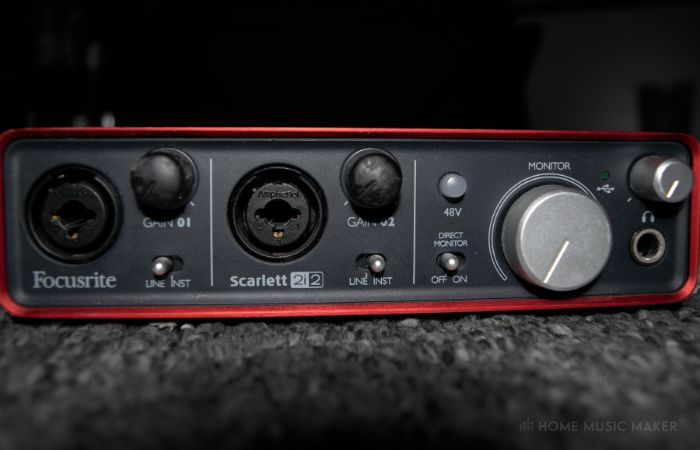

An instrument input is specifically designed to handle the output of an electric instrument. Modern audio interfaces can change the input to an instrument or microphone.
Now that your guitar output is picked up in Ableton, let’s look at amp sims.
Ableton Live Suite has amp head sims, cab sims, and even a pedal sim. Plus, all the other audio effects can be used similarly to a pedalboard.
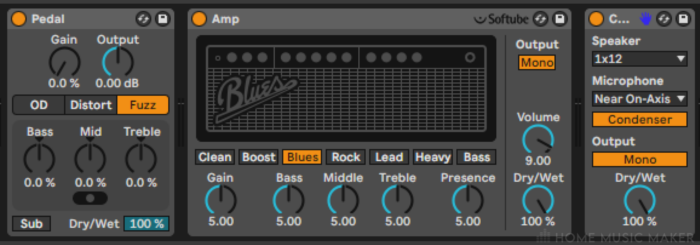
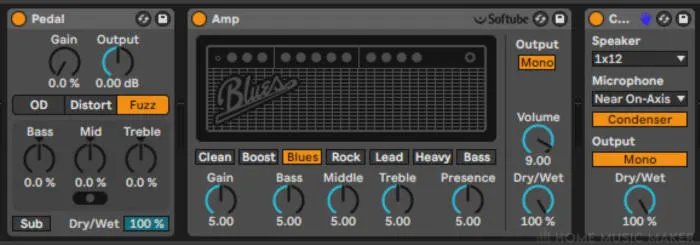
You have a lot of choices with this combination, and you can definitely record great-sounding guitars with them.
However, there are, of course, loads of third-party options for amp sims that are better sounding. My personal favorites are:
- Neural DSP (they have different amp sims based on various artists and real-life amps)
- BIAS AMP 2
- Native Instruments Guitar Rig 6 Pro
Recording An Amp With Microphones
Using microphones to record a guitar amp is the traditional way to record a guitar. However, it’s still a great way to record. The amp’s sound pushing air and vibrating through the speaker is distinct. Plus, if you regularly use your amp, you know it better than you would a software.

This is the most challenging technique out of the three.
There are a few things to consider when recording an amp with a microphone:
- Microphone choice
- Microphone placement
- The volume of the amp
- Committing to a sound
You will produce a great-sounding guitar recording if you fully consider these four parameters when recording guitar. Let’s look at each one in more detail.
Microphone Choice
The microphone that you record your amp with is essential. Every mic has its own sound characteristics, so it will affect the way your amp sounds in the recording.
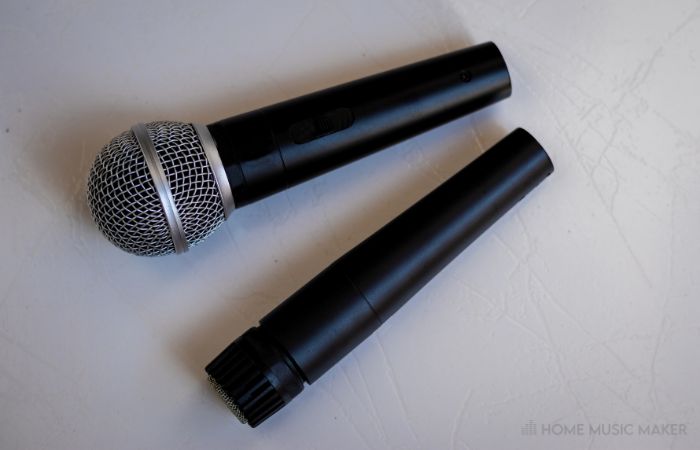
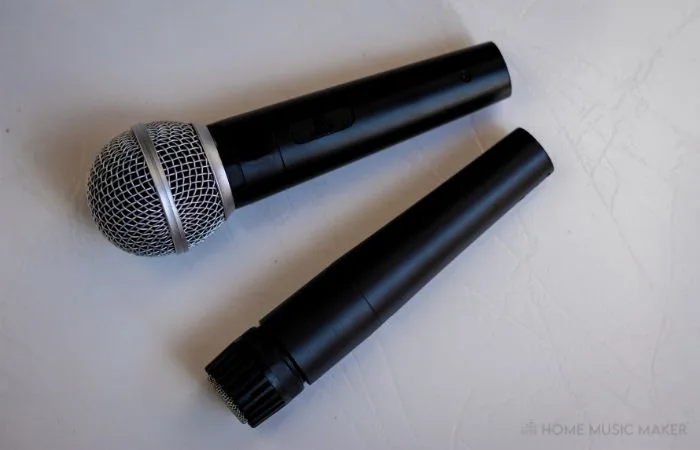
The most common microphone choice for recording amps is a dynamic mic and, more specifically, a Shure SM57.
The microphone is pushed close to the speaker at different angles to achieve a great sound. This is a very accurate way to capture an amp sound.
Of course, you can use any mic you like. Using a condenser could be a great choice. Still, I recommend recording the part in a different room from the amp.
A condenser microphone is much more sensitive and can pick up background noise.
Another option is to use multiple microphones to capture the sound. Blending the microphones, you can accurately represent how it sounded in the room.
My choice for two microphones is to have the Shure SM57 close to the amp and a large diaphragm condenser microphone further back to capture the amp’s sound in the room.
Microphone Placement
The placement of the microphone is just as important, if not more important, as the microphone choice when recording guitar amplifiers.
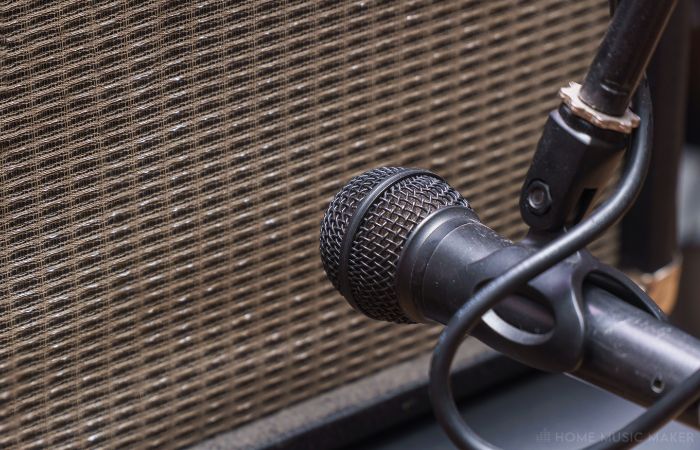

A slight change of 1 cm in position is significant for microphones placed very close to the amp. My go-to microphone placement choice for a dynamic mic is a couple of centimeters off the speaker cone’s center.
For a condenser microphone, I place the mic at the same height as the center of the speaker cone but approximately 3 feet away from the amp.
But, of course, every amp, room, and mic is different. So before you correctly record your parts, experiment with different placements and listen to what works with your setup.
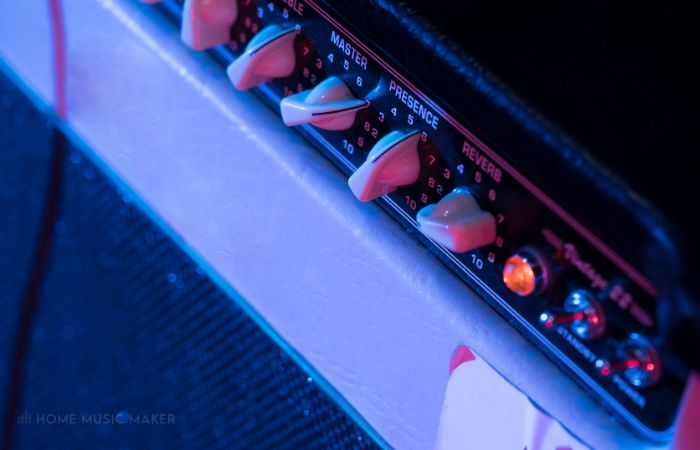
Volume Of The Amp
Depending on the type of amp that you’re recording, the amp’s volume while recording matters to varying degrees.
Even with a solid-state amp, having it too quiet will still mean less air being pushed through the speaker, resulting in a smaller sound.
But where this really matters is with tube amps. Every amp with a tube preamp and/or tube power amp has a sweet spot for the volume to get the best sound out of the amp. It’s all to do with how hot you’re running those tubes.
It can be tempting to blast a tube amp super loud, but I’ve found that this is rarely the sweet spot. Experiment with the volume before fully recording to objectively hear the sweet spot when recording.
Committing To A Sound
The issue with recording an amp with a microphone is that you have to commit to that sound. You can’t then change it in the same way that you can with an amp simulator.
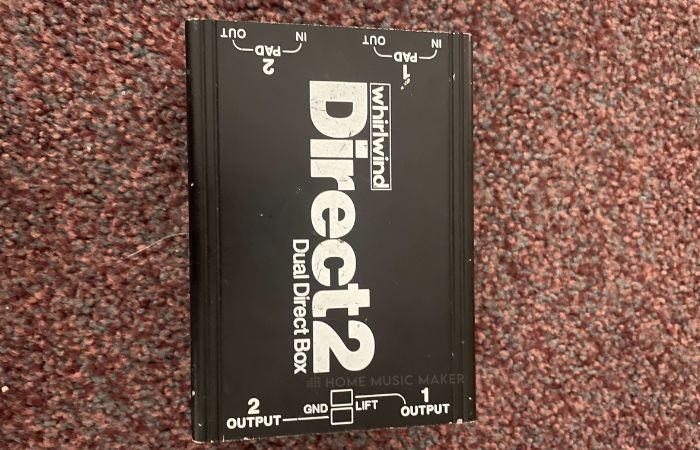
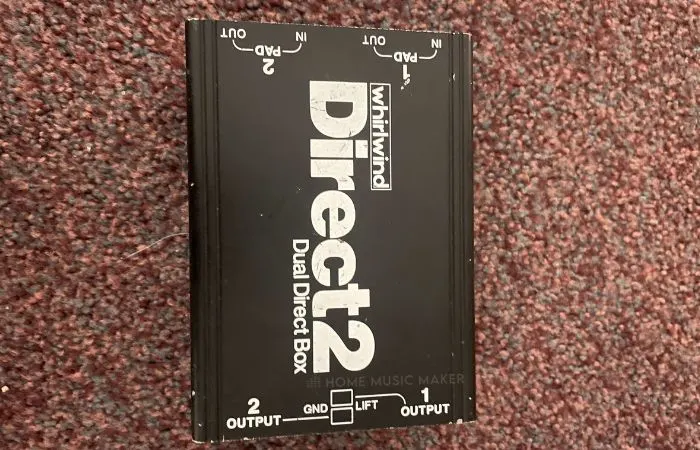
There is a workaround for this, though. Using a DI box, you can split the signal from the guitar output so that one goes to your amp and another into your audio interface.
This allows you to reamp the same guitar take through an amp using a reamp box or amplifier simulator. If you’re really unhappy with the amp’s tone or how you recorded it, you can change it without rerecording the part on the guitar.
However, I enjoy the committing aspect of recording with a microphone. In the digital world of audio, we can change anything after the fact.
But there is something to be said for the decisions you’re forced to make while recording an amp, knowing that it’s unchangeable later. It causes a different kind of creativity and conviction in the recording process.
Recording An Amp Silently
The final option we will look at is recording a guitar amp, but directly.
If you have an amp with a direct output, you can plug it directly into your audio interface. But be sure it is a direct output before you plug it into the interface.
However, you will need a load box if you have an amp without a direct output, such as most tube amps. This device allows you to plug your amp into your audio interface.
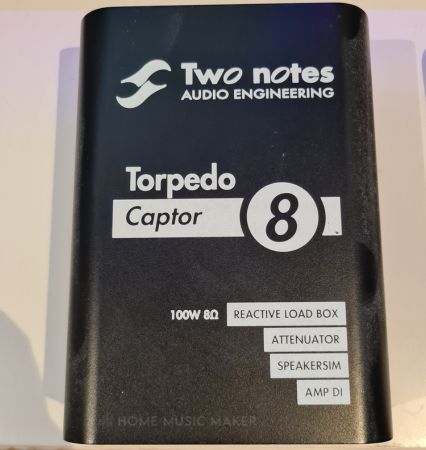
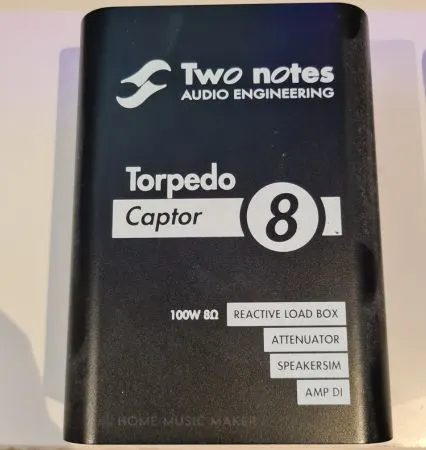
You send the amplifier’s speaker output to the load box, which converts the excess energy from the amp to heat and expels it through a fan. You can then connect the output of the load box to your audio interface and record.
You need the load box to deal with the electricity produced by the amplifier’s power amp. Without it, you could really damage your amp and your audio interface.
There are many options for load boxes, but my choice is the Two Notes Torpedo Captor. I’ve used this for a couple of years, both in the studio and live, and I’ve never been let down. It even has an analog bass and guitar cab simulator.
The next step is to have a cab simulator in the chain. This can be a piece of hardware between the load box and audio interface or a plug-in. Some load boxes come with software cabinet simulators, but plenty of amazing ones exist.
Just as the choice of the amp is essential, the choice of cabinet is too. The cabinet affects the sound of the amp in many ways. So by using a cab simulator, you can choose between different cabinets to get the sound you want.
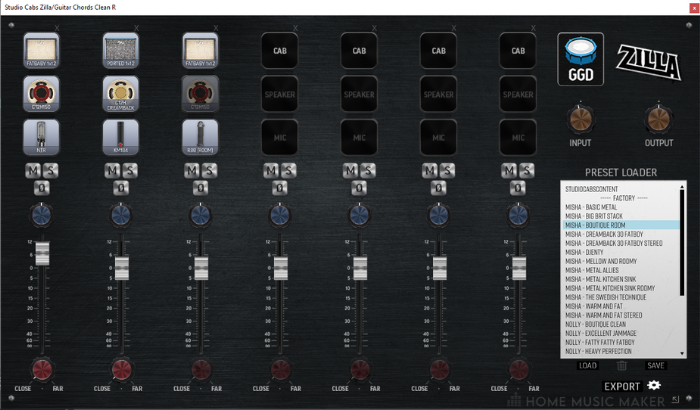
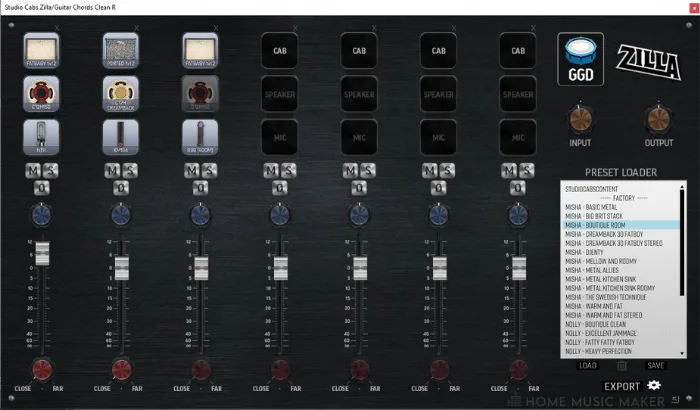
The cab simulator I have used for a long time is the Zilla cab collection by GGD. You can choose from multiple cabs and mics and combine cabs for a unique sound.
Recording Tips
Here are some tips and ideas that you can implement when recording guitar. Experiment with these to achieve the sound you’re looking for when stuck.
- Tune your guitar regularly during recording, as it probably will slip out of tune throughout the session.
- For rhythm guitar parts, record them twice on two tracks and pan the tracks left and right to create a wider sound in the stereo field.
- If you have the option, record the DI of the guitar take and through the amp for more flexibility later if re-amping is needed.
- This may be obvious, but practice your parts before recording. The better you know the parts, the smoother recording will go. Please don’t wait to leave it until the session to learn them.
READ NEXT:
Rather than setting this up every time, read our article on how to create Ableton templates. This way, you can load up the template and get to the recording.
Editing Guitar Takes In Ableton
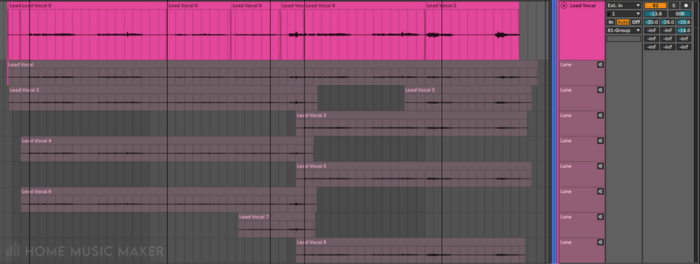
Since Ableton Live 11 came out, we Ableton users have been blessed with the take-lanes feature. This allows you to record multiple takes on the same track and then select the best parts of each take.

Limit the number of times you record so you don’t have to sift through different takes with tiny differences. I limit myself to three takes per part.
Then I open up take-lanes on that track and listen to each section on each take. I usually break this down to 2 bars at a time. I will go through the whole song until I have chosen the best takes for each part.
The great thing about take-lanes is that when you select a part (by highlighting the section of the take you want and pressing enter), a crossfade will be applied to the clips so that there is a cohesive sound while changing takes.
Sometimes you may need to adjust where the split between takes is located to make it sound more natural when it switches.
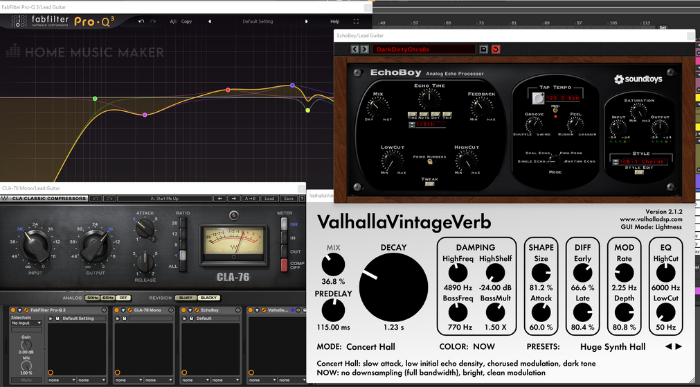
Mixing Guitar In Ableton
After recording and editing your guitar takes, it’s time to mix them.
Of course, you should always mix your tracks with the context of the other tracks in mind. However, some effects are a staple when mixing guitars.
We shall look at mixing rhythm and lead guitars, as they will be treated differently.
Mixing Rhythm Guitars
I always record the part on at least two tracks for rhythm guitars and then pan them left and right. This creates a wide stereo sound in the mix.
Sometimes I will even have four tracks with two panned left and two right.
Because of this doubling, I will combine the different tracks with the same parts in a group (press CTRL + G/CMD + G). I may EQ the tracks differently on top of the group processing to get a bit of separation from the tracks and give an even wider mix.
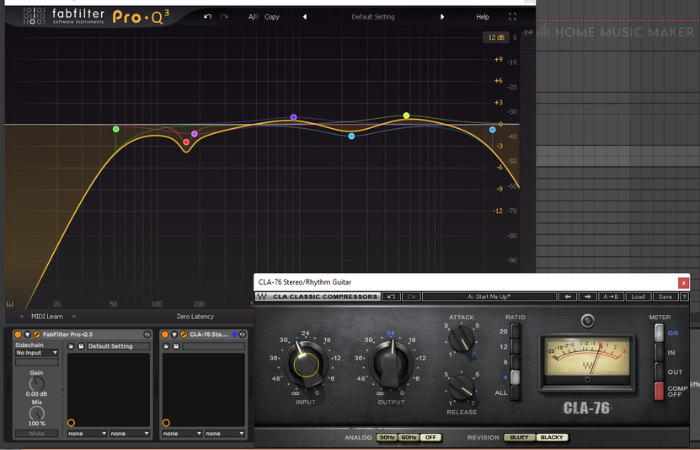
The first effect in the group chain will be EQ.
This is where I remove unwanted and problem frequencies, such as unnecessary low-end and harsh frequencies that aren’t pleasant to listen to.
I will also use EQ to shape the sound of the amp. Then, in the context of the mix, I will adjust the EQ to bring out the guitar parts and make space for other tracks.
The second effect will be compression. This is to varying degrees, depending on the level of distortion on the amps. Distortion compresses the audio signal, so not as much gain reduction is required for this scenario.
Suppose I still feel like the frequencies need taming more. In that case, I will use a multiband compressor to compress different frequency bands with varying gain reduction levels.
Mixing Lead Guitars
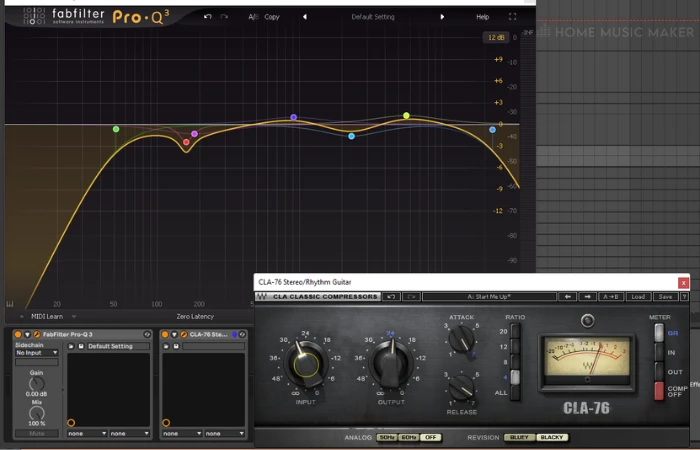
For mixing lead guitars, I will treat each track separately. Unless I’ve decided to double a lead part for a stylistic choice, each lead part is separate and requires different EQ and compression settings.
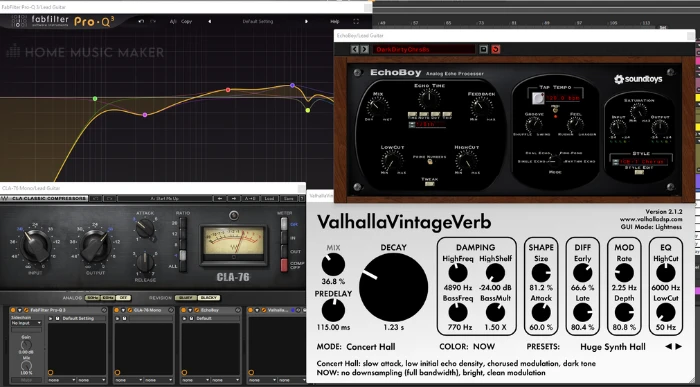
The EQ will do the same things as the rhythm parts; however, the curve will look different.
The compression on lead parts will typically be more aggressive. Think of the lead guitar parts as a vocal part. You want a very even level in terms of dynamics, except for parts that are very performative with the dynamics for a specific reason.
Finally, I will have delay and reverb in the signal chain to add to the sound and blend the lead guitar tracks into the mix.
READ NEXT:
In an effort to be more efficient, you can read our article on audio effect racks to create them for mixing guitar recordings.
Related Questions
Can I Plug My Pedalboard Into Ableton?
Absolutely. You can record your guitar through your pedalboard directly into the audio interface; however, I recommend getting a DI box for this as it will help handle the signal after the pedals have affected the output.
Should I Record With Reverb And Delay On My Guitar, Or Should I Add Them Later?
Most of the time, I’d suggest adding these effects later. I use reverb, and delay sends for all my tracks to create a cohesive sense of space. You can avoid using delay in the recording more than reverb, though.
Can I Use The Auto Filter Plug-in To Create A Wah-Wah Effect?
Indeed you can. Load the auto filter onto the track where you want a wah-wah effect.
Change the filter type to band-pass (the middle curve), the resonance to around 55%, the frequency to about 900Hz, the LFO amount to 12, and the rate to ⅛. Of course, depending on the guitar part, you can adjust these settings to taste.
What Is A Basic Guitar Recording Setup?
A basic guitar recording setup would be a guitar plugged into an audio interface with the instrument input option turned on using a jack cable. Then you can use amp and cab simulators to create the desired tone.
Why Is My Guitar Buzzing So Much?
This could be a few things. If your guitar is a single coil, then that’s just how they are. You can combat this with a gate of some sort.
Another cause could be the amp or pedals. Check the power supply for both connections. A lack of sufficient power could cause these devices to buzz. Failing that, a gate will also work.
READ NEXT:
Of course, using an audio interface is featured throughout this article. However, is it necessary? Check out our article on whether you need an audio interface to record guitar.