KEY TAKEAWAYS:
You can improve your vocal recordings in many ways. Experiment with microphones for each vocalist. By recording with a low buffer size, a sample rate of 44.1kHz, and a bit depth of 24 bits. By using the proximity effect to your advantage. Using the correct gain level for each song section is also critical.
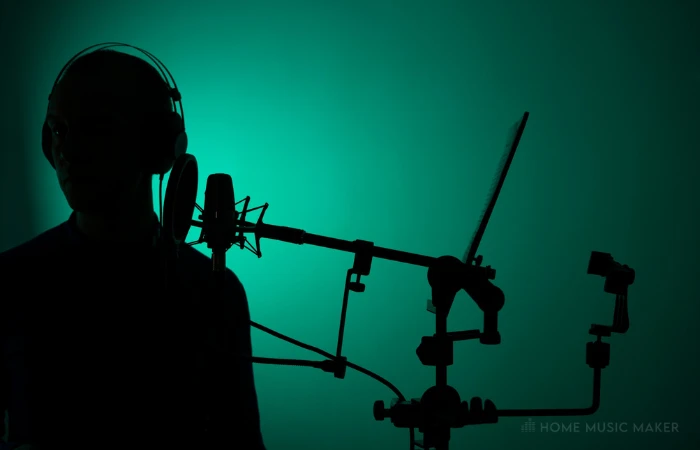
Recording Vocals
Whether you’re a beginner or a professional, we all make mistakes from time to time.
The important part about this is learning from those mistakes. Remembering the solutions to errors will make you much more proficient in recording vocals.
You can invest a little money, or any, to improve the quality of vocal recordings that you’re getting. It would be best if you utilized what you have around you.
This article will look into common mistakes while recording vocals and how to solve these issues.


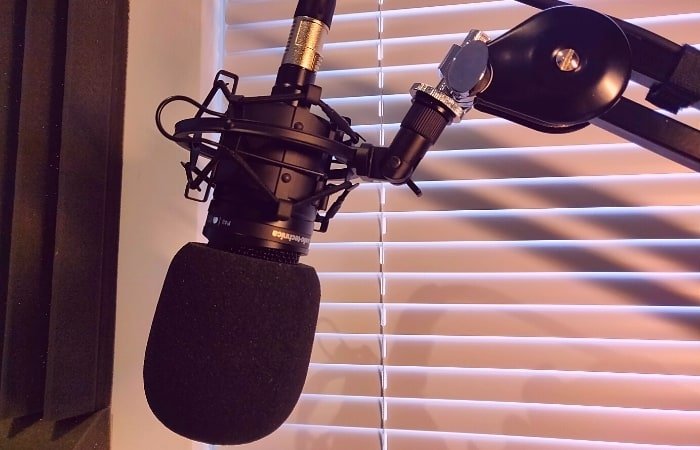
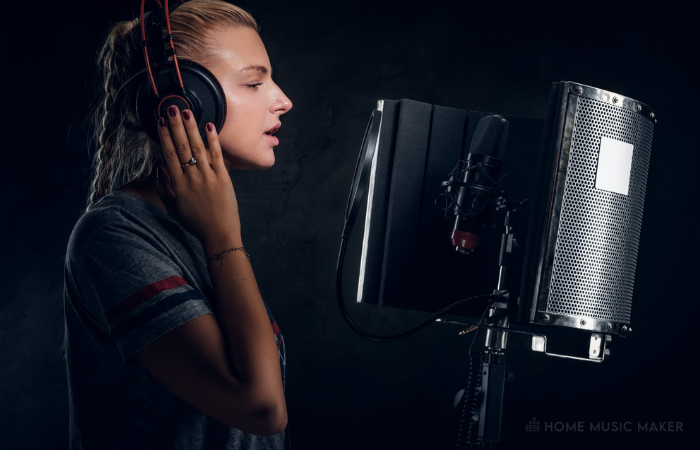
Microphone Mistakes
Using The Wrong Microphone
When recording vocals, it’s always best to try out different mics with different vocalists.
Everyone’s voice is unique, so that specific microphones will pair better with one vocalist than another.
The obvious first consideration is whether to use a dynamic or a condenser microphone.
In both cases, I recommend a large diaphragm microphone. However, experiment with others once again if you have them at hand!
For a more delicate singer, try a condenser microphone. They can pick up more subtle details as they are more sensitive. This way, you can capture the nuances of their performance.

For a singer on the louder, more aggressive side, then using a large diaphragm could be a great pairing, especially for screaming vocals.
How dynamic microphones are designed makes them great for picking up loud sounds.
Using the wrong microphone for that vocalist will not be as good of a recording as it could be.
Recording With Phase Issues
This is a particular issue, but necessary to mention it nonetheless.
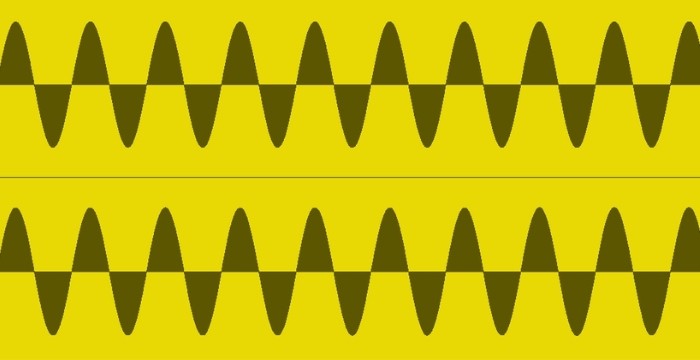
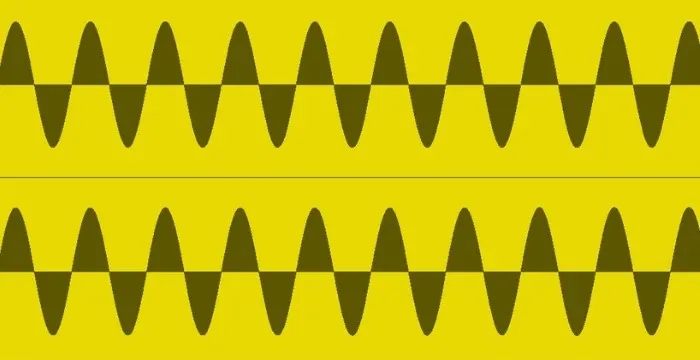
When recording with more than one microphone, it’s possible to get phasing issues. This happens when there is a slight delay in the same or similar signals. It causes the sound to change in tone and volume.

This could happen if you’re recording vocals with two microphones or recording the vocals while playing an instrument that also requires a microphone to be recorded.
Luckily this issue can be fixed on the computer after the fact if you missed it. But if you catch it while trying to record, you can also fix it.
The solution to this problem is to invert the phase of one of the tracks so that it doesn’t cancel out any of the other tracks’ signals.
This is achieved using a plugin with an inverted phase or a phase-switching option.
Every DAW will come with one of these. For example, a utility stock plugin in Ableton allows you to flip the phase.
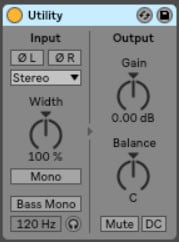
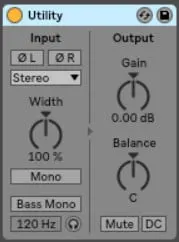
You may even have this option on your audio interface for each microphone.
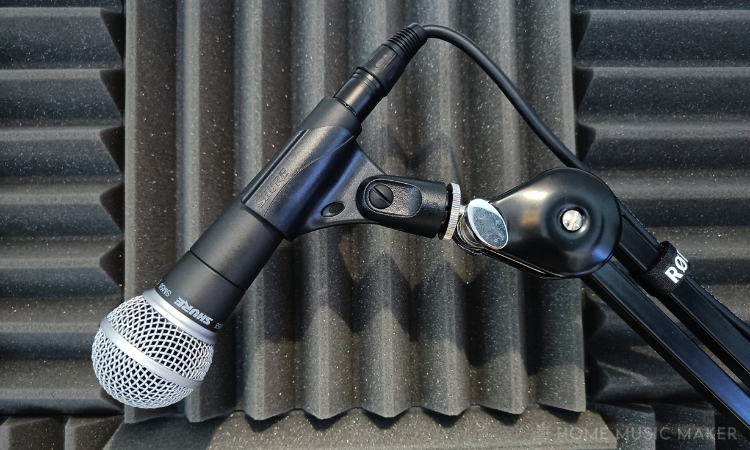
Wrong Microphone Placement
With vocals, the microphone placement is pretty limited. You’d be correct, as you want it in front of the vocalist. However, the key in microphone placement with a vocalist is how close or far it is from the performer.

The closer the microphone is to the singer, the higher the low-end frequency response is for the microphone. In other words, the closer the singer is to the microphone, the more bass frequencies will come through.
Of course, this works the other way. The further away the vocalist is from the microphone, the fewer bass frequencies are picked up.
This is called the proximity effect.
Use this to your advantage.
For vocalists with a very boomy voice, play about with the microphone further away.
For a vocalist with a delicate soft voice, try moving them closer to the microphone.
READ NEXT:
Once you’ve recorded great-sounding vocals, it’s time to mix them. Check out our article on how to make mixing vocals easier.
Audio Interface Mistakes
Recording With Too Much Gain
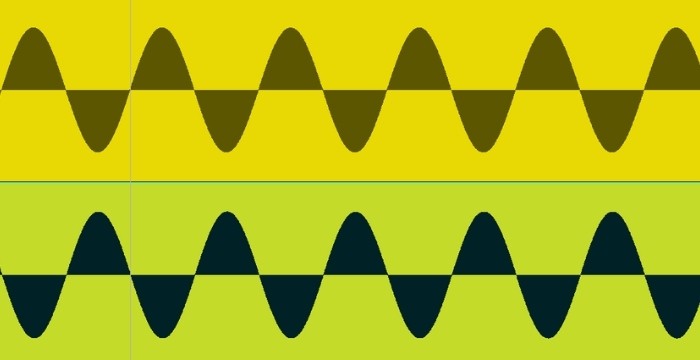
Recording vocals too hot will result in clipping and distortion in your vocal signal, and typically not a pleasant-sounding distortion. This will show within your digital audio workspace as the waveforms are right at the top and bottom of the track.
Recording Too Quiet
If you record vocals, or anything too quiet, then at some point, you will need to turn the vocals up to match the rest of the track. The issue with this is that all the background and static noise will also be turned up.
Recording at a low level doesn’t give you an excellent signal-to-noise ratio.
Ignoring Static Noise
Some background noise can’t be helped. Even in a deadened room, there will still be something. However, some noise can be lessened.
Static noise is picked up from the noise floor. This is the accumulation of all the low-level signals in the background. A part of this is the noise generated by power cables.
To avoid your audio lines picking up this noise, you can place your audio cables further from the power cables.
Also, balanced cables could help.
Software Mistakes
Too Low Of A Sample Rate and Bit Depth
The standard sample rate for recording is 44.1kHz, and the bit depth is 24 bits.
If you have too low of a bit depth, then the amount of noise in the signal will be higher. If you have a lower sample rate, the signal will not be of the same quality and will sound duller.
Stick to the standards to avoid these issues.
Too High Of Buffer Size
The use of a large buffer size while recording will result in a delay in the recording. This can be fixed after the fact. However,
I wonder how vocalists can record to the best of their ability with a delay in their headphones.
An ideal buffer size for recording is 128.
If you hear crackling, this is because the CPU isn’t able to handle the project.
You can either remove CPU-intensive plugins from the project or bounce the instrumental and record the vocals into its project.
READ NEXT:
If you’re an Ableton user, such as myself, we have a great article on how to record vocals in Ableton.
Tracking Mistakes
Recording In A Room With Too Many Sound Reflections
It will be picked up if you’re recording in a place with a lot of reverb.


Reverb is a wonderful and beautiful effect, but it’s much easier to add than to take it out. You want the vocal recording space to be as dead, in terms of reverb, as possible.
The cheap way to do this is by recording in a closet with lots of clothes or a duvet held up around the vocalist.
Soft materials absorb the sound rather than reflect it, resulting in a lower level of reflection (reverb).
The less cheap way is to look into acoustic treatment.
You can buy a specific vocalist acoustic treatment that attaches to the mic stand or acoustically treat the whole room.
So regardless of budget, you can make your recording space better.
Not Gain Staging Before
We have spoken about having too low or high of gain, but that’s not all there is to gain. It would help if you ensured the signal wasn’t peaking throughout the performance. Get the vocalist to sing the loudest part and adjust it for this.
If you know the song well enough or record the vocals in sections, you can adjust the gain for each part. Ensure it’s at its highest gain for that section without clipping. Say for the verse. It would likely be a quieter and softer vocal part so that you can turn up the gain. For the chorus, you may need to turn it down.
Recording Without Any Effects In The Headphones
Listening to vocals completely dry, regardless of their skill level, is rarely a good listen. The minimum effects I suggest using on vocals are compression and reverb.

You can add more, of course, if your computer handles this with a smaller buffer size.
Compression will give the vocals a much more consistent sound dynamically.
Reverb is such a natural sound in life that without it, the vocals sound very dry and dead.
These two effects, while tracking, will give the performer more confidence and produce a better take.
Not Recording In A Quiet Place
Of course, they will be picked up if you are recording in a place with lots of sounds. Recording at a lower gain will make it worse, too, as they will be amplified when you increase the volume after the fact.
Pick your times and location based on how loud the background noise will be. Get it as optimal as possible.
Some plugins clean up the audio so that background noise is minimal. But it takes a fair amount of skill to get these to work well, and even then, there is something about them that means you can always tell.
It’s better to get the sound as good as possible at the source for all aspects of recording.
Final Words
Making a note of these mistakes and their solutions will allow you to increase your problem-solving skills in the studio. It is necessary to be more time-efficient and focus on more complex things.
READ NEXT:
Recording the vocals is the first part of getting a great vocal sound, but what about the rest? Check out this article for an in-depth look at how to make vocals sound bigger.