KEY TAKEAWAYS:
The most straightforward method of avoiding audio clipping in FL Studio is to turn down your different volumes until the sound reaches a comfortable listening level without distortion. Alternatively, use Fruity Limiter to enable a ceiling to the output, preventing clipping.
The Loudness War!
These days it’s all about making the loudest, heaviest tracks, but with that can come to the risk of clipped audio (distortion of the audio signal, and not the good kind).
Volume is essential in music production, but you must be wary of the repercussions. I can tell you now that every producer has encountered and battled with clipping, so not to worry!
Compression, mastering, quality recording, and gain staging are a few ways to battle clipping but read on.
I’ll explain what clipping is and how and why it’s happening. Plus, how to prevent it from occurring in the first place, along with a super secret piece of information I recently learned!
What Is Audio Clipping?
Audio clipping is essentially a waveform with a distorted signal, and the name clipping is taken from the appearance of this waveform. It happens when the signal has been pushed beyond its amplifier capability. Thus, the audio waveform is being chopped off, cutting out and crunching itself.
This destruction results in a harsh and unpleasant noise.
In a DAW (Digital Audio Workstation) such as FL Studio, audio pushed over 0 dB (Decibels) is considered clipping.
This is visualized by your volume meters hitting in the red (redlining).
It’s important to note here that not all clipping is bad or dangerous, as the sound is the indicator and what we want to avoid.
Why Does Audio Clipping Occur?
Clipping occurs because of complacency. It can always be avoided by working smarter, not harder!
The occurrence of clipping relates to how hard you drive a signal or increase the volume or distortion of a sample, plugin, mixer track, limiter, or compressor.
Having too many pieces of audio that overlap can also cause spikes in the audio output. Those stacks of audio can cause clipping at specific points too.
It pays to watch your levels at all times to monitor any spikes or sudden changes in your output signal.
READ NEXT:
Not using FL Studio? Not a problem. Check out our article on how to stop clipping in Ableton.
What Does Clipping Sound Like, And What Does It Do To Your Audio?
If not controlled, overly driven signal clipping (redlining and above 0 dB) can be unpleasant. Typically the audio signal sounds broken apart, similar to the sound you’d hear if you turn up your car stereo super loud. The speakers start to crackle, and the sound becomes fragmented; this can destroy your audio if not used sparingly.
An excellent example of clipping being used well is distortion, compression, or saturation. These techniques have long been used to add color, punch, warmth, and character.
Clipping is prominent in much rock music.
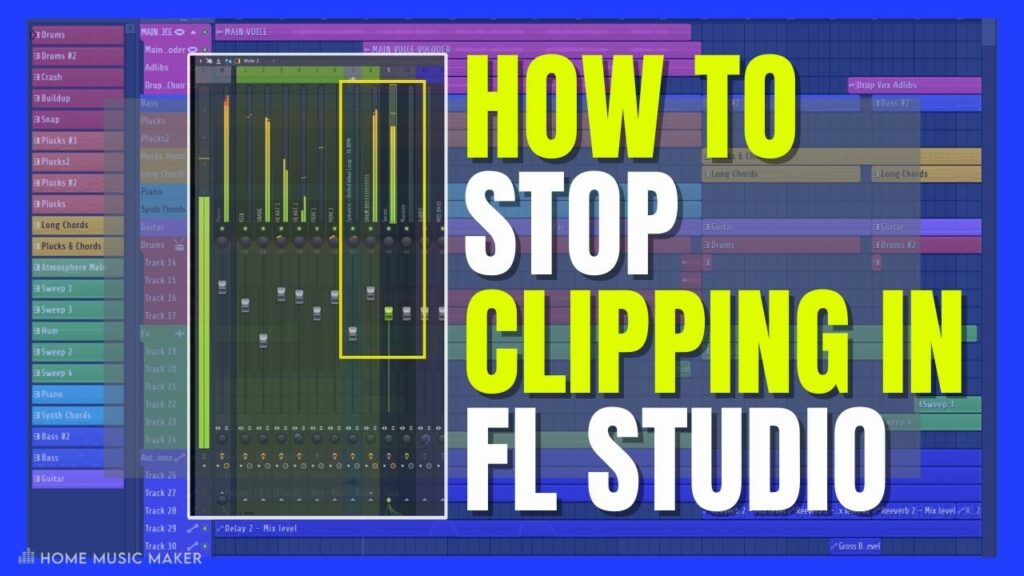
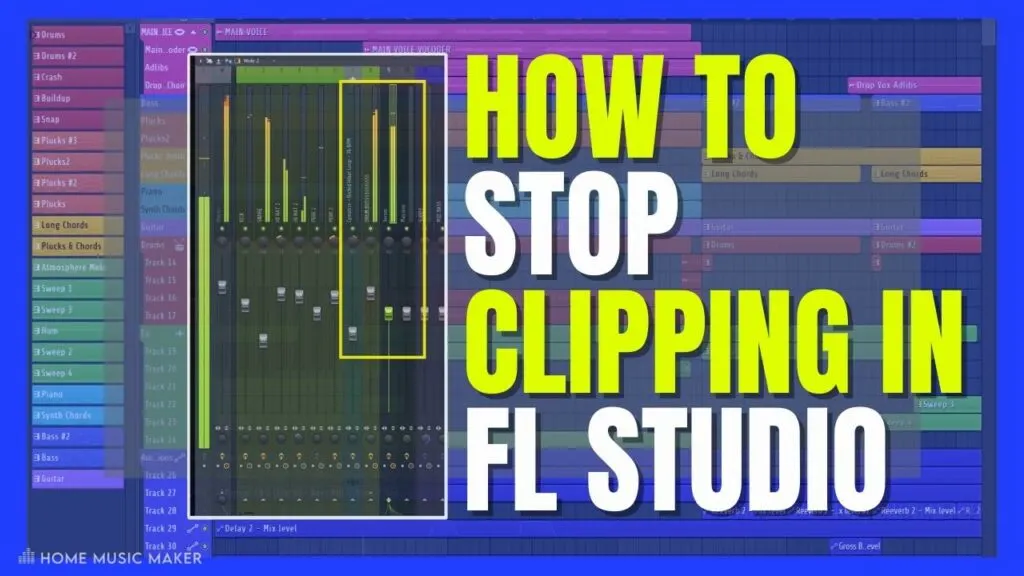
How To Stop FL Studio From Clipping
Preventative work is by far the easiest solution to avoid clipping in FL Studio, so try the following:
- Begin a session with all of your mixer faders down approx. -4dB
- Normalize any samples that are already super loud
- Individually reduce the volume of samples you deem problematic
- Using an equalizer, remove unwanted or harsh frequencies
- Pay attention to sounds or audio that overlap to avoid clashes and peaks
- Use stock Fruity Limiter and adjust the ceiling/gain knobs
- Utilize panning of sounds to spread the stereo image
- Monitor your faders for each channel always
How To Fix Clipping In FL Studio
Note: Depending on your situation, this is a trial-and-error task. Below is the order I use.
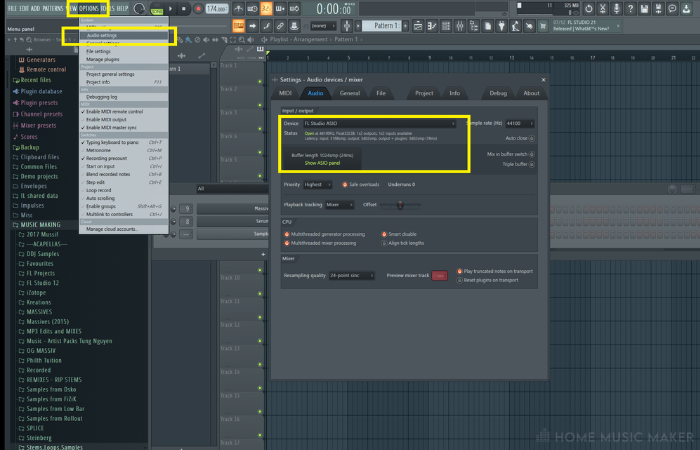
Step 1 – Audio Driver
Firstly, ensure the clipping you’re experiencing is not the result of buffer underruns. These are when your audio or interface settings are not calibrated correctly and can often produce a similar sound to clipping.
Go to Options > Audio Settings > Buffer length to adjust the load on your CPU.
You can also switch between your audio driver and FL Studio ASIO drive to see if that changes things.
Step 2 – Disable Master Effects
Plugins that boost your master volume, such as Ozone or Fruity Limiter, can often cause clipping as the entire project is further pushed toward the red.
By turning off any effects on the master chain, it will make it easier to determine which sounds are affecting your mix.
You can either disable the effects by left-clicking the green light next to them or manually delete them from the chain.
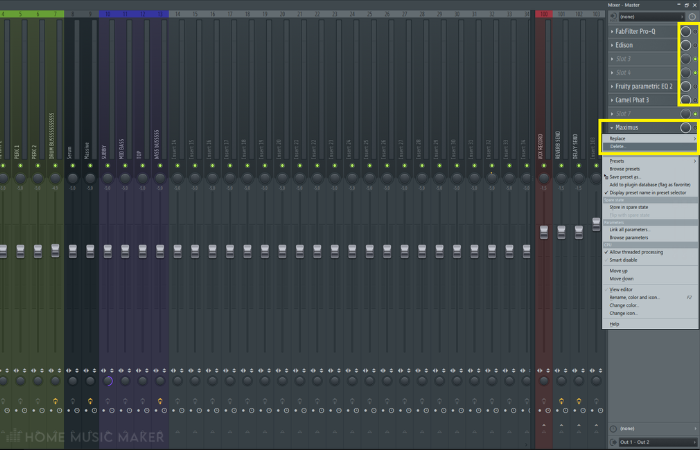
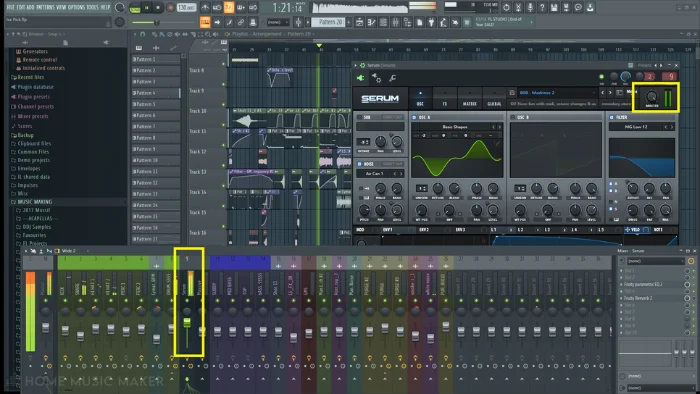
Step 3 – Plugin/VST Or Master Channel
In some cases, as you can see below, you may have the choice of adjusting the internal volume of a plugin, causing clipping, or just its channel fader. This ultimately depends on your desired outcome, as your channel may be routed to a bus with effects.
Simply turning down your fader could diminish the sound too much.

Pro Tip
Save new versions before making drastic changes! (CTRL+N for PC or CMD+C for MAC)
Step 4 – Levels
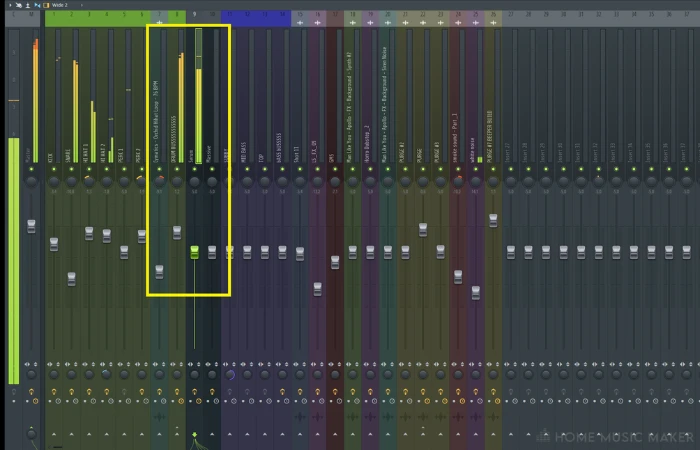
This is the most important, and if closely monitored throughout your song-making process can eliminate the chances of clipping your audio. Anytime you add new sounds or start boosting specific audio, you must pay attention to the peak meter levels on your destination channels.
These are your best indicator of where things could go wrong.

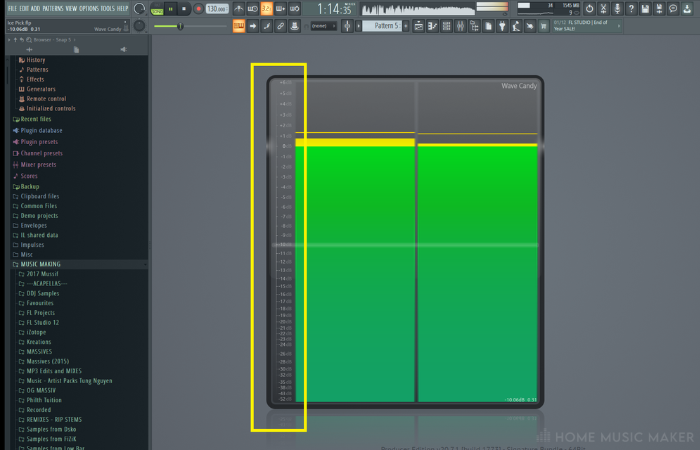
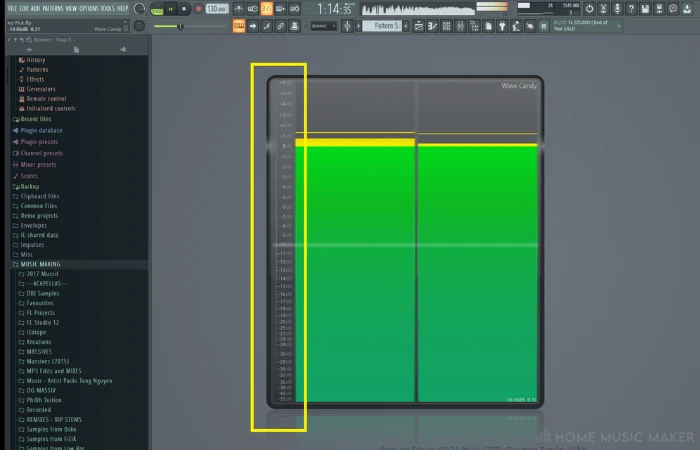
Using FL Studio Peak Meters
These are the volume indicators in decibels for your left and right channels. Mono will show a reading that is even across both, where sound with stereo can move over the left and right (so be wary when using the pan function).
The reading is dynamic and will fluctuate with the audio continuously when sound is produced through its channel.
If you insert the stock plugin Wave Candy and select the meter option, you will be shown a more detailed readout of the decibels each sound is hitting. Try soloing specific sounds for more information here.
You can see where the term “redlining” comes into play!
Setting Up Your Monitoring Levels
This has caught me before, but it is also down to your personal preference.
Having a good balance of volume settings within your DAW, your computer’s volume output, and the interface/speaker control you are using is crucial.
Set this up outside of FL Studio with regular listening music, so you can achieve a good representative sound balance before producing.
Pro Tip
When you start a new project, select all your mixer channels by holding CTRL/CMD and left-click and dragging across them, then turn the faders down somewhere around -4dB. This will help give you more headroom to work with if you boost or distort your sounds.
What Is Headroom?
Headroom is your friend.
It is the space occupying the distance between the loudest part of your song and 0 dB, where we aim to leave room to conduct mastering of your track.
Professional sound engineers that provide mastering services tend to request a peak volume of -6 dB when exporting a track to send them.
This will allow them to add further saturation, distortion, and stereo imaging to the mix.
All the more reason to continuously monitor your peak levels and to utilize tools such as saturation, panning, and a generally good mix-down in your projects!
Setting up Your Master Channel
There are varying opinions on this because there are different setup methods.
Some people (like me) prefer to leave my master channel empty, except for an oscilloscope plugin to see the waveform as it moves visually.
Others swear by producing with Fruity Limiter or Izotope Ozone on the master, as it makes their mix loud and can keep the output under a particular dB.
Each has drawbacks and advantages, so I suggest trying different methods to see how it affects your work.
READ NEXT:
Check out our article on the master meter in REAPER.
Tips On How To Avoid Clipping In The First Place
- Begin new projects with faders on your mixer down approx. -4dB
- Calibrate your listening environment and balance your PC or MAC volume output with your speakers/headphones
- Use slight saturation or distortion in increments BEFORE boosting volumes
- Pay attention to overlapping sounds
- Utilize methods such as panning, stereo imaging, and compression to breathe more life into sounds
- Refrain from too much processing on your master channel
- Use a limiter on your master to stop your output from hitting 0dB
How To Fix Clipping By Editing
A handy tool to balance out volumes is to edit using automation. In areas where you can see your peaks moving too close to the red, we can create an automation clip to adjust the volume of certain sounds manually.
Bear in mind, though, that where automation finishes up in FL Studio is where the volume will stay so it may take some trial and error.
How To Prevent Clipping During Mastering
- Slight, subtle EQ changes can make a drastic difference. Tread lightly
- Use compression to bring out or subdue dynamic changes.
- At each stage of your mastering chain, test how much your levels change using a peak meter
- The order of your plugins on your master is crucial. Insert a Limiter at the end of your chain to avoid your master clipping.
Why Is Gain Staging Important?
Gain staging is ascertaining the best volume level of a given sound before adding another processor, plugin, or effect to your chain.
After each change or effect, there is likely to be a shift in the volume, but as mentioned, monitoring this after each step will help you successfully navigate gain staging.
An example is a microphone recording, where you may have peaks in the audio and low points. The use of compression here can control the higher volumes but will require makeup gain to bring the sound back as a whole.
Third-Party Plugins To Help With Fixing Clipping
Now, while it is recommended to follow the above information, so you prevent clipped audio in the first place, there are options to help you as standalone plugins.
- Izotope RX 10
- DeClipper DX
- Flux Bittersweet
- Perfect Declipper
- Outlaw Gain Rider
These use a combination of technical processing, and transient shapers to battle clipped audio (treat these as a last resort).
The Secret
I recently learned that FL Studio (and almost every DAW) operates in 32-bit mode. If you can clip ANY channel apart from your master fader, the quality can be retained by normalizing the audio. This only works if you’ve exported the WAV in 32-bit mode.
FL Studio can process more of the original file’s data. Super handy if you are mastering your music or in a rush to test out a track.
Related Questions
Is there a Declipper in FL Studio?
The native plugin Edison contains a version of a declipper. Select the toothbrush icon (de-noise/de-click/de-clip) to investigate.
How Do You Know If Your Studio Monitor Is Blown?
The simplest method of finding out is to test different music from different sources on it (from your DAW, Internet, and native music files on your computer. This way, you’ll know it isn’t one program causing the blown sound.
What’s The Best Way To Get Sound Quality Out Of FL Studio?
Don’t clip!
Experimenting is always good, but do not crank volumes up and ruin your headroom. Exporting in a high-quality format such as WAV or Lossless and always using high-quality samples will help you.
Why Are My Vocals Clipping?
This can be either too much sensitivity on your microphone or its preamp settings when recording. After the fact, it could be the effects (if any) that are running on the microphones channel.
Is There A Difference Between Clipping And Limiting?
They may seem similar, but clipping destroys the waveform of sounds caused by too much input signal. Limiting is a form of broad gain reduction used to control the total sound output.
Is Clipping The Same As Distortion?
Clipping is the result of an effect on audio. Distortion can be one of these effects, but it adds color and punch to sound. When done right, it can be game-changing!
READ NEXT:
The more issues you conquer in FL Studio, the faster you are at being a professional producer. Check out our article on fixing when FL Studio notes keep playing.