The was a game-changer in the development of modern music. It revolutionized the way people approach making music, paving the way to the yet unheard sonic landscapes and inspiring a whole new generation of record producers.
In this article, I will explain , along with all the things you need to know, to set you on the right track to mastering various features of this awesome device.
So, without further ado, let’s start with the basics.
What Is A ?
The is a digital musical that lets you record, store, , and manipulate recordings. You can tell this line to your nonmusician friends and smart in front of them, but in layman’s terms, a allows you to load in any recording you want and mess around with it using an integrated set of tools.

These recordings are better known as ”samples,” and they can be virtually everything. From the recordings of any real to traffic noise, everything that emits a is potentially something that might end up on your next big hit!
Although the of a car engine might not at first glance seem like something usable in a song, through the power of technology, it can become a synth pad, a lead , or a snare even!
There are countless stories on the internet of people recording various bizzare sounds to their samplers and making songs out of it that fantastic!
Some examples are a snare made from city ambiance, a lead synth made from a dog’s bark, and a hi-hat made from lightswitch click.
My favorite is Doc Scott creating a bassline on a track called “Shadow Boxing” out of a ship’s horn. I guess you could say he started the & Bass “Foghorn” sub-genre way before becoming popular.
From this (1.05)


To this (1.35)

Once you realize the sampler’s full potential, you will become addicted to recording everything you can record and creating your own . But first, I would like to evoke a feeling of appreciation for having all this amazing technology on our hands by going back in time to the beginning of and how it all came to be.
How It All Started
Nowadays, hardware samplers are light, compact, powerful, and relatively cheap devices. But it wasn’t always so. The first commercially available digital device was released in 1976, and it was a great step forwards in digital instrumentation, but compared to today’s units, it was terribly impractical. It was big and heavy!
You could compare a device of that day to a gamer pc setup of today – It had its own monitor screen, separate to navigate through the menu, and a big housing for all the parts.
Gradually, in the early ’80s, samplers were getting more compact, affordable, and more accessible to the general public.
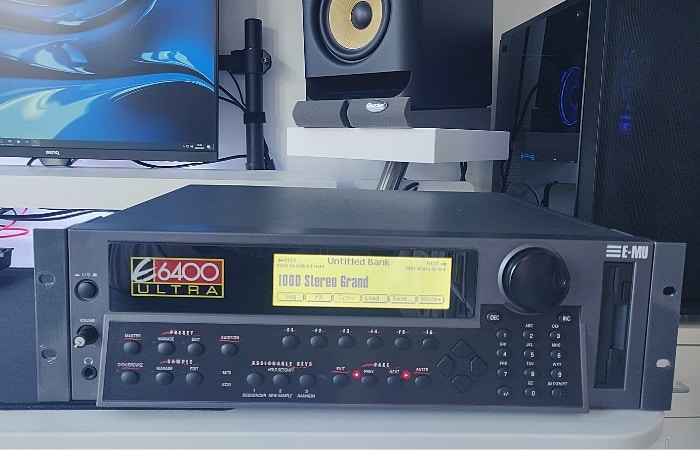
One of the first samplers of this kind was the famous E-MU SP- 1200.
This device is one of those historic pieces of gear that define the of a musical movement. One could not imagine the of ’80s and 90’s hip hop without this model!
Eventually, samplers reached a point in their development in the ’90s where they got affordable enough to be purchased by amateur musicians. This was the first incarnation of what we now call a ‘bedroom studio.’ Indeed, a is a compact studio in a way. It contains all the features needed to create songs and records from scratch, but more on that in the next section of the article.

In the 2000s, the first software versions of these devices appeared on the market, and after that, nothing was the same anymore.
Hardware versions were already packed with functions and tools, but with the software, computing power surpassed the potential of human creativity! It opened up possibilities that are still being explored today, which will probably never be fully explored.
Since samplers went through such a drastic change over a span of only a couple of decades, starting as an aspiring producer might feel a bit overwhelming.
If you’ve ever had a chance to try out a , you might have felt confused and intimidated by the various functions found in it. Or perhaps you got comfortable working with the stock sounds found in the manufacturer’s preset libraries but feel like you don’t really know the functions all that well.
The next section should clear all the misunderstandings and give you the knowledge required to take your skills to the next level!
Although ways in which you can use a are pretty much endless, I’ve found that there are two major ways most producers use them – structuring songs via a or manipulating sounds in real-time through improvisation.
In other words, you can use a as an workstation or as a musical . Both approaches require certain skills to be more developed than others, but many of them overlap.

As discussed earlier, there are hardware units and software versions of the samplers. Both options are packed with features and generally work on the same principle, but knowing first how to use the hardware version could be beneficial as it provides a more tactile learning experience. So, let’s dive into the process of using this device!
Finding The Right For You
I would recommend beginner producers go for a that will provide you with all the possible features in a single device.
That means having a that has:
- Transport section (part of the device that lets you record, , and loop )
- Self-powered (ideally through batteries or USB cable)
- Effects section (which can be used to process the recorded samples)
- Modulation section (allowing you to pitch shift and time stretch the samples)
- Envelope section (allowing you to control the duration and position at which the is played)
- Pads or keys that will trigger the of samples when pressed.
As a beginner, you want to streamline your first experience and cut right to the chase without having to spend hours trying to set your device up needlessly.
Hardware samplers have gone a long way since the ’80s in terms of pricing. Nowadays, you can grab one for just a few hundred dollars.
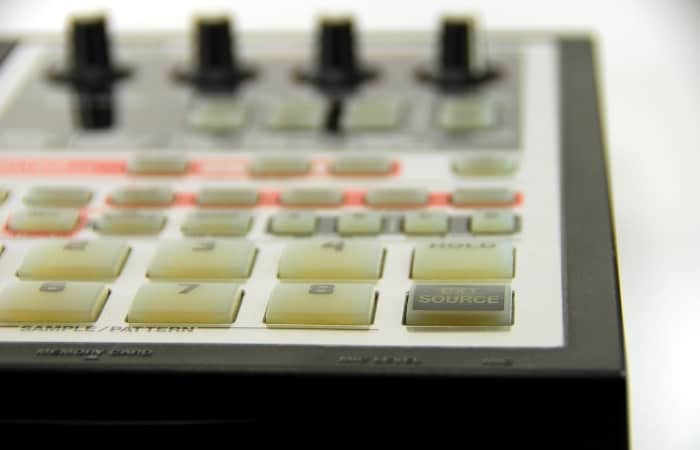
One such is the MPX16. It’s light, compact, and has tons of features that are more than enough for a beginner producer.

Akai Professional MPX16
- Record and play-back pro-quality stereo.
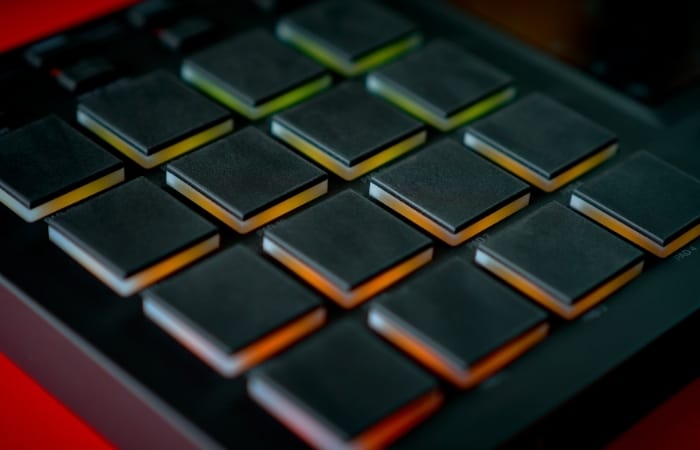
- 16 velocity-sensitive MPC-style backlit pads.
- Edit and manipulate your samples easily.
Then, there’s Novation Circuit Groove Box which is a bit pricey but well worth your money as it basically acts as a standalone production unit.

Novation Circuit Groove Box
- 2-part Nova, analog-modeled synthesizer.
- 4-part drum machine, 6 voice polyphony per synth.
- 4-part drum machine: store up to 64 drums, samples, and one-shots.
If you are a complete beginner, a unit like PO-35 KO would be a great entry into the production world. It’s by far the cheapest option, but with slightly fewer functions. However, it does have a built-in microphone, so you can record whatever you are missing.

Teenage Engineering PO-35
- Create unique vocal sounds.
- Provides 120 seconds of sampling memory.
- Fine-tune your samples.
Each sampler has a slightly different user interface, but all of them operate on the same principle. Most samplers contain more or less the same set of sections mentioned above.
So, let’s break down each of these sections and learn how they work!
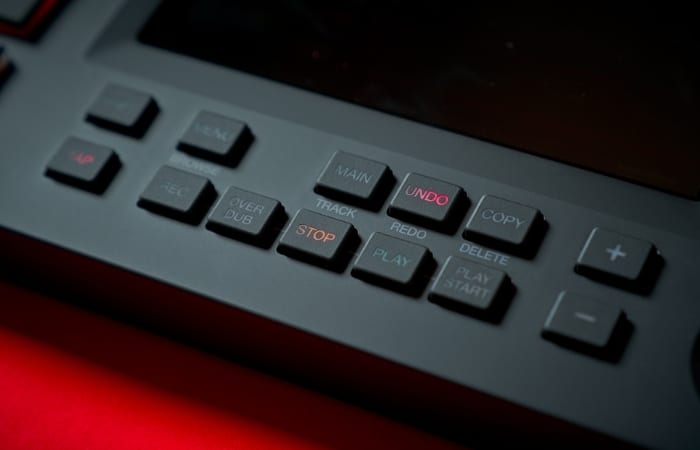
Transport Section
Each manufacturer may add some unique features to each model, but generally, this section of the usually has at least 4 functions. The first and most important one is the ”record” button. It lets you record internally (sounds that you produce from the device by triggering samples with the pad, for example) or externally (hooking up an external device such as your smartphone,pc, or a microphone and recording songs or sounds directly into the ).
Other functions in this section are ”stop”(plays the recording from the very beginning) ”play/pause”(plays and stops the exactly at the time when engaged), and ”loop”(plays the recorded on repeat until stopped manually).
There are usually two modes in which the can the recorded- one is a ”grid” mode, and the other is ”free” mode. The grid mode quantizes and arranges your music in perfect symmetry and accuracy, and the ”free” mode lets all of the nuances in your playing come through.
Grid mode is generally more useful if you are composing a track, while the free mode is more suitable for the live performance, so choose accordingly.

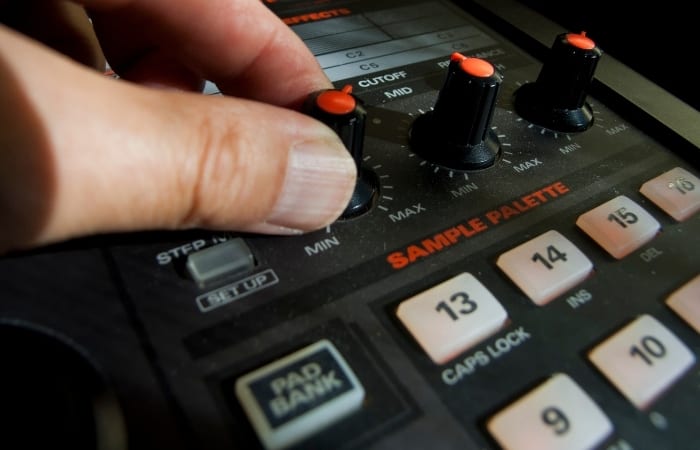
Triggers
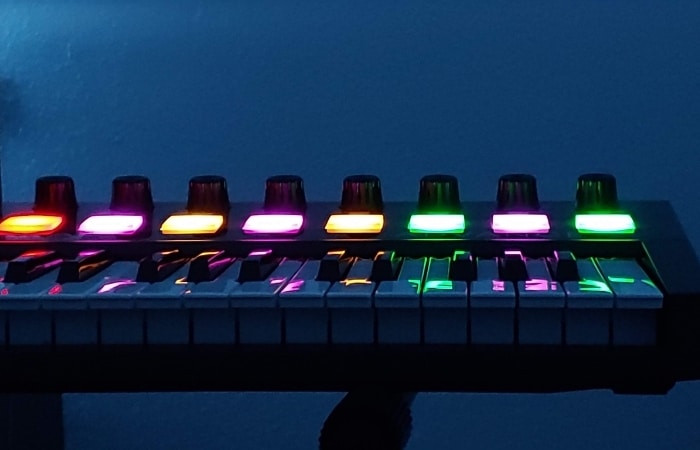
This is the ”heart and soul” of the . Triggers can appear in two ways, as pads and as piano keys, and depending on the manufacturer, there may be 4,6,8, or 88 of these triggers.
They basically let you play the samples recorded in various ways. There are 2 ways these triggers can play a , and you can adjust it according to your needs.
The first one is the one-shot setting. In this mode, you determine the length of the played by holding or releasing the trigger. As soon as you lift a finger off the trigger, the is cut off. This is useful when playing lead lines and melodies, as you generally want to control the note’s length.

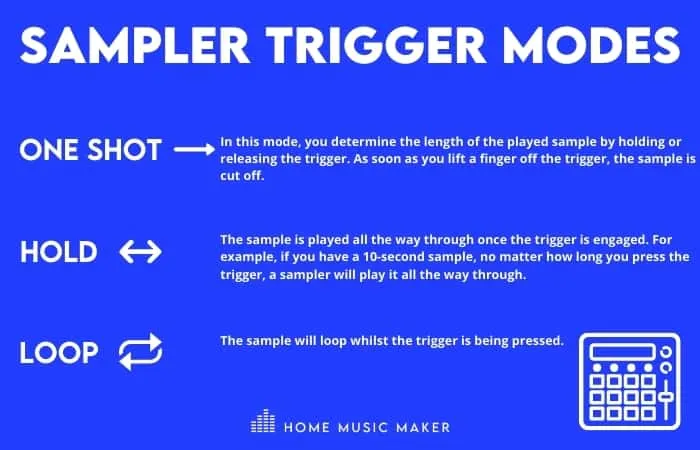
The other option is to have the be played all the way through once the trigger is engaged.
For example, if you have a 10-second , no matter how long you press the trigger, a will play it all the way through. This comes in handy when you have a longer loop assigned to a pad, and you play a beat underneath that loop.
These triggers can be arranged just how you like them and need them to be, for a particular song or a performance style. You can assign any to any pad or piano key. You can group certain ”blocks” of pads to be just the percussion samples, and then put a lead synth on the other pads, with perhaps chords on 2 or 3 pads or keys.

This way, you have the of the whole band under your fingertips!
It actually takes quite some practicing to play all of that and make everything sound fluent simultaneously. I’ve tried and failed miserably! It really made me appreciate the talent of the artists who can pull that off.
Additionally, these triggers can also serve as transposers for the samples which you have recorded. For example, you recorded a dog’s bark into your . Now the sampler can automatically transpose that core sound to various pitches and assign each pitch to a different pad or key, so you can actually play melodies with it. How cool is that!?
These are the moments where samplers really shine and where possibilities become pretty much only limited by your imagination. You can record any and turn it into whatever you want, experimenting with the sonic qualities and timbers to create completely new sonic landscapes never before heard.
This can serve as an endless source of inspiration, and many people witness having their perception of music being changed completely after being introduced to the world. All of a sudden, everything around you becomes a potential work of art.
Another important feature regarding the pads and keys is the velocity sensitivity.
This means that you can turn on the option of having the react to the way you press the pads or keys. Since well-designed samples have multiple , a will be played louder if you hit your pad harder and vice versa. This allows you to get an expressive performance with lots of details and subtle twists to the melody or beat.
Alternatively, you can switch this off in the menu and have every play at the same velocity regardless of how hard you press the pad.
Envelope Section
This section might be more interesting to the designers, but it still has a utility beyond mere .
This tool allows you to shape the samples within a by controlling at which point they actually start playing or at which point and how quickly they fade out.
We usually have two faders or potentiometers; one called ”attack,” and the other called ”decay/release”.
With the ”attack” function, we can cut out the first couple of milliseconds (or more) of the which creates a smoother . If, for example, you want to have ambient string in your production, you usually do not want to have the attack of the bow hitting the string in your .
Once you roll off the first couple of milliseconds with the attack function, you will get just the pure note without the click. This can be applied to any , of course, to soften and smooth out percussions, lead sounds, etc.
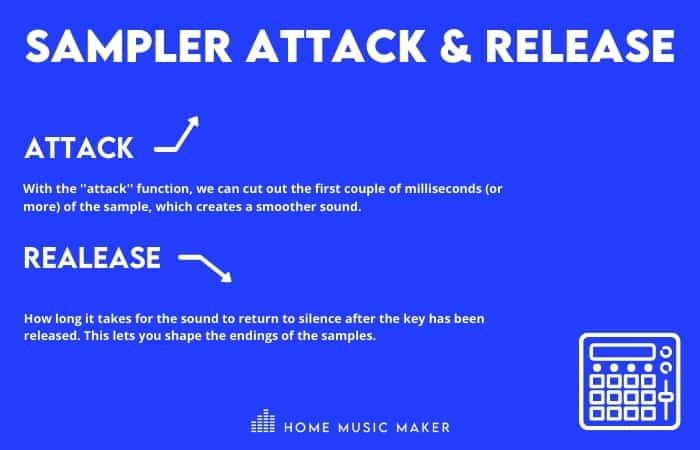
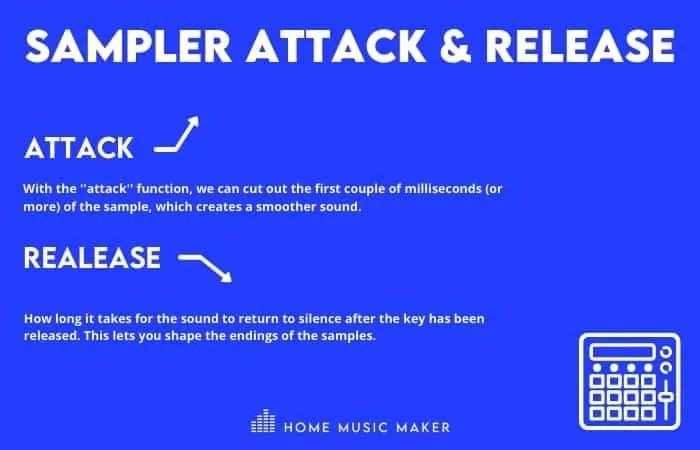
The other function is the ”release/decay”.
This lets you shape the endings of the samples. It is handy if you want to get a tighter of the drums. By shortening the kit pieces’ length, you allow more of the punch to come through and have a cleaner since there won’t be lingering overtones and muddy decay of the kick .
Also, this function is useful if you want to isolate a specific from a longer . Say you have a 15 seconds song excerpt, and there is a cool-sounding vocal at the beginning. Pull back the release knob until you have targeted only the desired and enjoy your new vocal !
Modulation Section
Depending on the manufacturer, we could have various things here, but some standard things include pitch shift, time warp, and filter options.
The pitch shift option allows us to tune the to the desired pitch or use it as a effect. It does so by an increment of semitones or cents. You can tune snares, kicks, or hats, or crank it for ultra pitched down vocal effect!
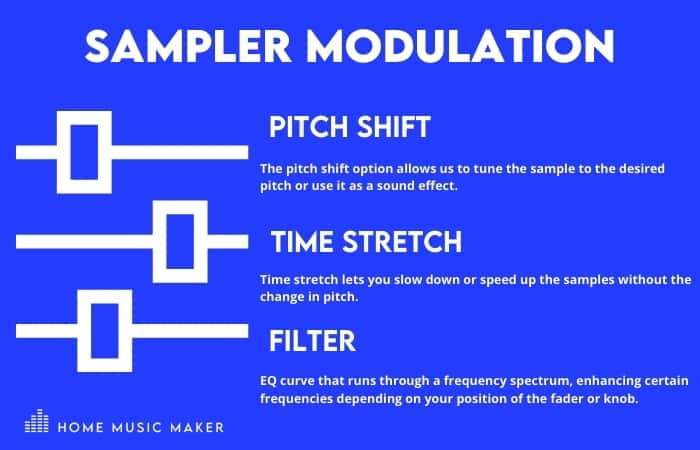
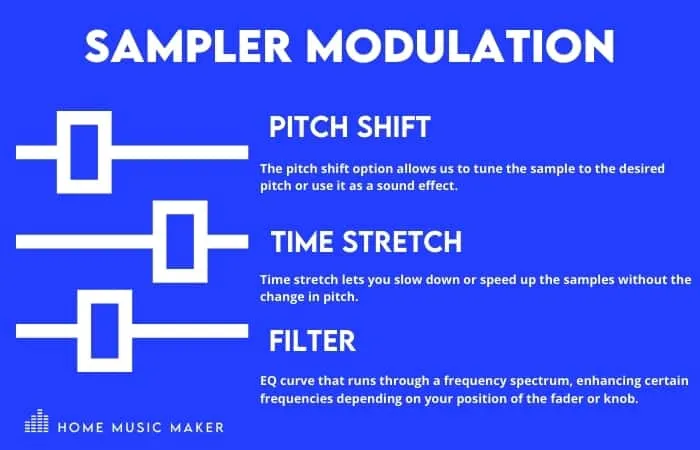
Time stretch lets you slow down or speed up the samples without the change in pitch. This function is crucial for producers who are into remixing songs.
You can use a vocal line from a different song that is not in your session’s original tempo and time-stretch it until it’s perfectly aligned. Or you may want to transform a pop ballad into an EDM track with a huge beat. You can speed up a whole song, record some sick beats on top of it, and profit!
Alternatively, it can also be used as an effect since excessive time-stretching introduces some artifacts, which can be desirable in some situations!
The filter option is an interesting one. This is basically a predetermined EQ curve that runs through a frequency spectrum, enhancing certain frequencies depending on your position of the fader or knob.
You can enhance your lead sounds, fatten the percussions, roll the high end off the voice or manipulate the EQ curve in real-time and create flanging and phasing effects.
Effects Section
This is where a really becomes a studio workhorse.
Nowadays, hardware samplers have so many effects that you could easily produce a whole record using this device alone.
This section provides you with the tools to really spice up your bland-sounding samples. Specific effects are found to vary, depending on the manufacturer, but generally, most samplers have some distortion or overdrive effect, EQ, Limiter, Exciter, Delays of various subdivisions, and various Reverbs.
If you are not familiar with what these effects do, we’ll go through all of them briefly.
- Distortion – It can make your samples have a ”lo-fi” feel or add character to a sound that doesn’t particularly excite you.
- EQ – You can shape your samples’ tonal character, enhancing frequencies that you like or cutting the ones you don’t.
- Limiter – Compresses the sound, leveling out the dynamics. You can also use it to make your samples have more sonic energy.
- Exciter – Adds a parallel compressed high-frequency content, making your dull samples come to life.
- Delay & Reverb – Add a sense of space and depth to your productions.
I would advise you to take your time and explore these effects in-depth, as the payoff is well worth it. Most of the samplers will allow you to record these effects in real-time. This opens a whole new world of creativity. Just press record, assign an effect to a of your choice and treat that effect as a musical in itself.
You can do a whole pass of playing around with the distortion on the kick, for example, slightly crunching it initially and gradually adding more heat to it as the song progresses. Or experiment with the different delay times throughout the track.
This will give you plenty of fun and joy and increase your production value, as you are constantly challenging the listener’s ears with exciting little twists.
All of the functions covered so far might seem too complicated if you are starting, but trust me, once you start messing around with it, it’s surprising how fast you can get a grip on all of these potent tools.
A big advantage of learning how a works are the incredible fun you have while working with it!
To me, it feels like the ultimate musical because it doesn’t undermine your creativity. You can load any that inspires you and have the tactile experience of moving the faders and knobs, pressing various buttons, and crawling through the menu makes me feel like I actually know what I’m doing!

Process
So how do you something?
It can be done in two ways- through recording with the microphone or connecting a device to your and play a piece of music or a you want to . Many samplers have a built-in microphone, but if yours doesn’t, you can always plug one into the input section and hit the record button.
Once you feel like you got it right, press stop, and the will automatically save your recording ready for . This can be a or a complete and from then on, you can manipulate it in the ways described above.
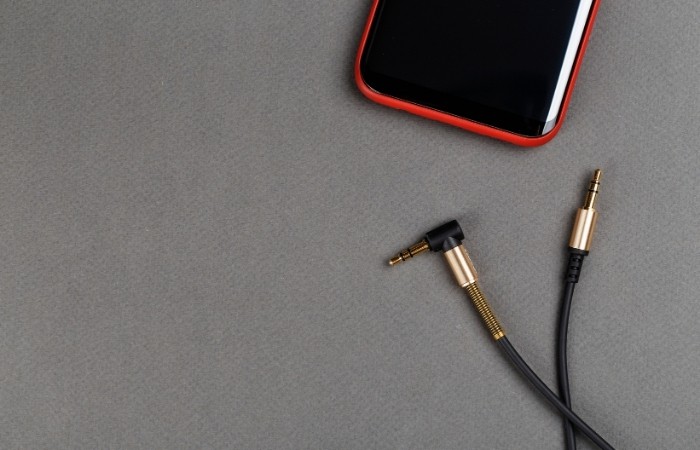
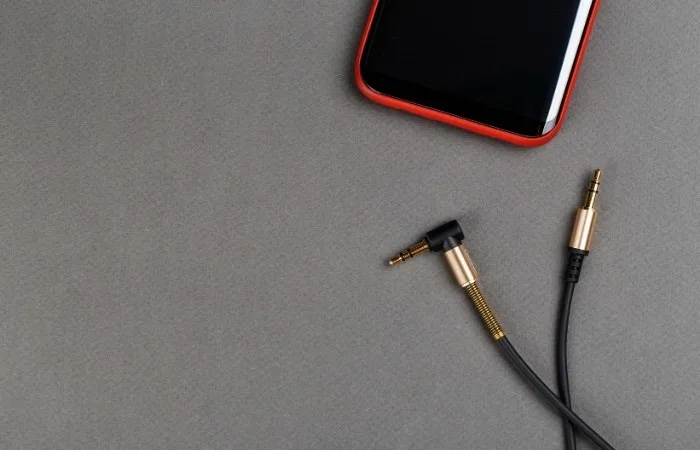
If there is a particular song you would like to a part of, that’s also very easy to do.
You connect a device that contains the track you want to (I usually use my smartphone) with the 3.5 mm cable to your . You play the track from the device, and while the song is playing, press the record button on your . Before you know it, you’ll have banks of as easy as that!
If you feel like your stock samples are not sounding all that great, and the process seems tiresome to you, you can always search for the samples online. A quick Google search will probably get you at the right place.
Once downloaded, you can import them into the through your PC, or if that isn’t an option, just recorded them from your smartphone.
Hardware vs Software Samplers. What’s The Difference?
As in all other hardware vs software discussions, the main difference comes down to having reliability and practicality in software but a more tactile and simplified workflow with the hardware units. Hardware samplers are still very relevant, and in my opinion, for a good reason.
Since those devices created such a revolution in music-making, many people feel a deep connection to those specific sounds used in groundbreaking tracks. For example, 808 style samples are still one of the most widely used ones for productions, even 30 years after their initial release!
However, we can’t deny the flexibility that software versions provide.
A works in pretty much the same way as hardware units but has the advantage of the digital world’s immense power.
In software versions, you can edit your samples with machine-like precision, have the tools so vast and powerful that you probably won’t use 90% of the potential. You can also have a ridiculous amount of different samples, and not have to worry about the insufficient storage data, and perhaps most important one- software can’t break. It’s reliable and behaves the same way under all circumstances.
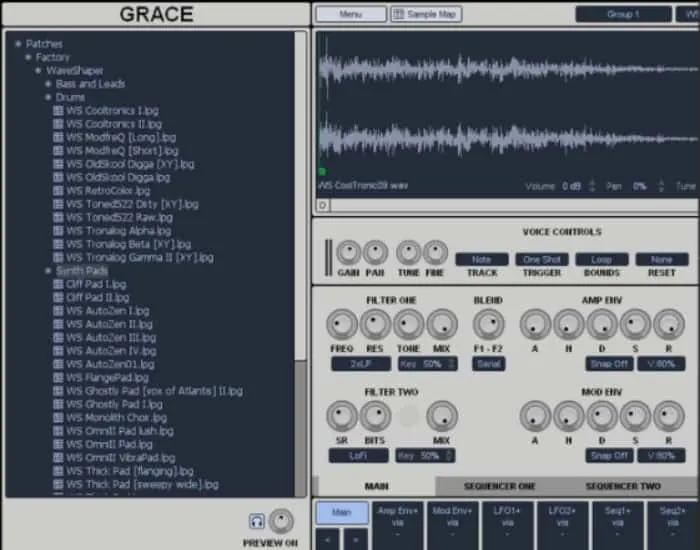
A big advantage of the software samplers is that you can get all the tools you need to start making music for free in the form of a . Many free VST samplers work amazingly well. Some of the ones I tried and could recommend are:
Grace by One Small Clue

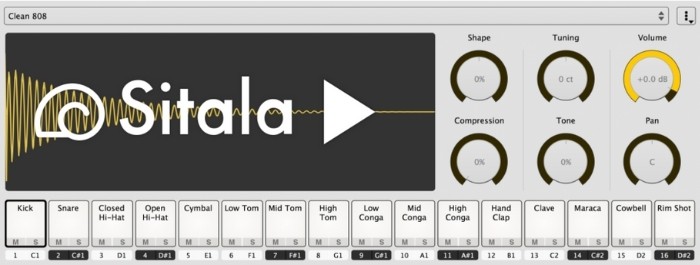
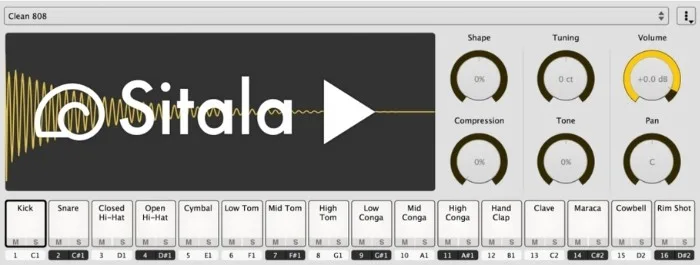
Sitala by Decomposer
TX16Wx by CWITEC


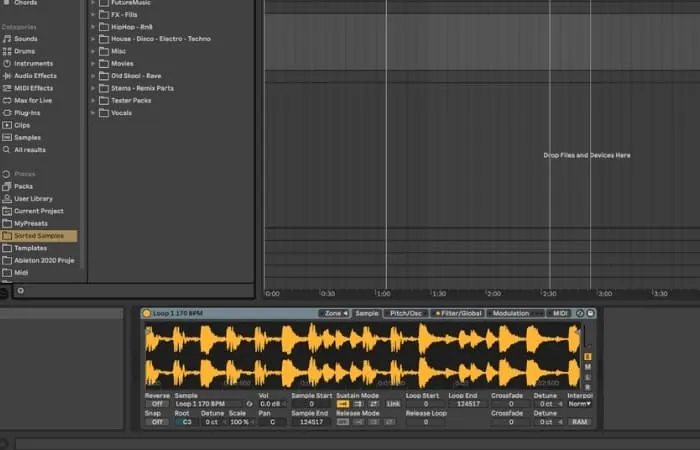
If you own any DAW, for example, or chances are that you do not even have to reach for the third-party plugins at all.
Yyou probably have a somewhere in there without you even realizing it!
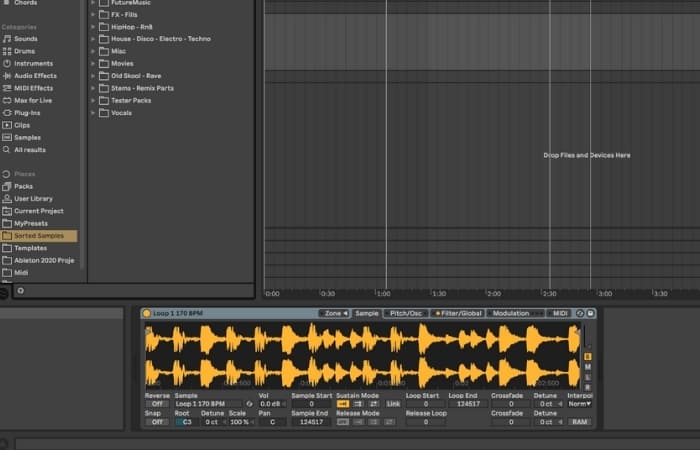
In Cubase, there is HALion, Studio One has SampleOne, in Pro Tools, there is Structure Free, Abelton and Logic have the straightforward and Reaper has its own ReaSamplomatic 5000.
I really can’t say which one is the best since all of them work wonderfully once you know them inside out.
But the basic principle is the same as in the hardware units.
You load a sample bank, assign the samples to the desired trigger pads, drum machine, or midi keyboard keys and start from there.
All of the hardware unit functions are applicable in the software as well, except the terminology might be a bit different.
So, after listing all the pros and cons of the software and hardware units, is there a definitive answer to the question of which one is better?
It’s a tough question to answer, but I’ll try to avoid not answering it and say that if you are a beginner, go for the .
I’ve intentionally chosen not to show you how the samplers work in a software environment. The options can be overwhelming for beginner producers who want to start making some cool-sounding music.
You can grab a nowadays for a relatively small amount of money and, using this article, figure out the basics in a matter of hours.
If at any point in your development you start feeling like the hardware unit is limiting your creativity (although highly unlikely), you can start exploring the software versions and eventually make a transition into the digital realm.
However, software and hardware samplers do not necessarily have to exclude each other.
A couple of years ago, I came across a Korg’s unit called Electribe.
Besides being a great , what struck me as an amazing feature was the compatibility with the Abelton Live. Basically, you can hook up your unit via USB to a computer and export the song from the into the Abelton.
That seemed to me like the best of both worlds!
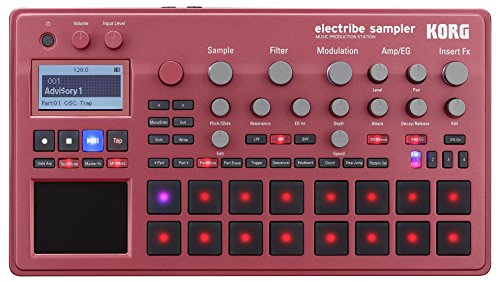
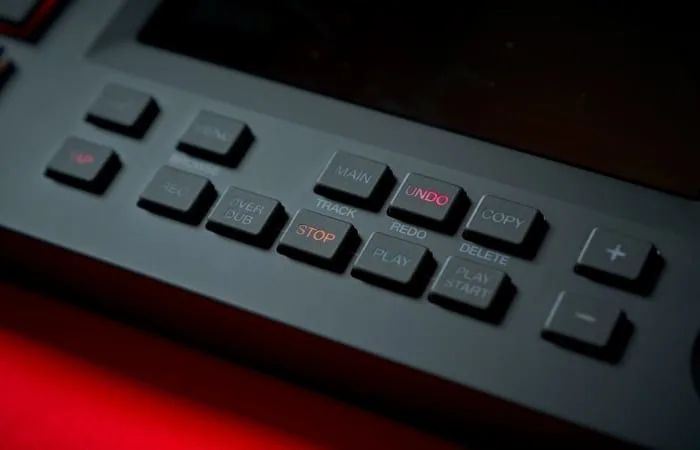
Korg Electribe
- Pattern chaining: string patterns together to create full songs.
- One-level undo.
- Ableton Live compatibility.
Now, if for some reason you feel like there is some trick you want to have in your production, but it isn’t available in the Electribe, simply import the project into and work from there.
This means that you still keep the simplicity and the workflow of the hardware unit but at the same time have access to the powerful world of digital editing and shaping of .
Which Samples Are Legally Clear To Be Used Commercially?
You have mastered the art of using the and are ready to share your music with the world.
But there is one topic that should be covered beforehand, and that is copyrighted music. After all, a big part of the fun is using your favorite tracks and making interesting loops out of those.
But are you legally allowed to do so?
If you make music just for fun and do not plan to release it commercially, you can pretty much use whatever you want. But if you do plan on releasing it, that’s where things start getting a little tricky.
There is an ongoing myth on the internet that you can use any loop or from a song as long as it doesn’t last more than 6 seconds or 15 seconds…
Unfortunately, that’s not really true. You are legally not allowed to use even a second of copyrighted music. Copyright is copyright, as they say. Now, there are two ways to go about this problem.

One solution is to ”clear the ”.
This means that you would have to contact the song owner and the owner of the recording and ask for permission to use a piece of their music in your song. If you manage to get in touch with both parties, you will try and make a deal.
You are usually expected to cash out hundreds or, more likely, thousands of dollars, plus a percentage of all the sales. This could be judged on a case-by-case basis, but generally, it would look something like that.
Now, is it worth going through all that trouble and expense to obtain the rights to use a copyrighted on your track? Well, you are the judge. If you are in a financial position to do so, go for it! If not, there is a workaround that won’t hurt your wallet.
You can try to emulate the sampled material yourself, and that way, you won’t have to pay for recording rights. You could still be sued for plagiarism, although I think that’s highly unlikely since artists are not as picky about these things as the record labels are.
The best way to go about this issue is to use an online library of pre-cleared samples and not worry about hurting someone’s intellectual property.
Services like Tracklib, Audiojungle, or Pond5 let you use tracks for a relatively small price, so it might be worth considering if you plan on commercially releasing your music.
Then there are options like Loopmasters also have extensive available on a subscription basis or by simply purchasing the or packs you want.

An alternative route is to use copyrighted material and hope for the best!
You are highly unlikely to get into any legal trouble unless your track somehow becomes a big hit. But it would be a shame if you would have to remove your song from the streaming services due to a copyright claim, especially if it started gaining momentum among the listeners.
In the end, it’s your call to make.
Having said all of this, packs that come with your hardware unit or that you paid for are all absolutely safe to be used for commercial purposes.
Final Words – Amen To That
I love everything about sampling, from the fact that whole music genres are built on the process, to enjoying going down rabbit holes trying to find where a sound originated from.
Take The Winstons Amen Brothers, for example.
A one six-second drum break has been sampled and created thousands upon thousands of new musical creations.
I think there’s no better way to end this article than to pay homage to the Amen break’s originators.
Enjoy!