Ableton’s Drum Buss is a stock plugin that simultaneously applies various audio effects. It’s a great way to process drums or shape bass sounds. You can use other stock or third-party plugins to achieve a similar result or even the Audio Effect Racks to create your own “Drum Buss.”
How To Emulate Ableton’s Drum Buss Audio Effect Without Using It
Like me, you may have noticed that throwing Drum Buss onto your drums makes them sound “better.” But you might wonder, what is it actually doing to your drums?
It’s possible to process your sounds with plugins like Drum Buss without diving into the details. But I’d recommend taking the time to understand what processing is being applied.
Then you can begin experimenting with effects to create your own Audio Effect Racks and replicate Ableton’sDrum Buss.
What Is The Ableton Drum Buss?
Ableton’s Drum Buss is a stock audio effect plugin.
A drum buss can simultaneously apply various audio effects to a sound(s).
You can manipulate Drum Buss with parameters such as:
Drive and Distortion
And sound shaping parameters such as:
Transients, Crunch and Damp.
Is Ableton Drum Buss Good?
Drum Buss is a great stock option to use for drum processing.
It can be used quickly without much thought to boost your drums or bass.
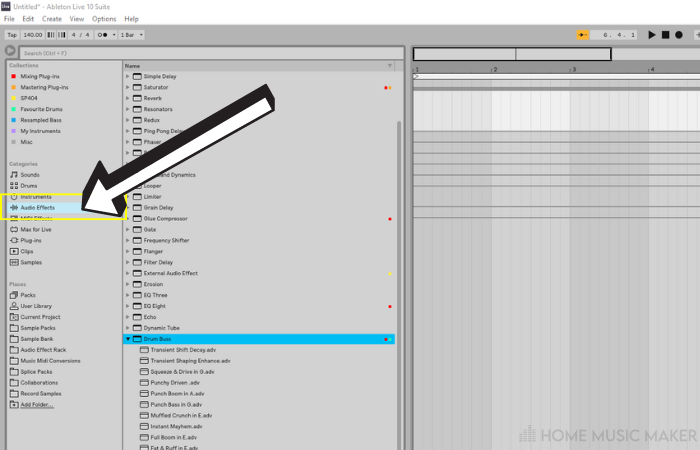
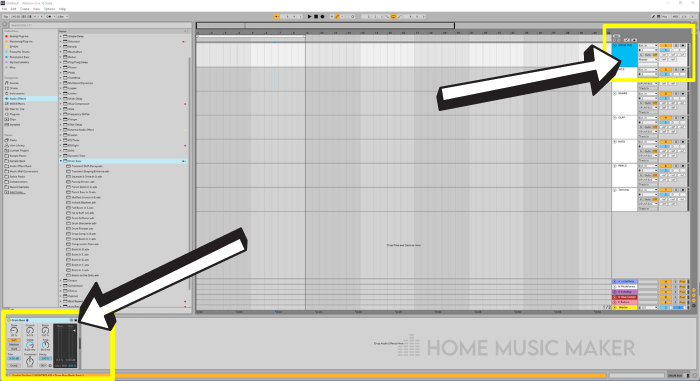
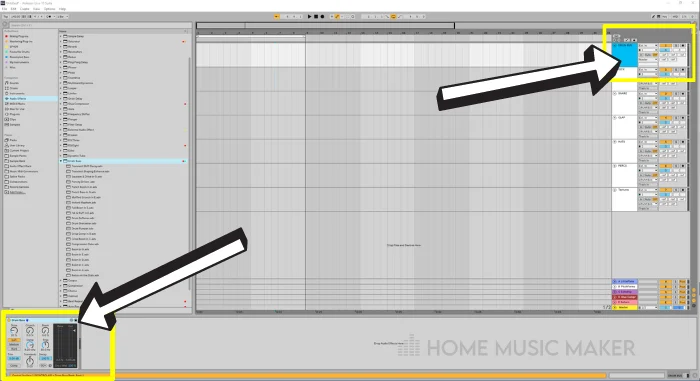
Where Is The Drum Buss In Ableton?
You can find Ableton’s Drum Buss by looking at the user library sidebar and locating the ‘Audio Effects‘ tab.


Ableton Drum Buss Alternatives
We’ve discussed what Drum Buss is doing to your sounds.
Now let’s look at how we can replicate that with stock or third-party alternatives.
Applying Distortion
Ableton has a variety of stock distortion plugins. Choosing which distortion VST plugin to use and how much to apply will come with experience.
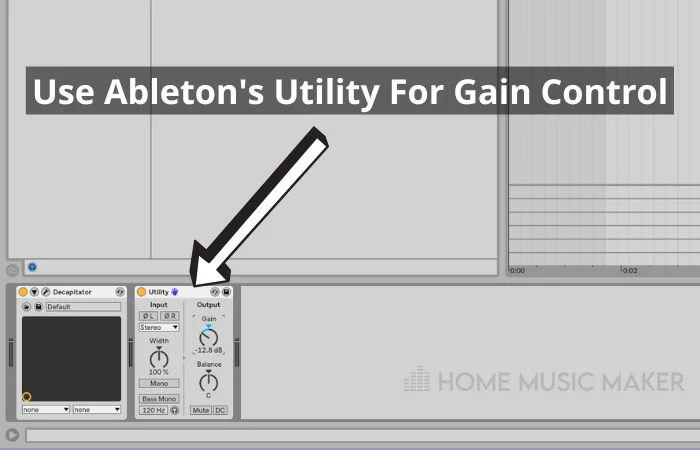
Applying distortion is a destructive process, so you’ll want to keep an eye on the Dry/Wet or Gain parameters.
You will often find that Less is more.
Distortion can be applied to instruments like a synth to add harmonics.
To add texture or punch, you can also distort drum sounds like a kick drum, snare drum, or any drum part.
Stock Distortion Plugins
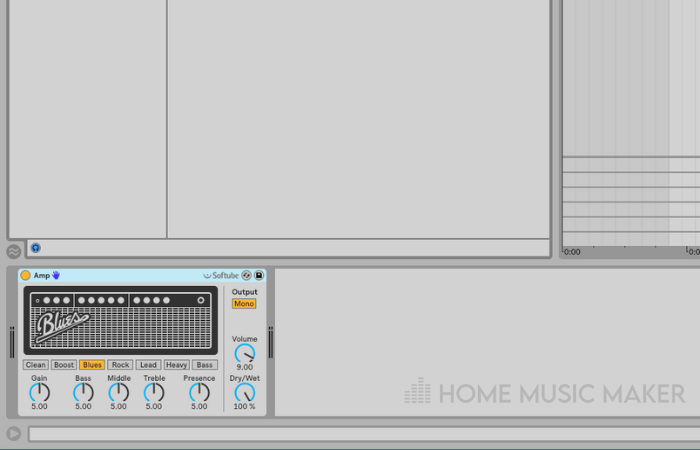
AMP
Ableton’s AMP plugin provides plenty of control over the application of distortion.
Features various distortion modes such as:
- Clean
- Boost
- Blues
- Rock
- Lead
- Heavy
- Bass
You’ll have plenty of control over the shape of the sound.
Parameters such as:
- Bass
- Mid
- Treble
- Presence
These allow you to fine-tune the shape and harmonics of your sounds.

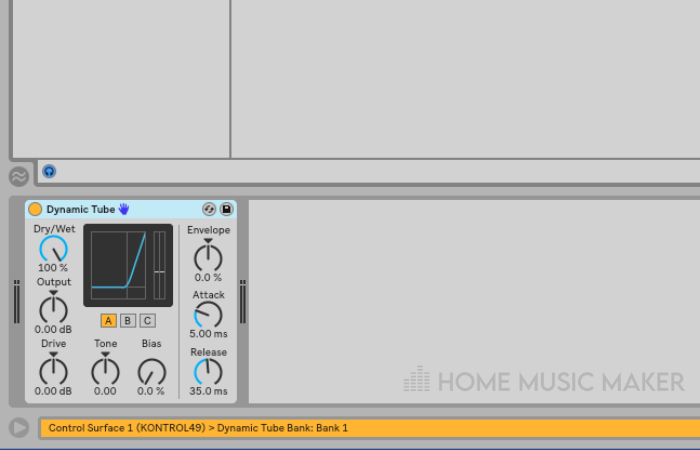
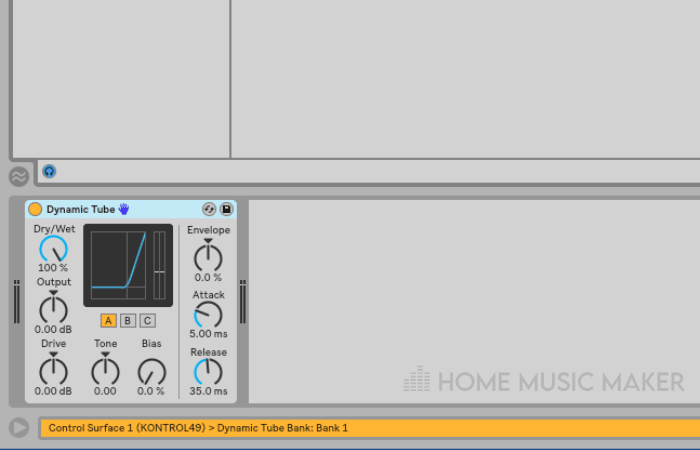
Dynamic Tube
Dynamic Tube will apply distortion differently to the rest of the plugins on the list.
Most distortion types add frequencies to the entire audio signal. Tube distortion is applied asymmetrically to the top or bottom of the signal.
Therefore, tube distortion can create mesmerizing harmonics that other plugins cannot.
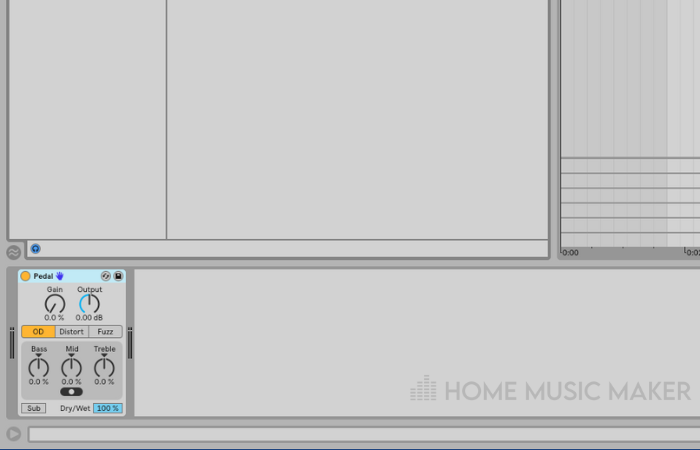
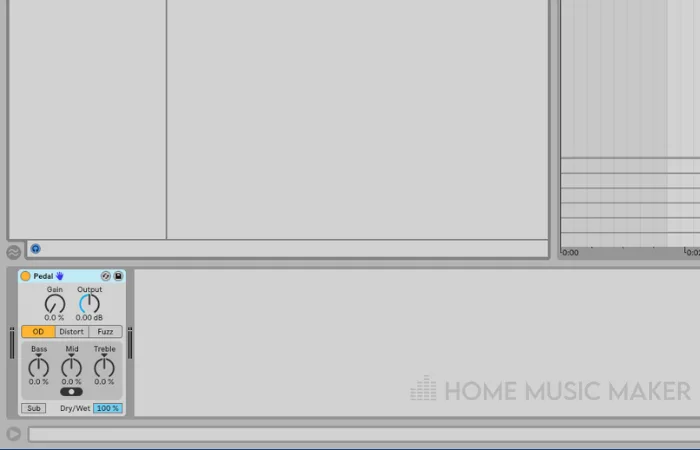
Pedal
Pedal is a classic “guitar distortion pedal.”
Pedal features a built-in 3-band EQ and three distortion types:
- OD
- Distort
- Fuzz
Pedal also features a ‘Sub‘ mode. Enabling Sub mode will keep lower-end frequencies after the distortion process.
This can be useful when trying to shape or distort bass sounds.
Saturator
Saturator is one of my favorite stock plugins in Ableton.
Saturator has a range of distortion types:
- Analog Clip
- Soft Sine
- Medium Curve
- Hard Curve
- Sinoid Fold
- Digital Clip
- Waveshaper
Saturator is a versatile stock plugin with many parameters to control the tonality and shape of your sounds. It’s also a great plugin to experiment with when exploring sound design.


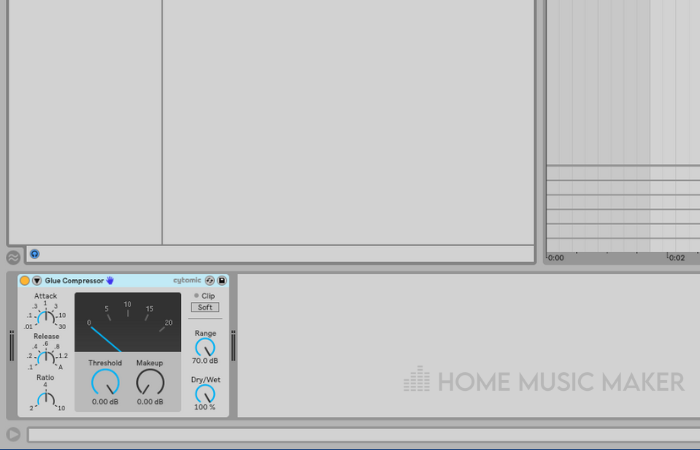
Glue Compressor
Although Glue Compressor is a compression tool, you can still apply distortion when using it.
Glue Compressor has a ‘Soft Clip’ feature that can apply distortion when paired with increasing the ‘Gain‘ knob.

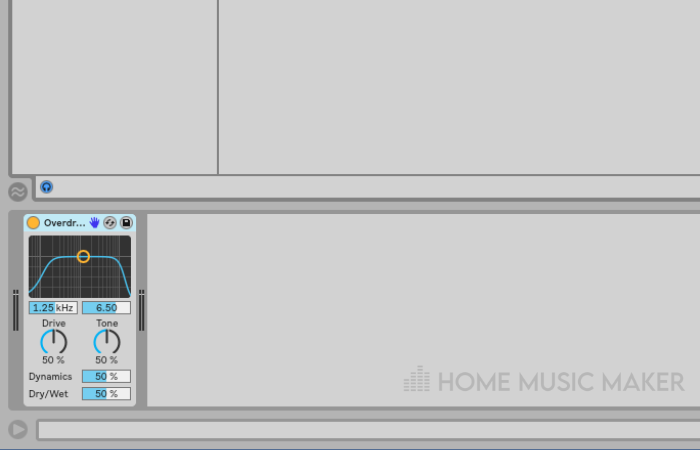
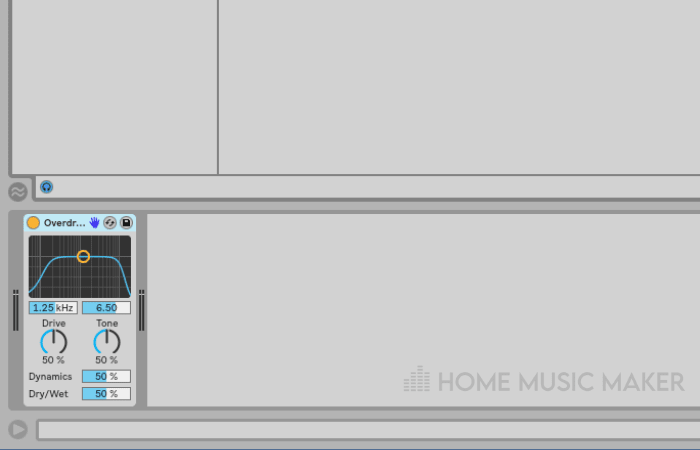
Overdrive
Overdrive is another quick, drag-and-drop distortion plugin available in Ableton.
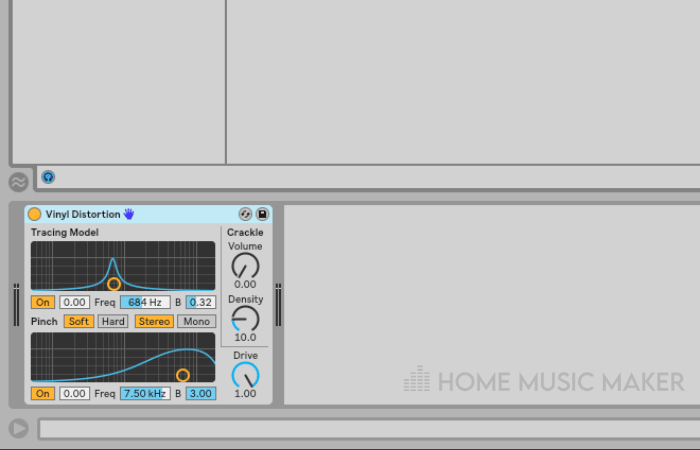
Vinyl Distortion
This is an interesting harmonic distortion plugin that can add more musical harmonics than some of the other options.
‘Pinch‘ mode is a notable feature that can be used to shape things into a hollow, square-wave type of sound.

Third-Party Distortion
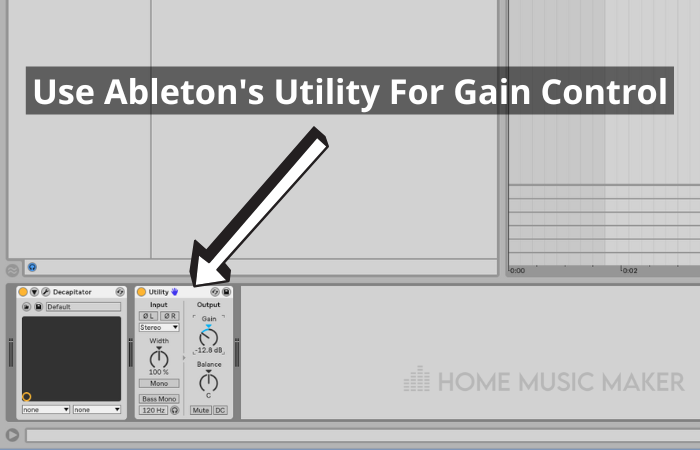
Soundtoys’ Decapitator’
Decapitator is a Saturation plugin made by Soundtoys.
Soundtoys plugins are some of my favorites to use. They have captured the feeling and sound of analog hardware in software form.
Throwing Decapitator on a track will add saturation and warmth to your sounds.
The ‘Punish‘ feature will crush your sounds even further, so use this carefully!
Decapitator also comes with various preset modes that will change the harmonics added when processing sounds.


Applying Compression
Ableton has two built-in compressors.
‘Compressor‘ is an easy-to-use, although somewhat basic, compressor.

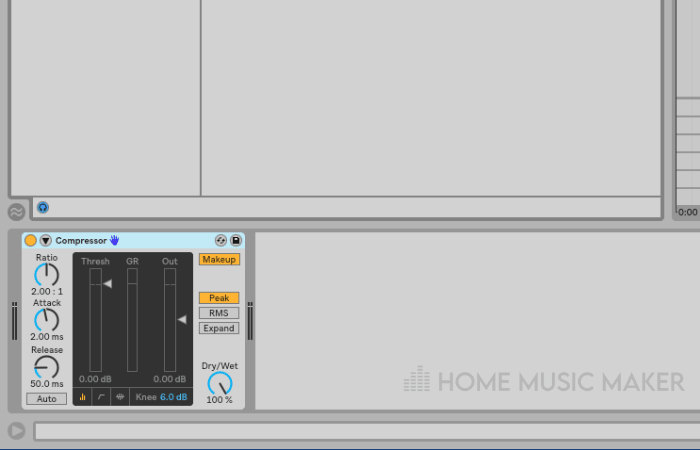
‘Glue Compressor‘ is the more advanced version that includes a soft-clipper mode.
As the name states, it will help glue various individual sounds together.
Both of these compressors offer sidechaining as a feature.
Third-Party Compression
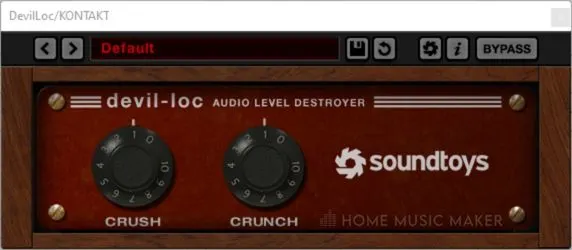
Soundtoys’ Devil-Loc’
Devil-Loc is a compressor-distortion hybrid plugin made by Soundtoys.
Presented as an ‘Audio Level Destroyer,’ Devil-Loc can add tons of punch and fuzzy chaos to your drums.
Used in moderation, this could be an ideal choice for applying distortion and compression in one go.
You can tweak the level of distortion using the ‘Crush‘ parameter.
Compression can also be manipulated by using the ‘Crunch‘ parameter.
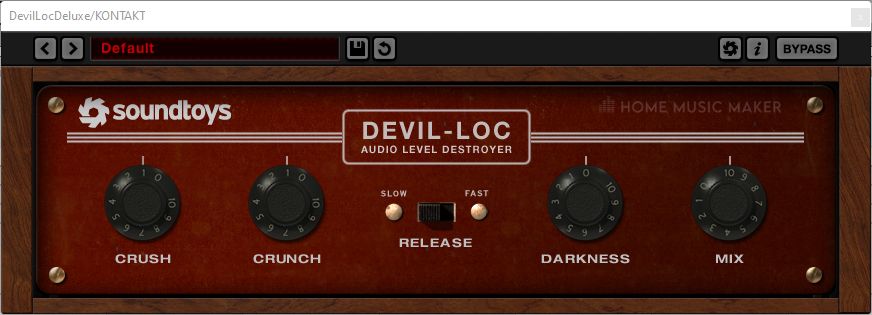
If you can get your hands on the deluxe version, you’ll have even more control over the processing output.
Devil-Loc

Devil-Loc Deluxe

Checkout the latest Soundtoys bundle HERE.
Transient Shaping
Transient shapers give you control over the shape of your sounds. They are designed to be used on dynamic signals. This can be useful when trying to shape sounds such as drums.
Transient shapers can soften the attack on harsh sounds, reduce room noise, and add sustain.
Ableton doesn’t have a dedicated transient shaper, although some stock plugins in Ableton can shape the transients of your sounds.
For example, Auto-Pan, with phase set to 0, can create a tremolo effect.
This will change the transient of your sound, shaping it in a literal sense. But it won’t process your sounds as an actual transient shaper plugin would.
Transient shapers can apply compression and expansion to the same transient at different time points.
Compression, although similar, will apply a more linear form of processing to your sounds.
If you have Max For Live devices in Ableton, Transient Machines is a great option to look at for transient shaping.
Third-Party Transient Shapers
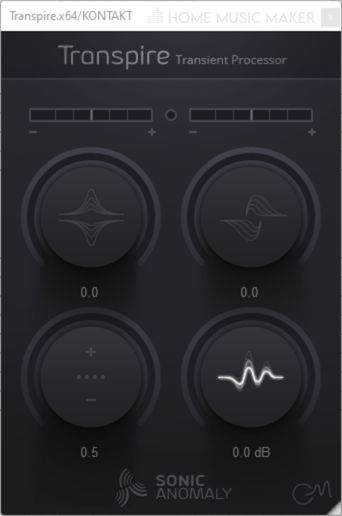
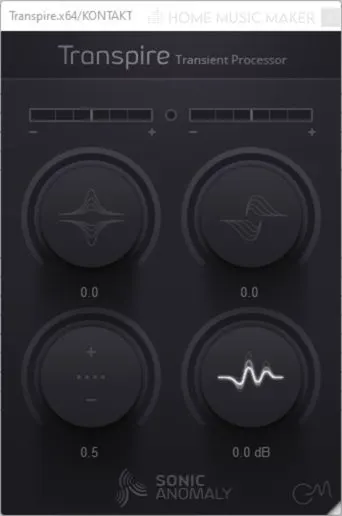
Sonic Anomaly ‘Transpire‘
Transpire is a free, third-party transient shaper. Transpire is a minimal-looking plugin with limited options but a very clean UI and sound.
The two upper parameters are transient controls, while the two lower knobs control the dynamics of the sound.
Audio Effect Racks
Drum Buss can apply more than one effect at a time.
If you replicate that using individual plugins, you’ll want to save the chain of plugins as an ‘Audio Effect Rack.’
This will form a preset of your own for later use.
After loading the preset onto your desired track, you can still tweak the settings in the future.
Using Audio Effect Racks is an excellent way of developing your own sound as you experiment with various plugins, effect units, and VST combinations.
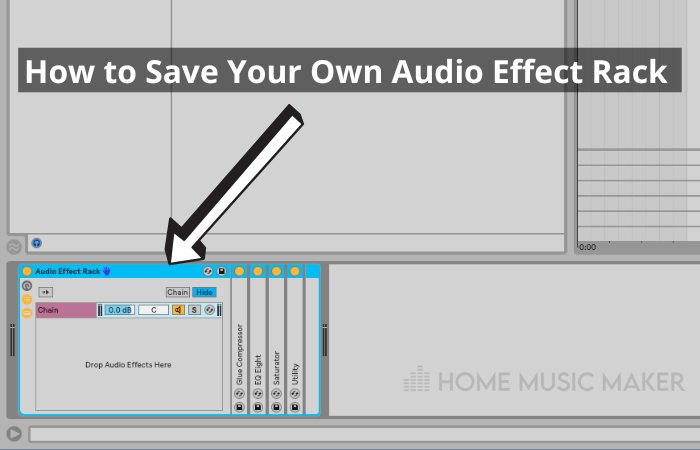
How to Save Your Own Audio Effect Rack
Step 1: Choose which plugins you want to group and load them onto a track.
Step 2: Click on a plugin. While holding shift, click on the other plugins you want to group together.
Step 3: Press ‘CTRL + G‘. This will group your plugins, forming an Audio Effect Rack.
Step 4: Click on the folder icon on the created Audio Effect Rack. This will bring up a new file in the user library, where you can name and save the new audio effect rack.

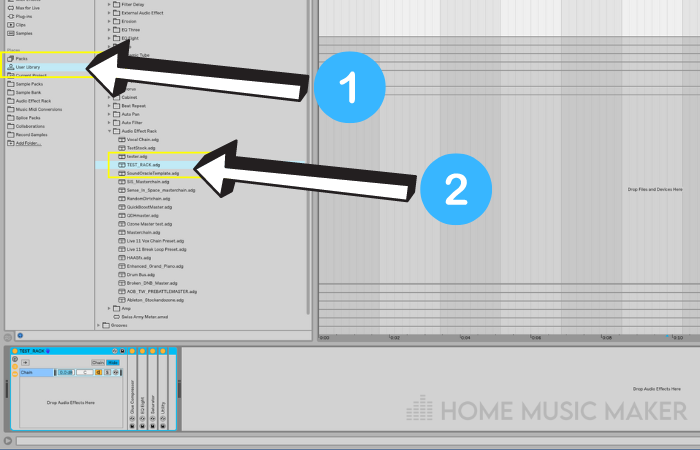
Loading Your Audio Effect Rack
Step 1: Head to the user library and find Audio Effect Rack from the list.
Step 2: Find the name of the Audio Effect Rack you want to load. Now click and drag the Audio Effect Rack onto the track of your choice, or double-click the name.

The Difference Between The Drum Buss Plugin And A Drum Bus
Not to be confused with the Drum Buss plugin, a drum bus is a term used when routing individual tracks to a ‘Drum Bus’ track.
How Do You Make a Drum Bus In Ableton?
In Ableton, you can do this by inserting a new audio track, naming it ‘Drum Bus,’ and selecting ‘in‘ on this channel.
Set the output for all of your individual drum tracks to the newly created ‘Drum Bus‘ track.
Now all of the audio from your drum tracks will be routed to the Drum Bus, where you can process them as a unit.
What Do You Put On Your Drum Bus?
Compression and saturation are common things to use when processing a drum bus. These effects will instantly give your drums a sense of unity and warmth that, without, they might lack.
Is Drum Bus Compression Necessary?
Drum bus compression isn’t necessary.
Often drum samples have already been compressed one, if not two times, by the time they make it to your DAW.
However, in certain situations, extra compression will improve the feel of your drums.
You could place a compressor on each drum track, which may cause inconsistencies across the mix.
So if you compress your drums, you’ll generally want to create a drum bus, or group, to process them together.
Is A Group The Same As A Bus In Ableton?
No, but they function in the same way.
A group can be used to process many individual tracks at once. A Bus, or ‘Send/Return’ track in Ableton, can do the same thing.
Which method you use is down to preference.
How Do You Compress Drum Samples?
The first step when compressing drums is to ensure your drum tracks are grouped or routed to a ‘bus‘ track so that you can simultaneously apply compression to all of your drums.
Now, drag ‘Glue Compressor‘ or ‘Compressor‘ onto your newly created group or bus track.
If you’re working with Ableton’s Drum Rack, you can place a compressor after the Drum Rack. You don’t need to worry about creating drum groups or routing to a bus track when working with a Drum Rack.
For more helpful guides, check out this article on how to use sidechain compression in Ableton.