Ableton has a built-in Bitcrusher plugin called “Redux.” A Bitcrusher is an audio effect that applies digital distortion. This is achieved by changing the signal’s sample rate and bit depth. Other parameters such as ‘Dry/Wet’ can be altered to shape the sound further.
Does Ableton Have A Bitcrusher?
You might not realize that Ableton has a built-in Bitcrusher plugin. Like me, you searched for Bitcrusher in the search bar and found no results.
You also might be wondering what a Bitcrusher is.
Well, Ableton’s answer to a Bitcrusher plugin is called Redux.
Redux is used to apply digital distortion effects to a sound.
I used Bitcrushers frequently to create the well-known robotic ‘Dubstep Yah‘ noise.
But they have more strings to their bow than that!
Today I’ll show you how and why you might want to use Redux to apply digital distortion to your sounds in your music production.
How Do I Bitcrush In Ableton?
To ‘Bitcrush’ in Ableton, you will have to search for the Redux plugin.
You can then adjust the plugin’s parameters to change the sound’s sample rate and resolution.
We’ll run through step-by-step how to use it later in this article.
What Is Bit Reduction?
Bit reduction is the process of implementing quantization to the amplitude of an audio signal, changing the resolution of a sound.
How Do I Use Redux In Ableton? (Step-By-Step Instructions)
Loading Redux
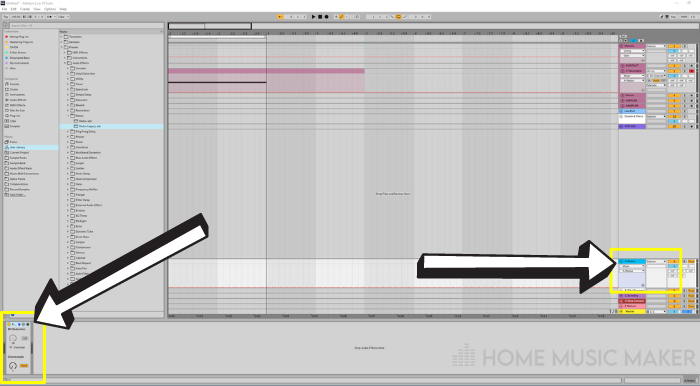
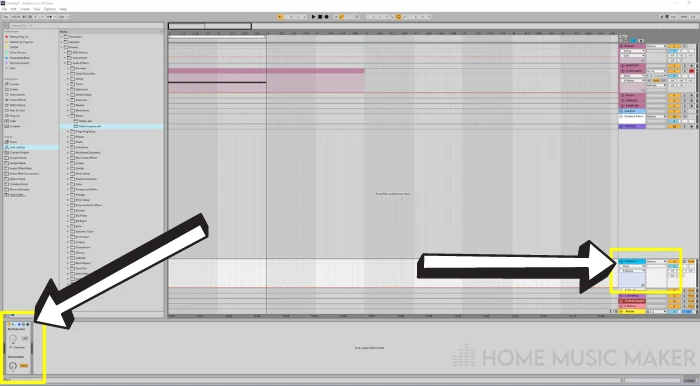
Search for ‘Redux‘ in the search bar.
Double-click on Redux. This will add the plugin to your currently selected track.
Alternatively, click and drag Redux onto the desired track.
Ableton Live 10 Redux
In Ableton Live 10, Redux has fewer parameters for you to control than in Live 11. Yet, the distortion seems less tonal, which could be the desired effect.
Redux, although somewhat limited, is a great free alternative for applying digital distortion.
Let’s look at the features of Redux in Ableton Live 10.

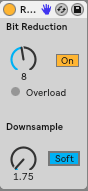
Downsample
The downsample feature defines whether the effect interpolates over a smaller or larger range.
Using downsample on ‘soft mode‘ will apply a downsample effect with less grit while still distorting the sound.
Using ‘hard mode‘ will apply a much thicker and more deep-sounding distortion.
Bit Reduction
Bit Reduction can be turned on or off.
If used, the knob can be altered between the values 1-16. The lower the number, the louder the distortion will sound.
For example, if you turn the dial to 8, the amplitude levels will be quantized to an 8-bit resolution.
Ableton Live 11 Redux
In Ableton Live 11, Redux has been updated to give the user more control.
Additional parameters can now be controlled and automated.
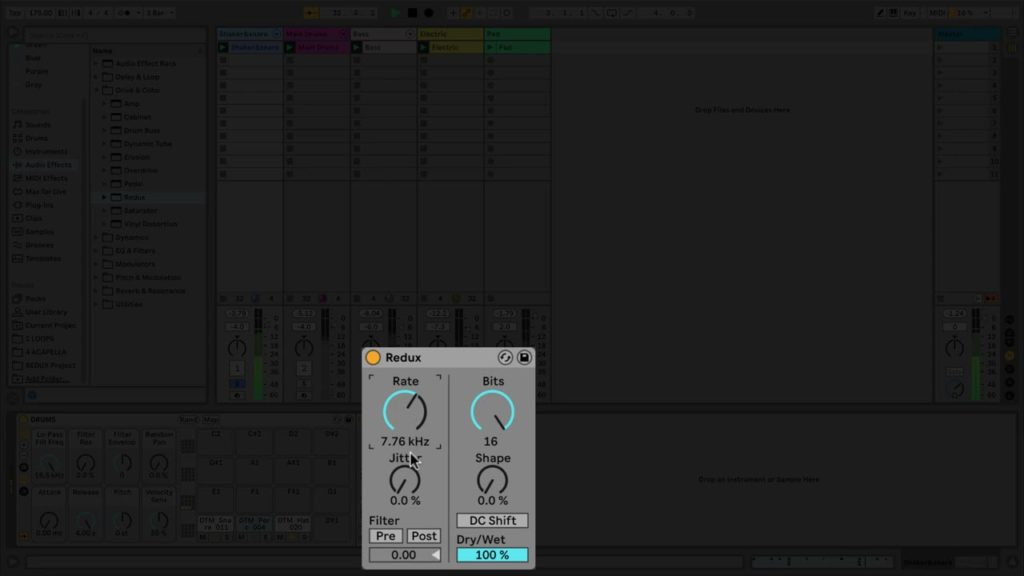
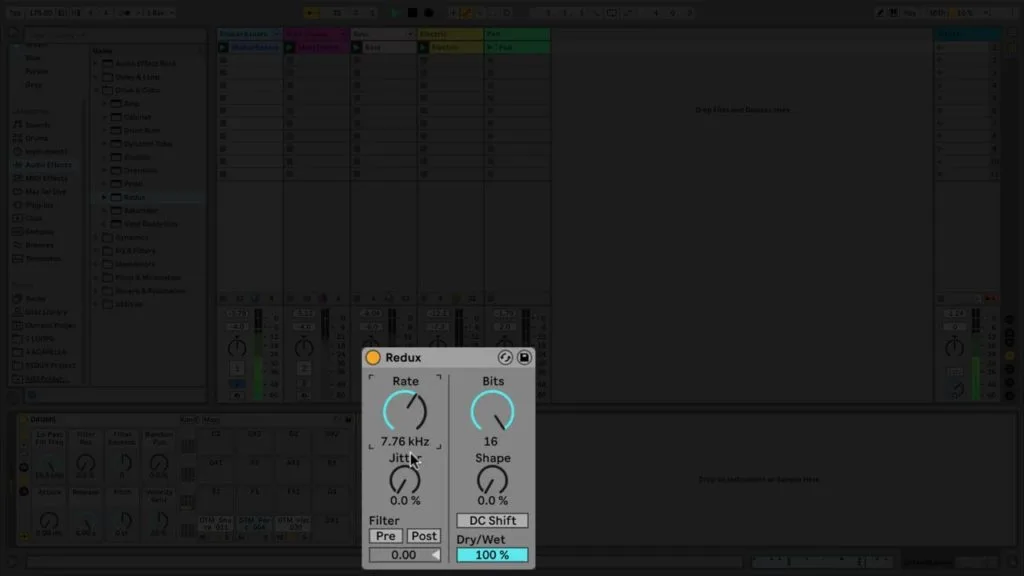
The new version of Redux includes a Dry/Wet signal knob that you can alter to change how much of the distorted sound you want to apply to the source.
Jitter, a new feature in Live 11, will add noise and randomness to the distortion.
Pre and Post filters allow you to change the cut-off frequency of the sound before or after the distortion is applied.
The new Shape feature adjusts the quantization of the distortion you are applying.
DC Shift, an ‘on or off’ feature, will change the type of digital distortion you’re applying.
The Live 11 version of Redux offers more tonality to the distortion applied, which could be considered a good or bad thing.
It depends on what you’re looking for.
It is still possible to use the older version of Redux, though, and I’ll show you how to do this below.
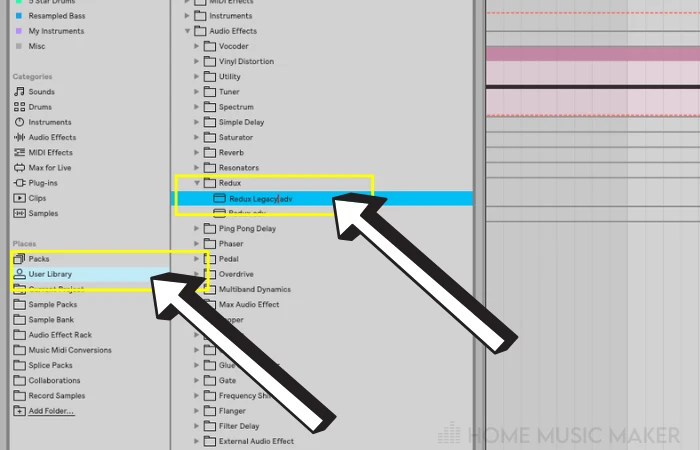
Redux Legacy In Ableton Live 11
Open an Ableton Project in Ableton 10 or earlier.
Drag Redux onto a channel and save the project.
Open the project in Ableton 11.
Now save the preset to your user library, and you can use the more limited version of Redux if you so desire.

You do this by automating the level of the effect being applied to the track(s).
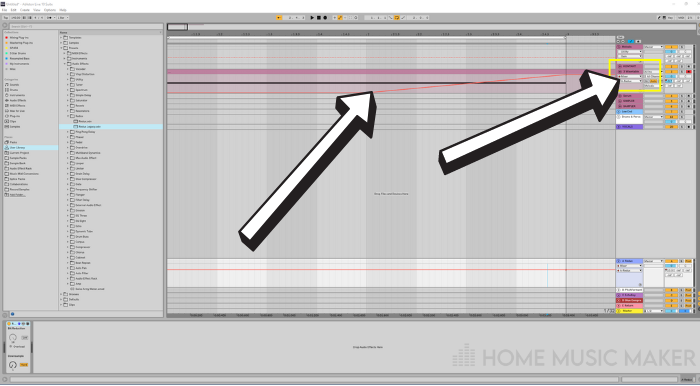
Drag Redux onto a return track.
Apply the desired level of distortion.
Automate the signal level by clicking on ‘Mixer‘ in the automation drop-down menu.
Select the Redux return track and automate the desired level of the Redux signal being applied.

This is a helpful workaround for any VSTs missing ‘Dry/Wet‘ signal parameters.
Related Questions
Can a Bitcrusher Be Used on A Synth?
A Bitcrusher can be used on any audio or MIDI track. It simply depends on what sound you want to apply digital distortion too.
You will have to experiment with Redux, like any other VST or effect. After a while, you will begin to understand when an effect, like Bitcrushing, will help you achieve a particular desired sound.
What Is a Bitcrusher VST?
A Bitcrusher VST is an audio effect plugin designed to apply digital distortion. There are many Bitcrusher VSTs available online, both paid and free.
What Is a VST in Music?
VST stands for Virtual Studio Technology. VST is usually used to describe a software synthesizer, digital audio effect, or MIDI effect, also known as ‘Plugins.’
VSTs use digital signal processing to simulate the sound of hardware synthesizers and effects units in software form. There are many VSTs available that don’t have a hardware counterpart.
What Is a Bitcrusher Pedal?
A Bitcrusher pedal is essentially the physical version of a Bitcrusher plugin.
Bitcrusher pedals can be utilized in a live performance environment or used to digitally distort a sound you’re recording into your DAW.
You will still be reducing the sample rate and bit depth in order to apply digital distortion. Still, the effect will be applied straight onto the signal of your chosen instrument, for example, an electric guitar, rather than automated in Ableton.
Does Ableton Have A Multiband Compressor?
Ableton’s built-in multiband compressor is a plugin called ‘Multiband Dynamics.’ Think of it as a hybrid plugin, fusing a compressor and an equalizer together.
Compression is the process of reducing the dynamic range of a sound to make it louder. When used on individual sounds like drums, it can make things seem more ‘punchy.’
Compression can also be used to glue sounds together, like drums, to make them sound like more of a drum kit rather than various individual drum sounds.
Check out this guide to get your kick drums sounding like a pro!
The process of compression is amplifying the quieter parts of a sound to make the whole sound louder on average. This will squash the dynamic range of the sound, making it more even across the board.
Compressors consist of four main parameters of control for the user; Threshold, Ratio, Attack, and Release.
Threshold: This setting allows you to set a dB level upon which the compressor will come into effect. Any sound that passes the threshold will then be compressed.
Ratio: This setting determines how much compression will be applied once the signal reaches the threshold.
Attack: The attack level will determine how long it takes for the compression to activate after the threshold has been reached.
Release: This will determine the time it takes for the compression to stop after the sound has dropped below the threshold level.
Multiband compression is a more advanced form of applying compression to your sounds.
Using a multiband compressor will split the frequencies of your sound into different ‘bands.’
Splitting the frequencies of your sound(s) will give you greater control when applying compression to each band because each band will have its own compression settings.
Multiband compression is also a great tool to improve the final mix of your track, at the cost of some dynamic range, by gluing the different elements of your track together and giving the whole track a boost.
What about Reverb? Check out our best Ableton reverb guide.