Select all items using CTRL+A/CMD+A. Click on one of the items and drag it to move it around. To move everything, including the markers, press ALT+P twice. Then drag one of the items to drag everything. This is the ripple editing mode for all tracks.
REAPER Move Everything
The ability to edit different elements of a digital audio workstation by moving them, be it Pro Tools or REAPER DAW, is key to making, editing, recording, mixing, and mastering music.
Being able to move audio items around can help change the structure of the song. Moving any other item around, such as MIDI or a media item, can do the same.
It’s a great trick to use in songwriting.
In this article, we will give a complete guide on how to move an item/multiple items, move tracks and move a marker/multiple markers.
How To Move All Items In REAPER DAW
There are two methods of doing this. One involves moving all of the items together, but only one time, and you have to select them all again to move them all again.
This is good if you want to move them all this one time.
The second method groups the selected items together so that they will move together regardless of whether they are all selected or not.
This is good for tracks that are meant to be played simultaneously, for example, a double-tracked vocal performance.
Method 1
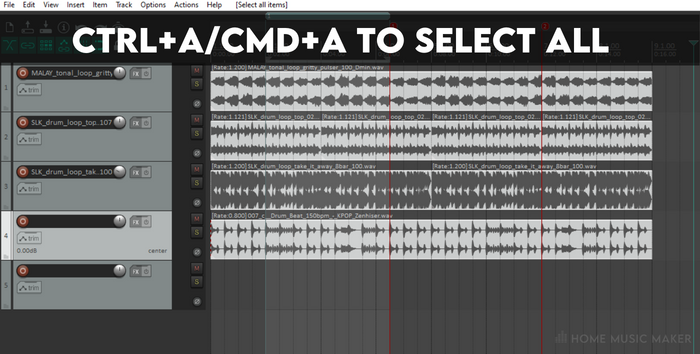
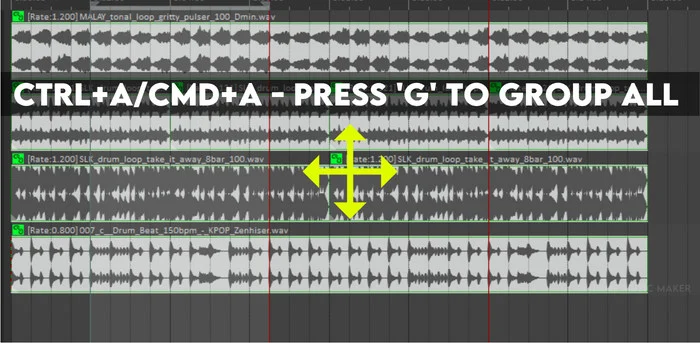
Step 1: Select all of the items using CTRL+A/CMD+A.

Step 2: Hover your cursor over a selected item.
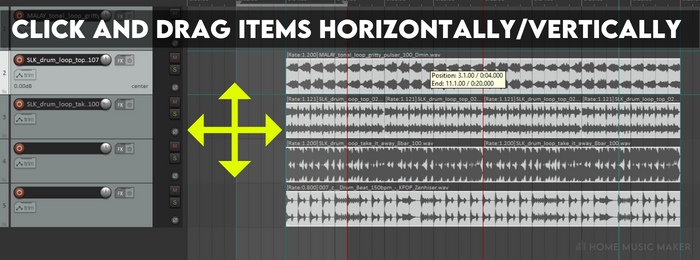
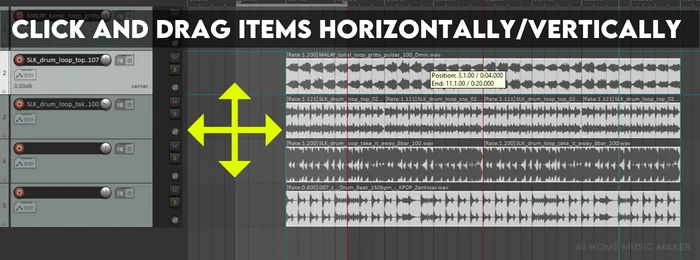
Click this and drag the objects horizontally or vertically.
Method 2
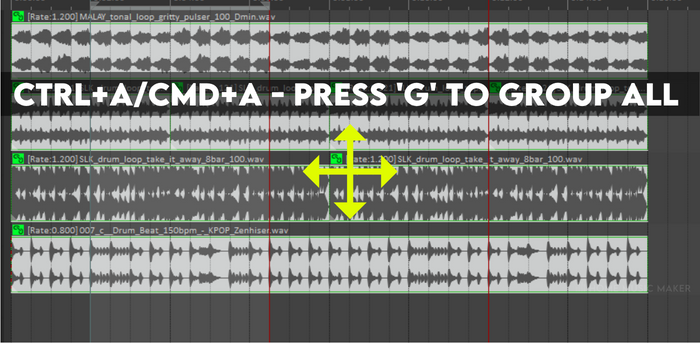
Step 1: Select all of the items using CTRL+A/CMD+A.
Step 2: Press G to group the items. Now you can move all of them together without having them all selected.

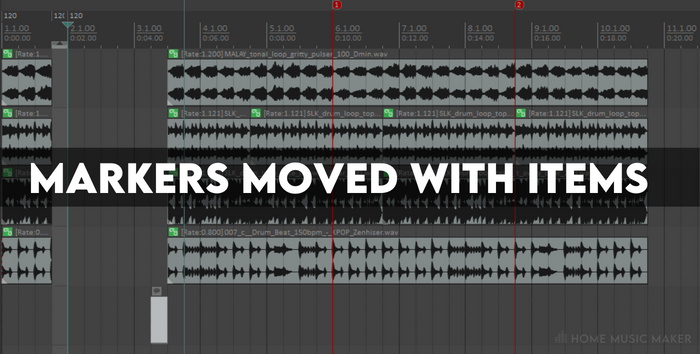
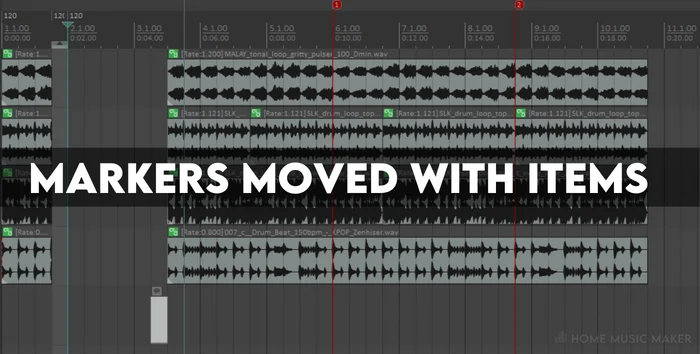
How To Move All Markers In REAPER
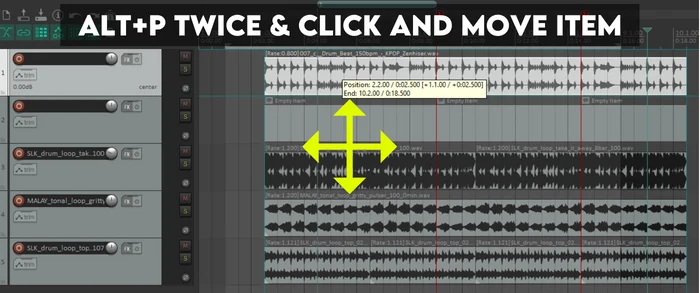
Step 1: Press ALT+P twice. This will bring up the ripple editing mode for all tracks. It has to be for all tracks, or the marker/markers won’t move.
Step 2: Highlight a small area before the marker/markers and after where you want to move.
Say you want to add a pre-chorus between the verse and the chorus, then the selection will start at the start of the chorus.
Step 3: Click the insert menu and then select Empty Item.
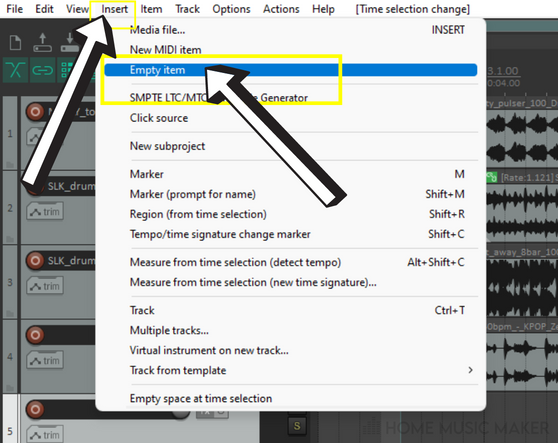
Step 4: You can move this item around, and the marker/markers and items will follow.
Move Multiple Tracks In REAPER
Step 1: Highlight the tracks by clicking on the first selected track and then clicking on the last selected track.
This will highlight these tracks and the tracks in the middle.

Step 2: Click and drag these tracks to where you want them to be.
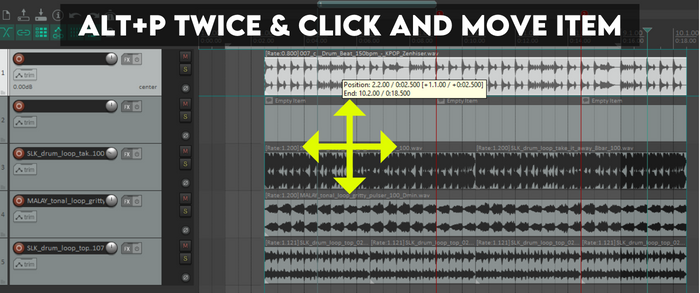
How To Move The Entire Project And Marker/Markers In REAPER
Step 1: Press ALT+P twice. This will bring up the ripple editing mode for all tracks.
Step 2: Click on an item and move it.
This will move the entire project, including the audio, automation, and marker/markers.
Any envelope point with an effect in the FX chain will still perform automation on the same piece of audio.
Related Questions
How Do You Select Parts In REAPER?
Click the left mouse button and drag the mouse. You will see a highlighted area, which you can control by dragging. Once you’ve selected the parts you want to affect, you can right-click to perform specific tasks to only that selection.
How Do You Copy And Paste A Section In REAPER?
Highlight the section of the item that you want to copy. Then right-click and select “Copy selected area of items.” Then press CTRL+V/CMD+V once you’ve clicked on the part of the grid that you want to paste it in.
How Do You Select All Parts In One Track In REAPER?
Click on the first part of the track on which you want to perform this task. Then locate the end item. Click this while holding the shift button. This will select all the parts in-between, which for this will be all the parts on that track.
Check out the following article for great tips, including how to increase the waveform size in REAPER.