To set up KRK Rokit 5 monitors, plug them into a wall outlet using the included power cables. Next, plug your KRK Rokit monitors into your audio interface using TRS ¼ inch patch cables. Then power up your monitors and tune them using the KRK Audio Tools app.
Setting Up KRK Rokit 5 G4 Studio Monitors
Studio monitors are an essential piece of a music producer’s toolkit. Producing music with only headphones instead of studio monitors can give you an unrealistic idea of how your mix sounds.
KRK Rokit 5 monitors are an excellent option for someone looking to invest in some quality studio monitors without totally breaking the bank.
In this step-by-step guide, I will show you how to set up KRK Rokit 5 Studio Monitors in your home studio.

What You Will Need
Here is a list of everything that you will need for this tutorial:
- A pair of KRK Rokit 5 Studio Monitors and the included power cables
- 2x TRS ¼ inch male to male patch cables
- KRK Audio Tools app
- Audio interface
- DAW (Digital Audio Workstation)
Not got your Rokit 5’s yet? Click here for the latest price.
Step One – Speaker Placement
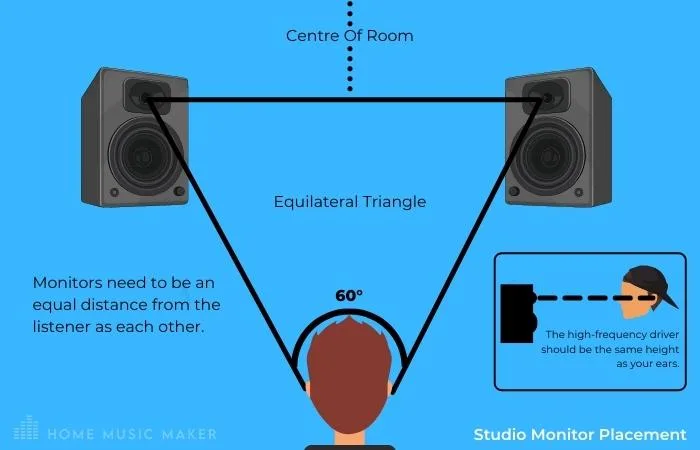
The first step for setting up KRK Rokit 5 Studio Monitors is placing them correctly within your studio space. Your sound quality will take a massive hit without the proper speaker placement.
Both your left and right studio monitors should be about three to five feet apart from each other and pointed towards you to form an equilateral triangle between your monitors and you. Also, it would be best if you were sitting at ear height with the tweeters.

You can have your studio monitors on your desktop to attain these specifications, especially if you have a desk designed for music production or use speaker stands to mount your monitors.
Another thing that you need to pay attention to when placing your monitors is to ensure they are not on a surface that will rattle or shake when playing audio. If they do, this will hurt your sound quality and affect how your mixes sound.
Speaker placement is crucial when setting up your KRK Rokit 5 Studio Monitors because it plays a massive role in how they will sound.
Now that our speaker placement is complete, we can move on.
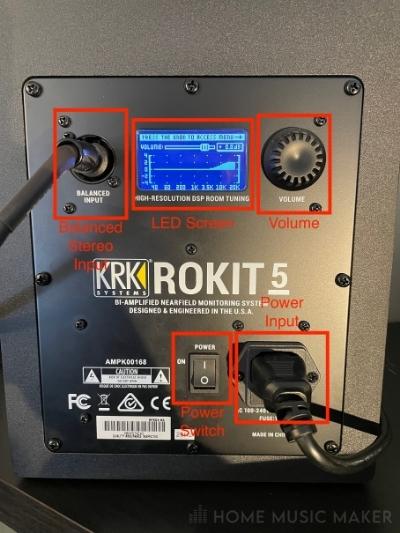
Step Two – Plugging In Your KRK Rokit 5 Monitors
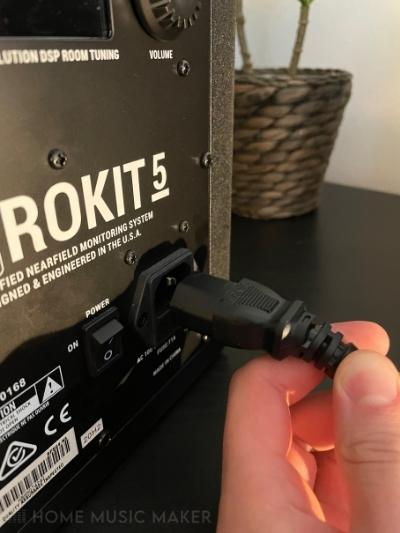
Because the KRK Rokit monitor is an example of a powered studio monitor, the next step for setting them up is plugging them into a power source.
To do this, plug the female end of the included power cable into your KRK monitor and the male end into a power outlet.
Repeat this process for both of your studio monitors.
With our studio monitors now correctly plugged in, let’s keep moving.
Step Three – Connecting Your KRK Rokit 5 Monitors To Your Audio Interface
Now, we are ready to connect our studio monitors to our audio interface.
Start by taking one of your TRS ¼ inch male cables and plugging one end into your first KRK monitor. Now, take the other end and plug it into the correct monitor output on your audio interface.
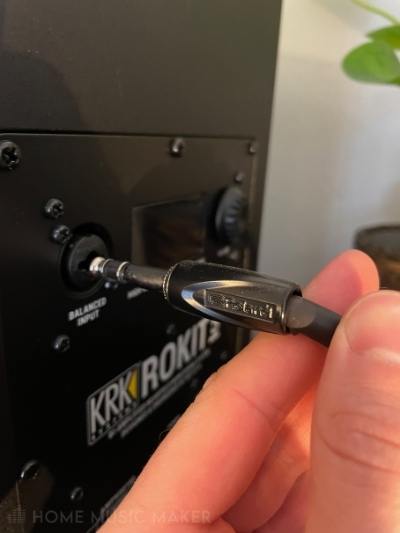

Repeat this step for both studio monitors.
Remember that every audio interface is different and has different outputs/output configurations.
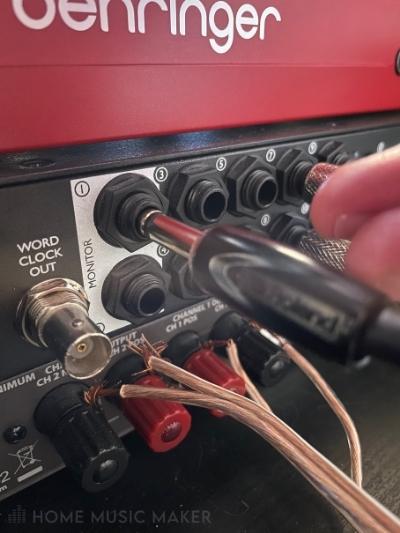
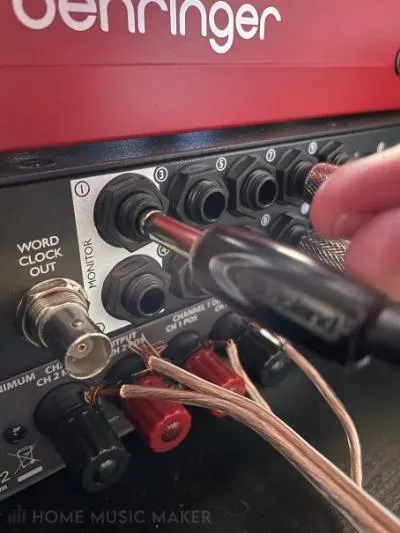
As you can see, my audio interface, the Focusrite Clarett 8 Pre, has the monitor speaker outputs clearly labeled.
Now that our Rokit Monitors are correctly connected to our audio interface let’s move on to the next step.
Step Four – Powering Up Your KRK Rokit 5 Monitors
All you have to do to power up your KRK systems is flip the power switch located on the back of each one.
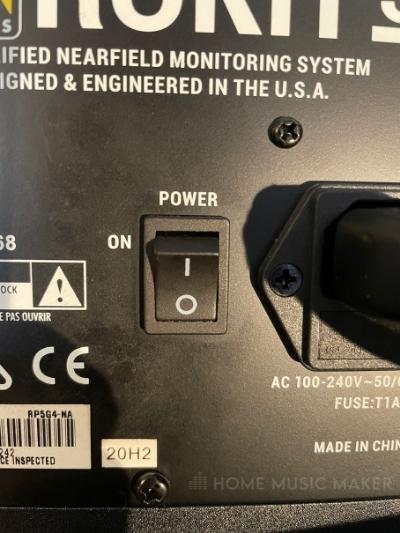
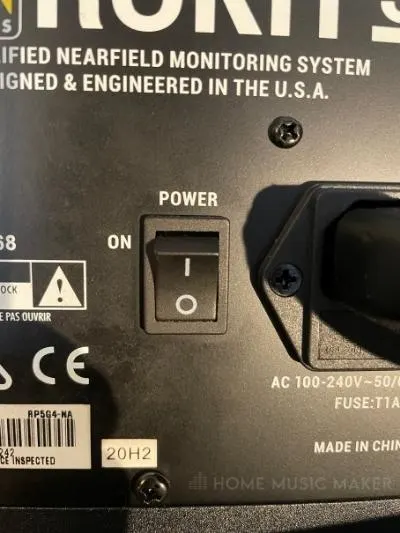
Just like that, you have connected and powered up your KRK Rokit 5 Studio Monitors.
You will also notice that on the back of your KRK monitor, there is a volume knob and an LED control panel that you can use to make specific EQ changes to match the acoustics of your room.

Step Five – Fine-Tuning Your KRK Rokit 5 Monitors
The next step for getting your KRK studio monitors set up and ready to use is fine-tuning your monitors using the KRK Audio Tools app.
The KRK Audio Tools app features several tools that you can use to place your monitors and fine-tune them to match the acoustics of your room.
Let’s go over the different tools in the app and what they do.
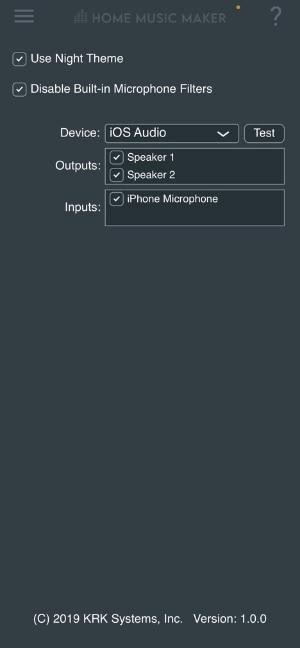
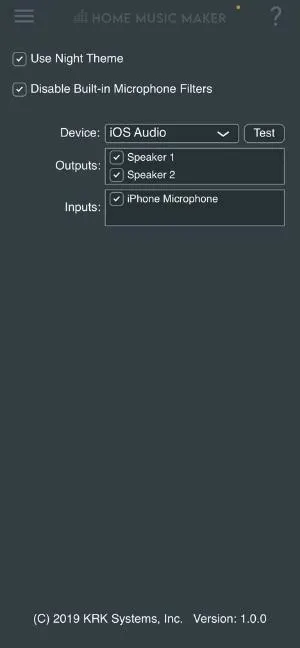
First, take a look at the layout of the app. As you can see, the different tools are on the left, and if you click the question mark on the right, you get a breakdown of what it does and how to use it.
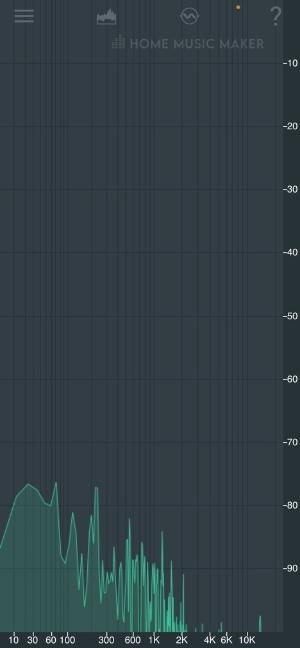
Spectrum RTA
The Spectrum RTA tool measures the frequency spectrum of the input audio signal to help you identify potential factors that can negatively impact your listening experiences, such as background noise and ambiance.

Level Meter
You can use the Level Meter tool to calibrate your studio monitors’ levels.
You can do this by generating pink noise from your monitors one at a time and adjusting each one’s volume accordingly.
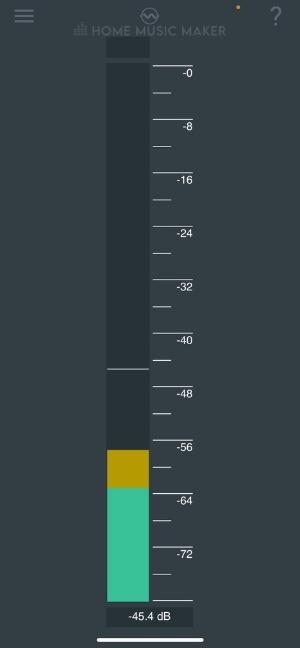

Keep in mind that the KRK Audio Tools app will provide a more detailed walkthrough of this process and is completely free.
Monitor Align
The Monitor Align tool will help you align your studio monitors at a precise angle.
Have your monitors facing forward with no angle, and place your phone on top of either one to use this tool.
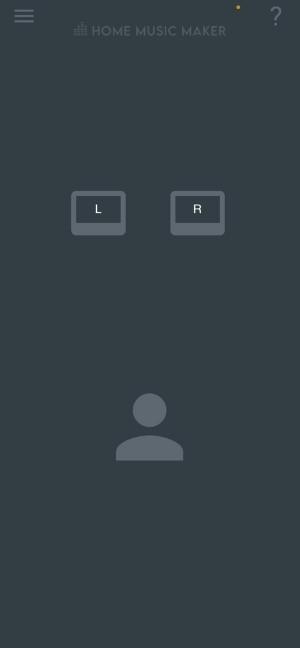

Next, tap the left or right monitor icon in the app and rotate the monitor until you have achieved the desired angle.
Repeat this process with your second studio monitor, and you will be all set.
EQ Recommendation
The EQ recommendation tool takes a frequency analysis of your room by generating a pink noise signal and then gives you a suggestion of which EQ presets to use on your KRK monitors.
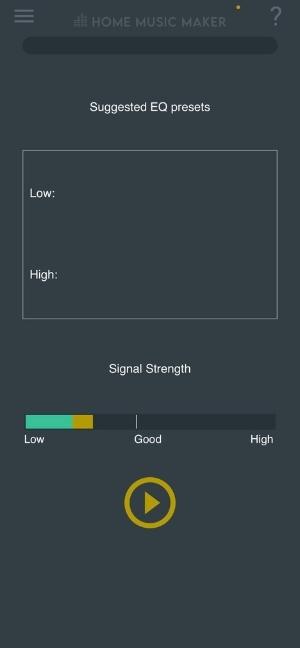

To use this tool, press the play button on the app, and it will measure the frequency response of your room.
Once it gives you a recommendation of which EQ setting to use, you can program them into your KRK monitors by using the LED screen on the back of each one.
Delay
You can use the Delay tool to help you eliminate any time delay between your monitors.
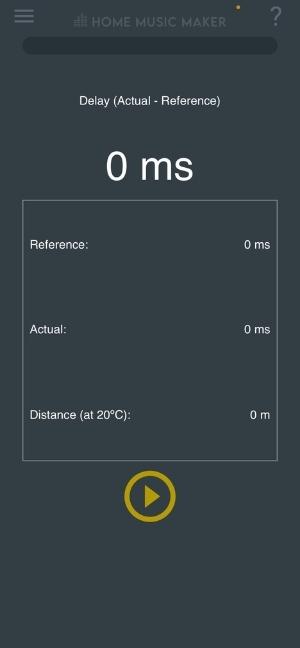
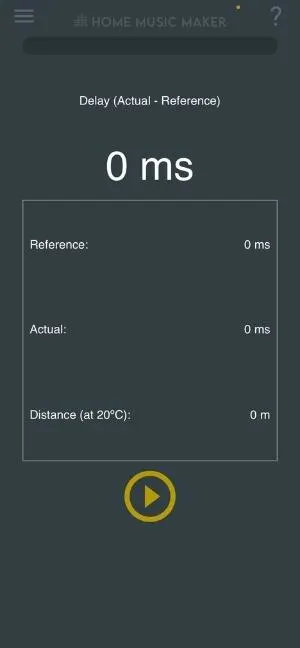
Use this tool by holding your phone microphone as close as possible to the subwoofer of one of your monitors and pressing the play button to set a reference point of zero milliseconds.
Next, repeat this process but with your phone microphone in your listening position in your studio.
Complete this process for each of your studio monitors.
The delay time for each monitor should be as close to each other as possible.
Polarity
The Polarity Tool will help you verify that you wired your monitors correctly.
Use this tool by sending the built-in signal in the app through a cable to each of your monitors.


The screen will show an oscilloscope which will display either a green ‘+’ for correct polarity or a red ‘-‘ for incorrect polarity.
If your polarity is incorrect, double check your KRK Rokit Studio Monitors’ wiring for any potential issues.
Settings
The Settings section will allow you to change various options within the app.
This app section will not help you place, calibrate, or fine-tune your studio monitors.
Step Six – Test Out Your Monitors
The final step for setting up your KRK Rokit 5 Studio Monitors is listening to some music through them to test them out.
If you have followed these steps correctly, your monitors should sound well balanced and in sync with whatever you listen to through them.
However, if you still have any issues, go through these steps again and see if you might have missed something.
How To Set Up Other Rokit Monitors
Another thing that I wanted to mention to you is that although this tutorial is mainly for the KRK Rokit 5 Studio Monitors, you can follow these same steps with any of the other sized Rokit G4 speakers.
The ‘5’ in Rokit 5 refers only to the size of the speaker, so this tutorial can also help you set up the other Rokit G4 studio monitors.
Related Questions
How Do You Connect Your Focusrite Audio Interface To Your Computer?
To connect your Focusrite audio interface to your computer, start by plugging your interface into your computer using a USB-type cable. Next, go to the Focusrite Downloads Page and find the correct version of Focusrite Control for your audio interface.
Your Focusrite audio interface is connected to your computer once you have done this. However, I recommend that you download Asio4All if you are a Windows user to help you get the most out of your device and fix any latency issues that you might be having.
How Do You Connect Studio Monitors To a Laptop?
The easiest way to connect your studio monitors to a laptop is by plugging them into a USB audio interface which can then connect directly to your laptop/computer. The type of connection from your studio monitors to your audio interface that you need to make depends on the specs of your equipment.
It is uncommon to see studio monitors that can connect to a laptop/computer without an audio interface.
What Should I Consider When Buying Studio Monitors?
Some of the main things that you will want to keep in mind when buying studio monitors are price, size, and performance.
Price is important because there is no sense in bankrupting yourself over music gear. Size is essential because there is no point in having big speakers in a small room or vice versa as this will cause issues with acoustics.
Performance is important because you want studio monitors that sound good and give you an accurate representation of your mixes.
Are you looking to upgrade your audio interface? Click here and check out our Top 12 Sound Cards For music Production.